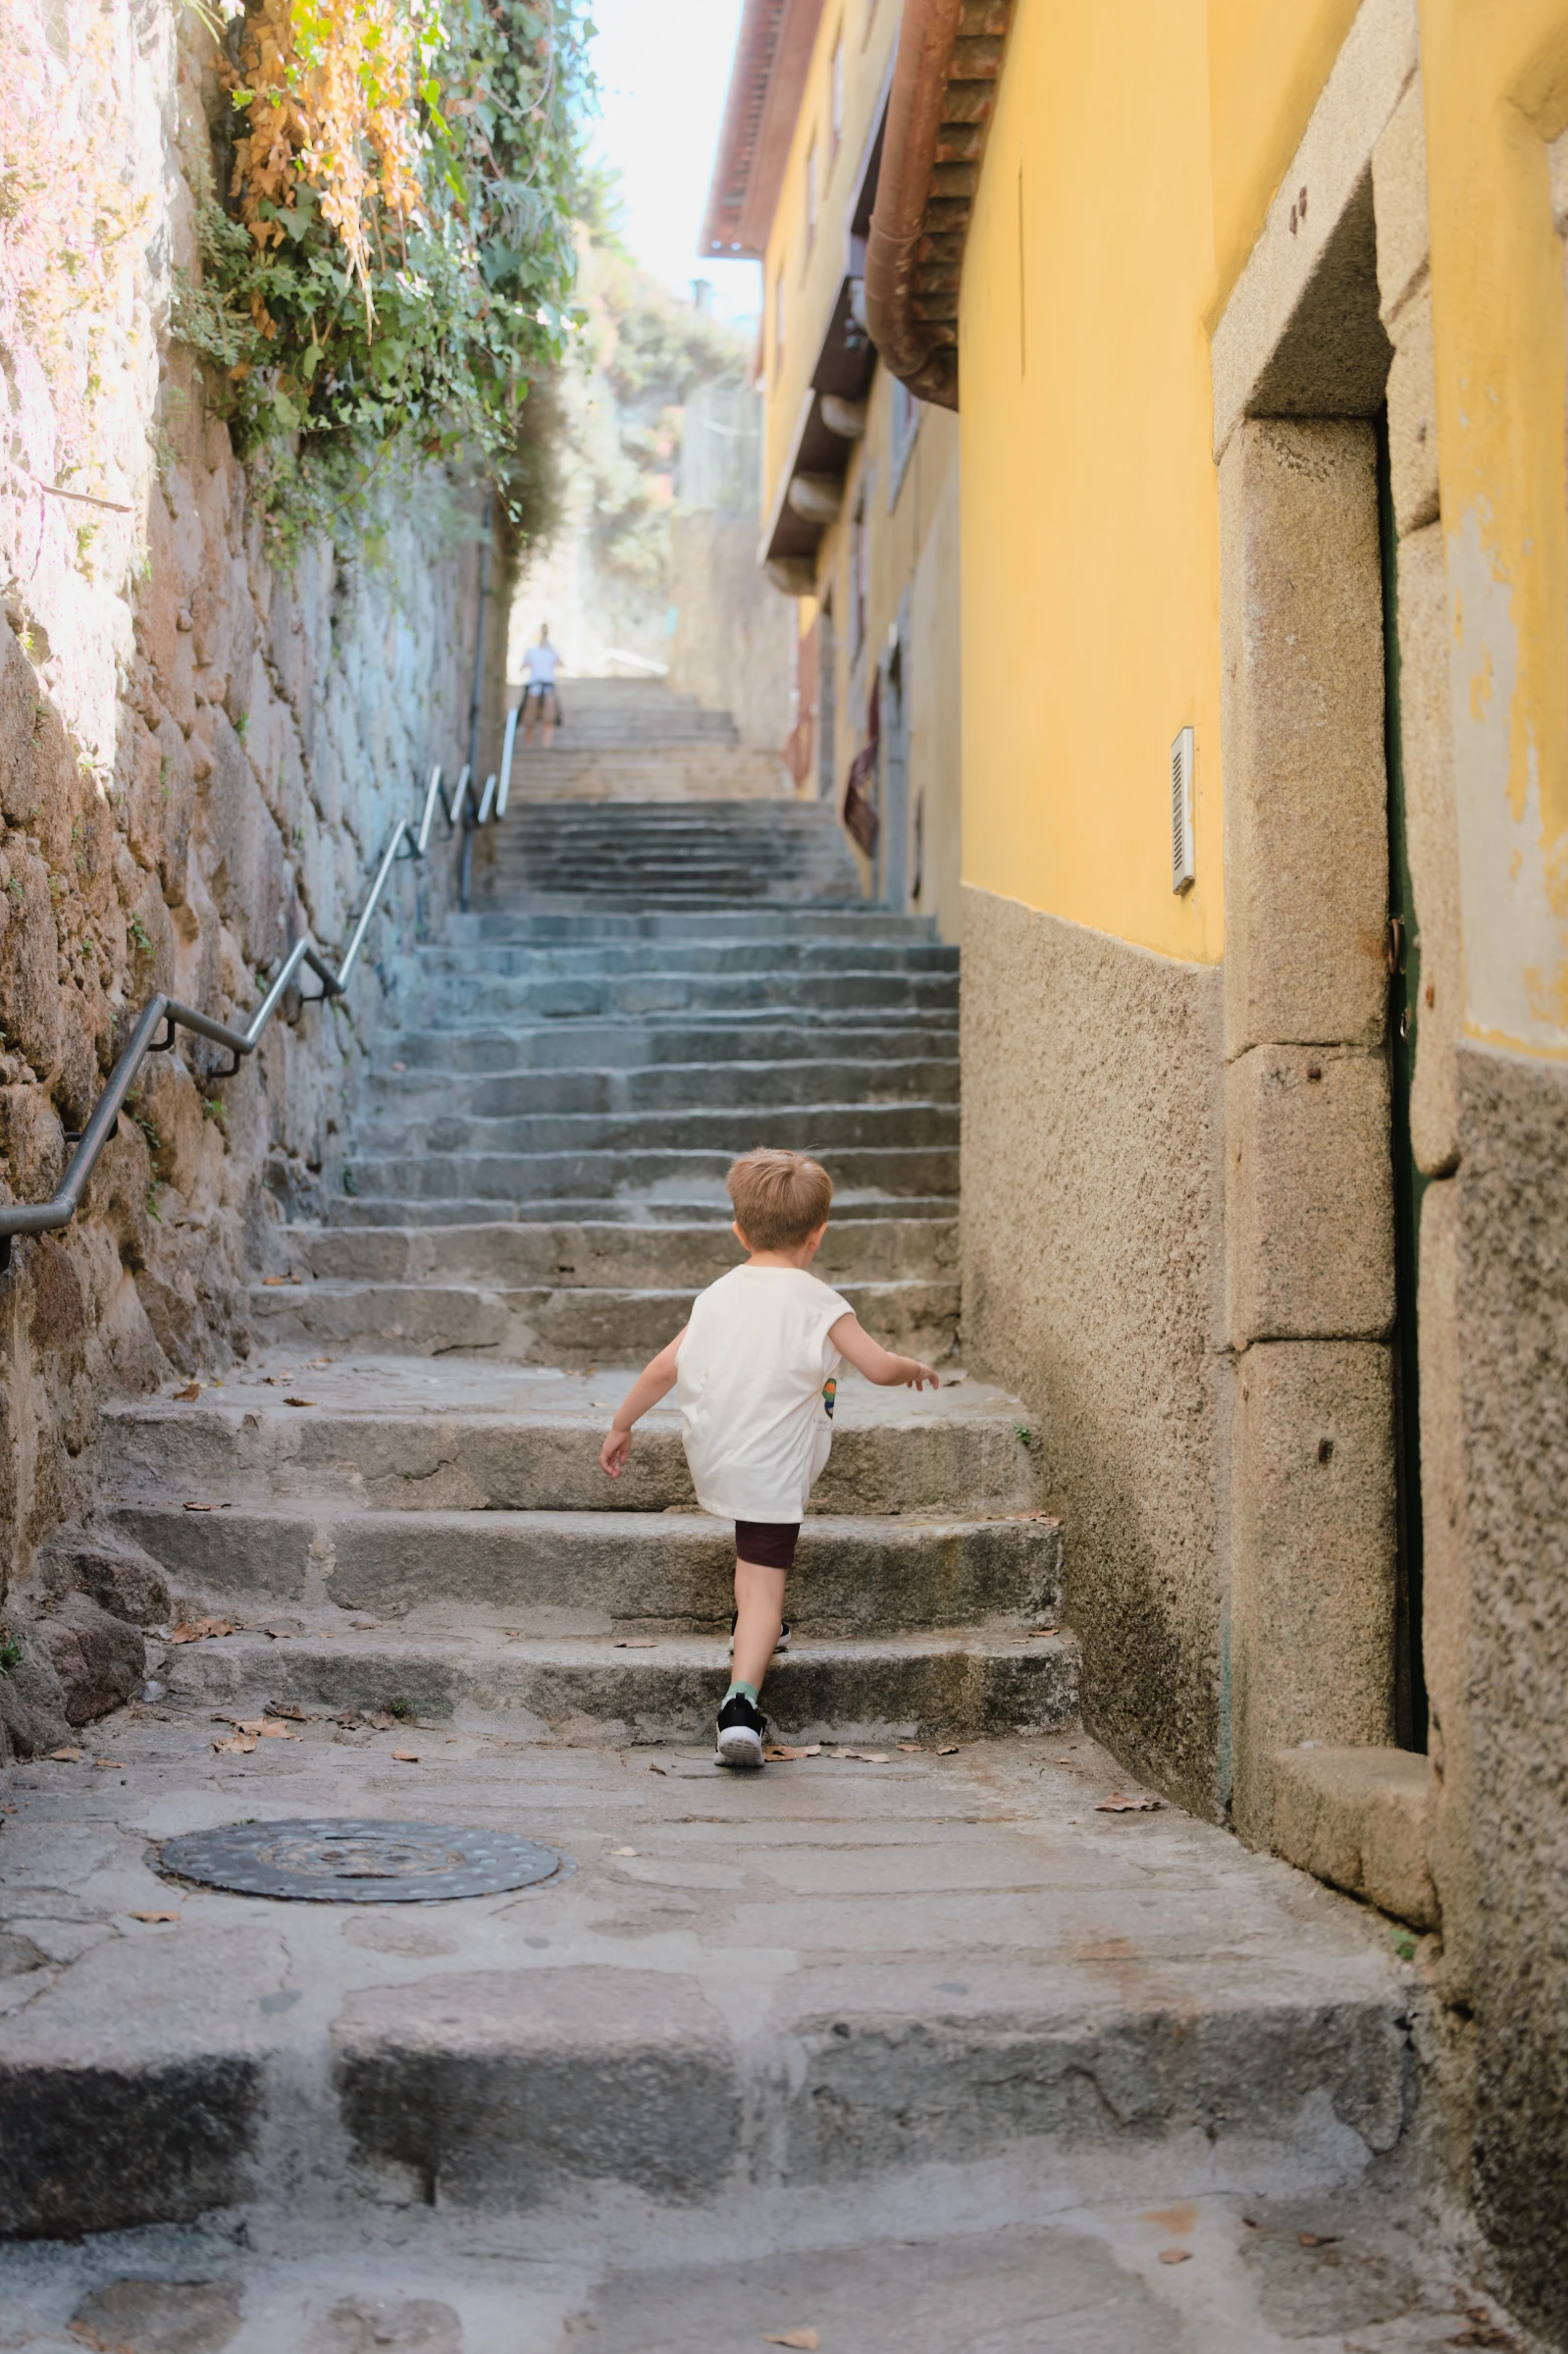
Your photographs.
Beautifully developed.
A personal photo lab for your RAWs.
Choose natural colour or a favourite film. Leave the development to ABNEY.
Your RAWs,
already developed.
Auto develops each RAW to suit the photograph. Start with natural colour or choose a film look, then adjust only what you want to.
For supported camera and iPhone RAWs.
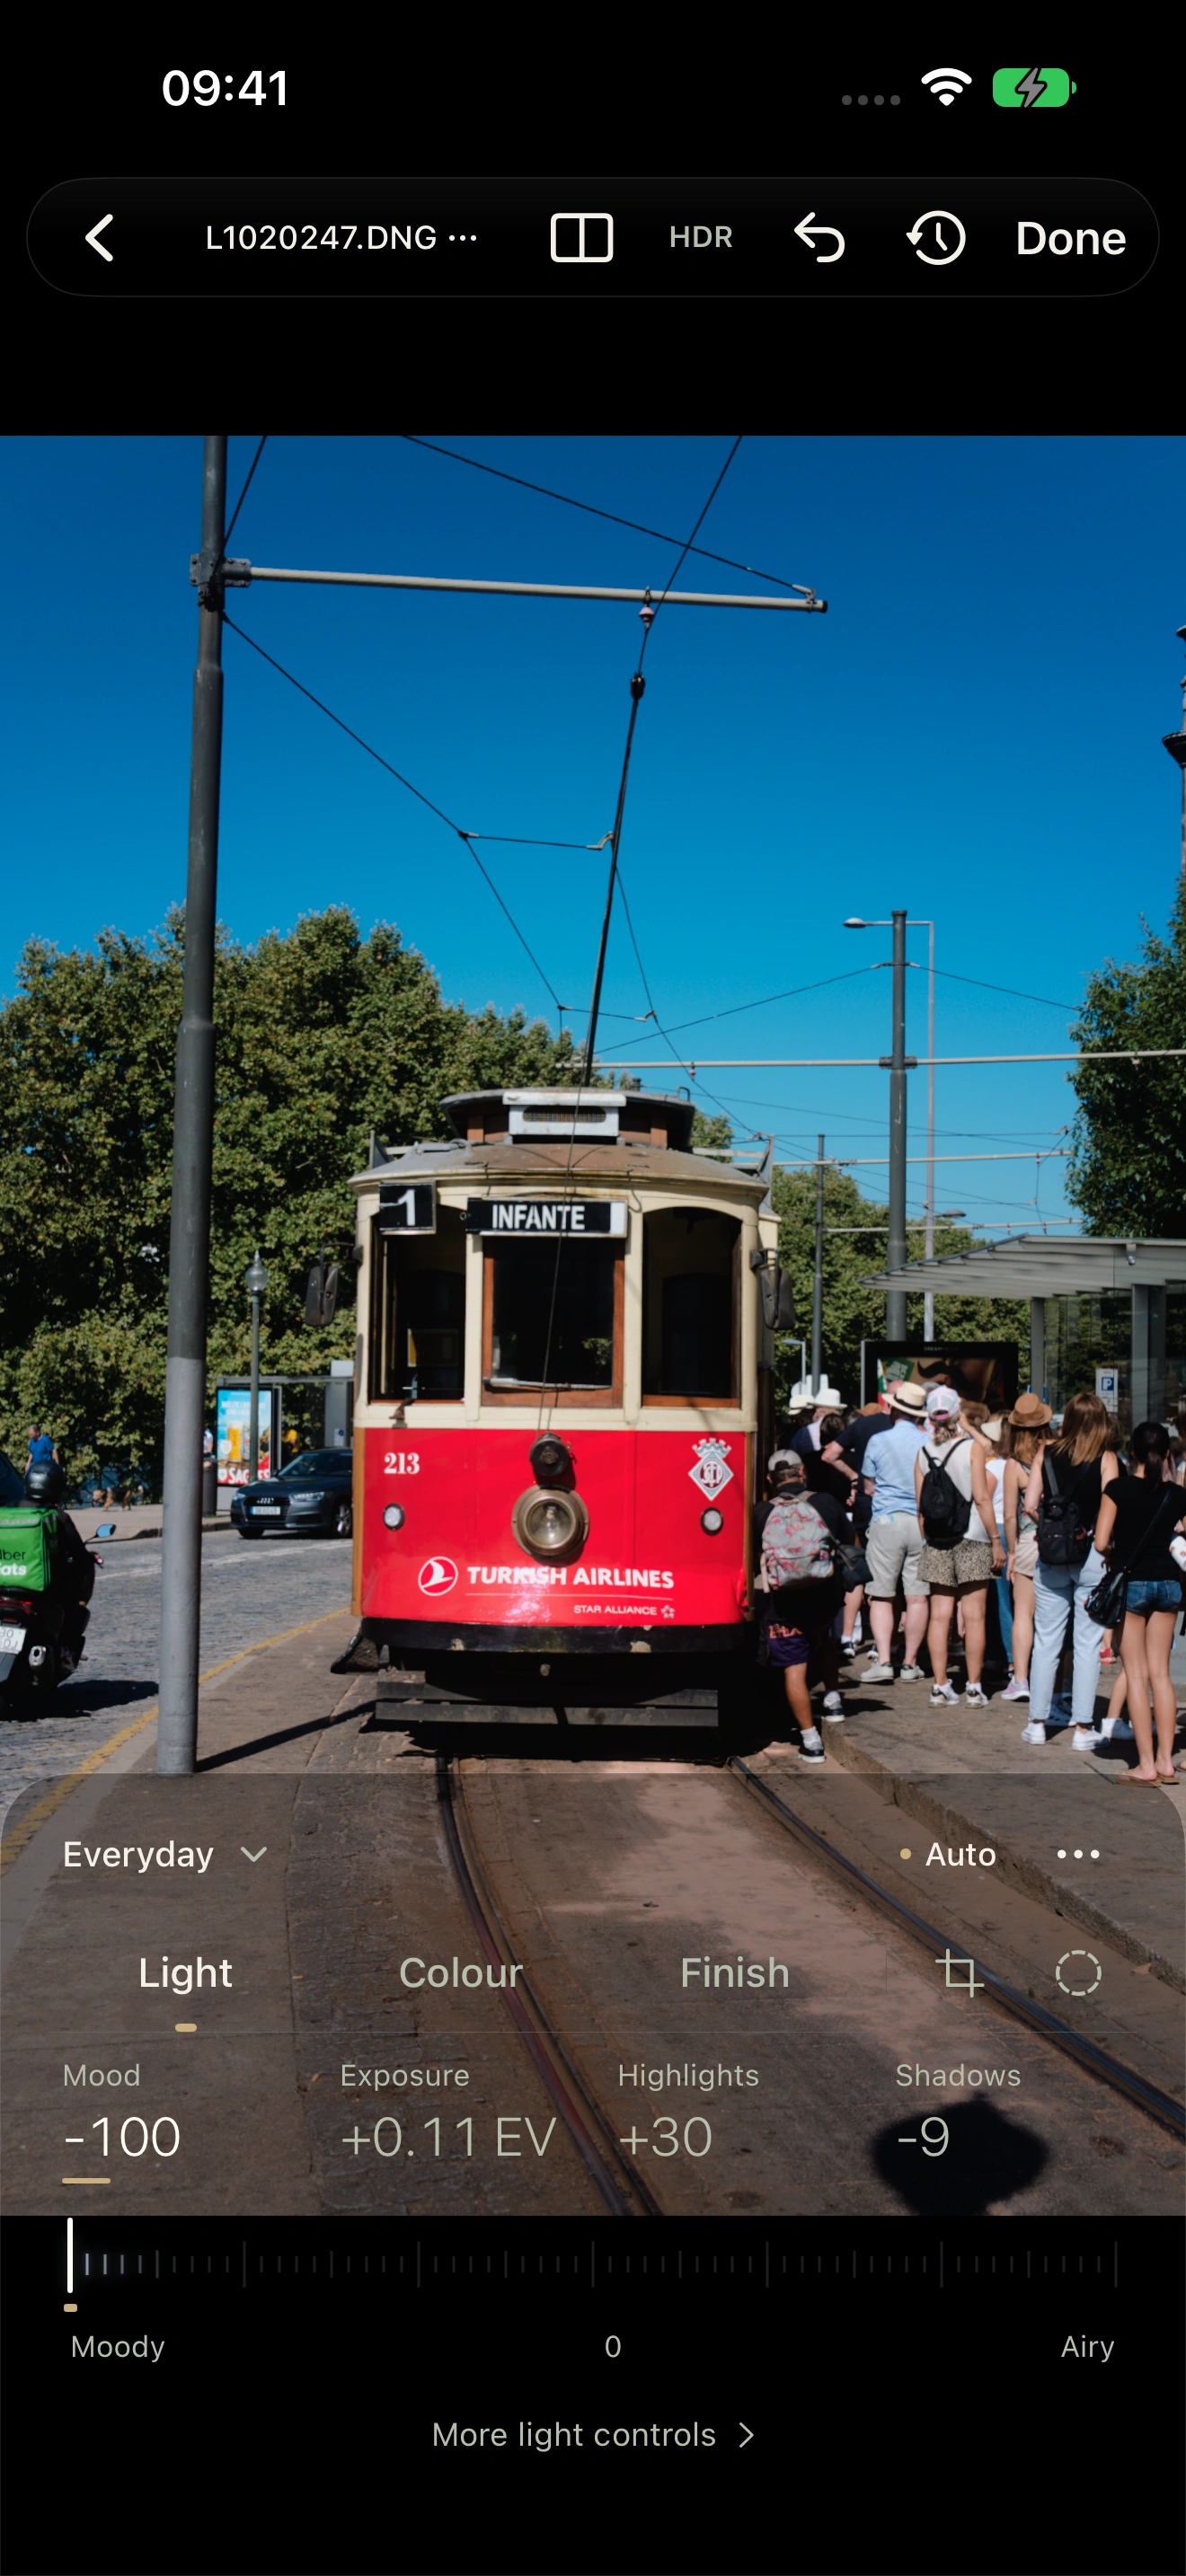
Colour.
With character.
Start true to life. Explore the character of film.
Make the finish your own.
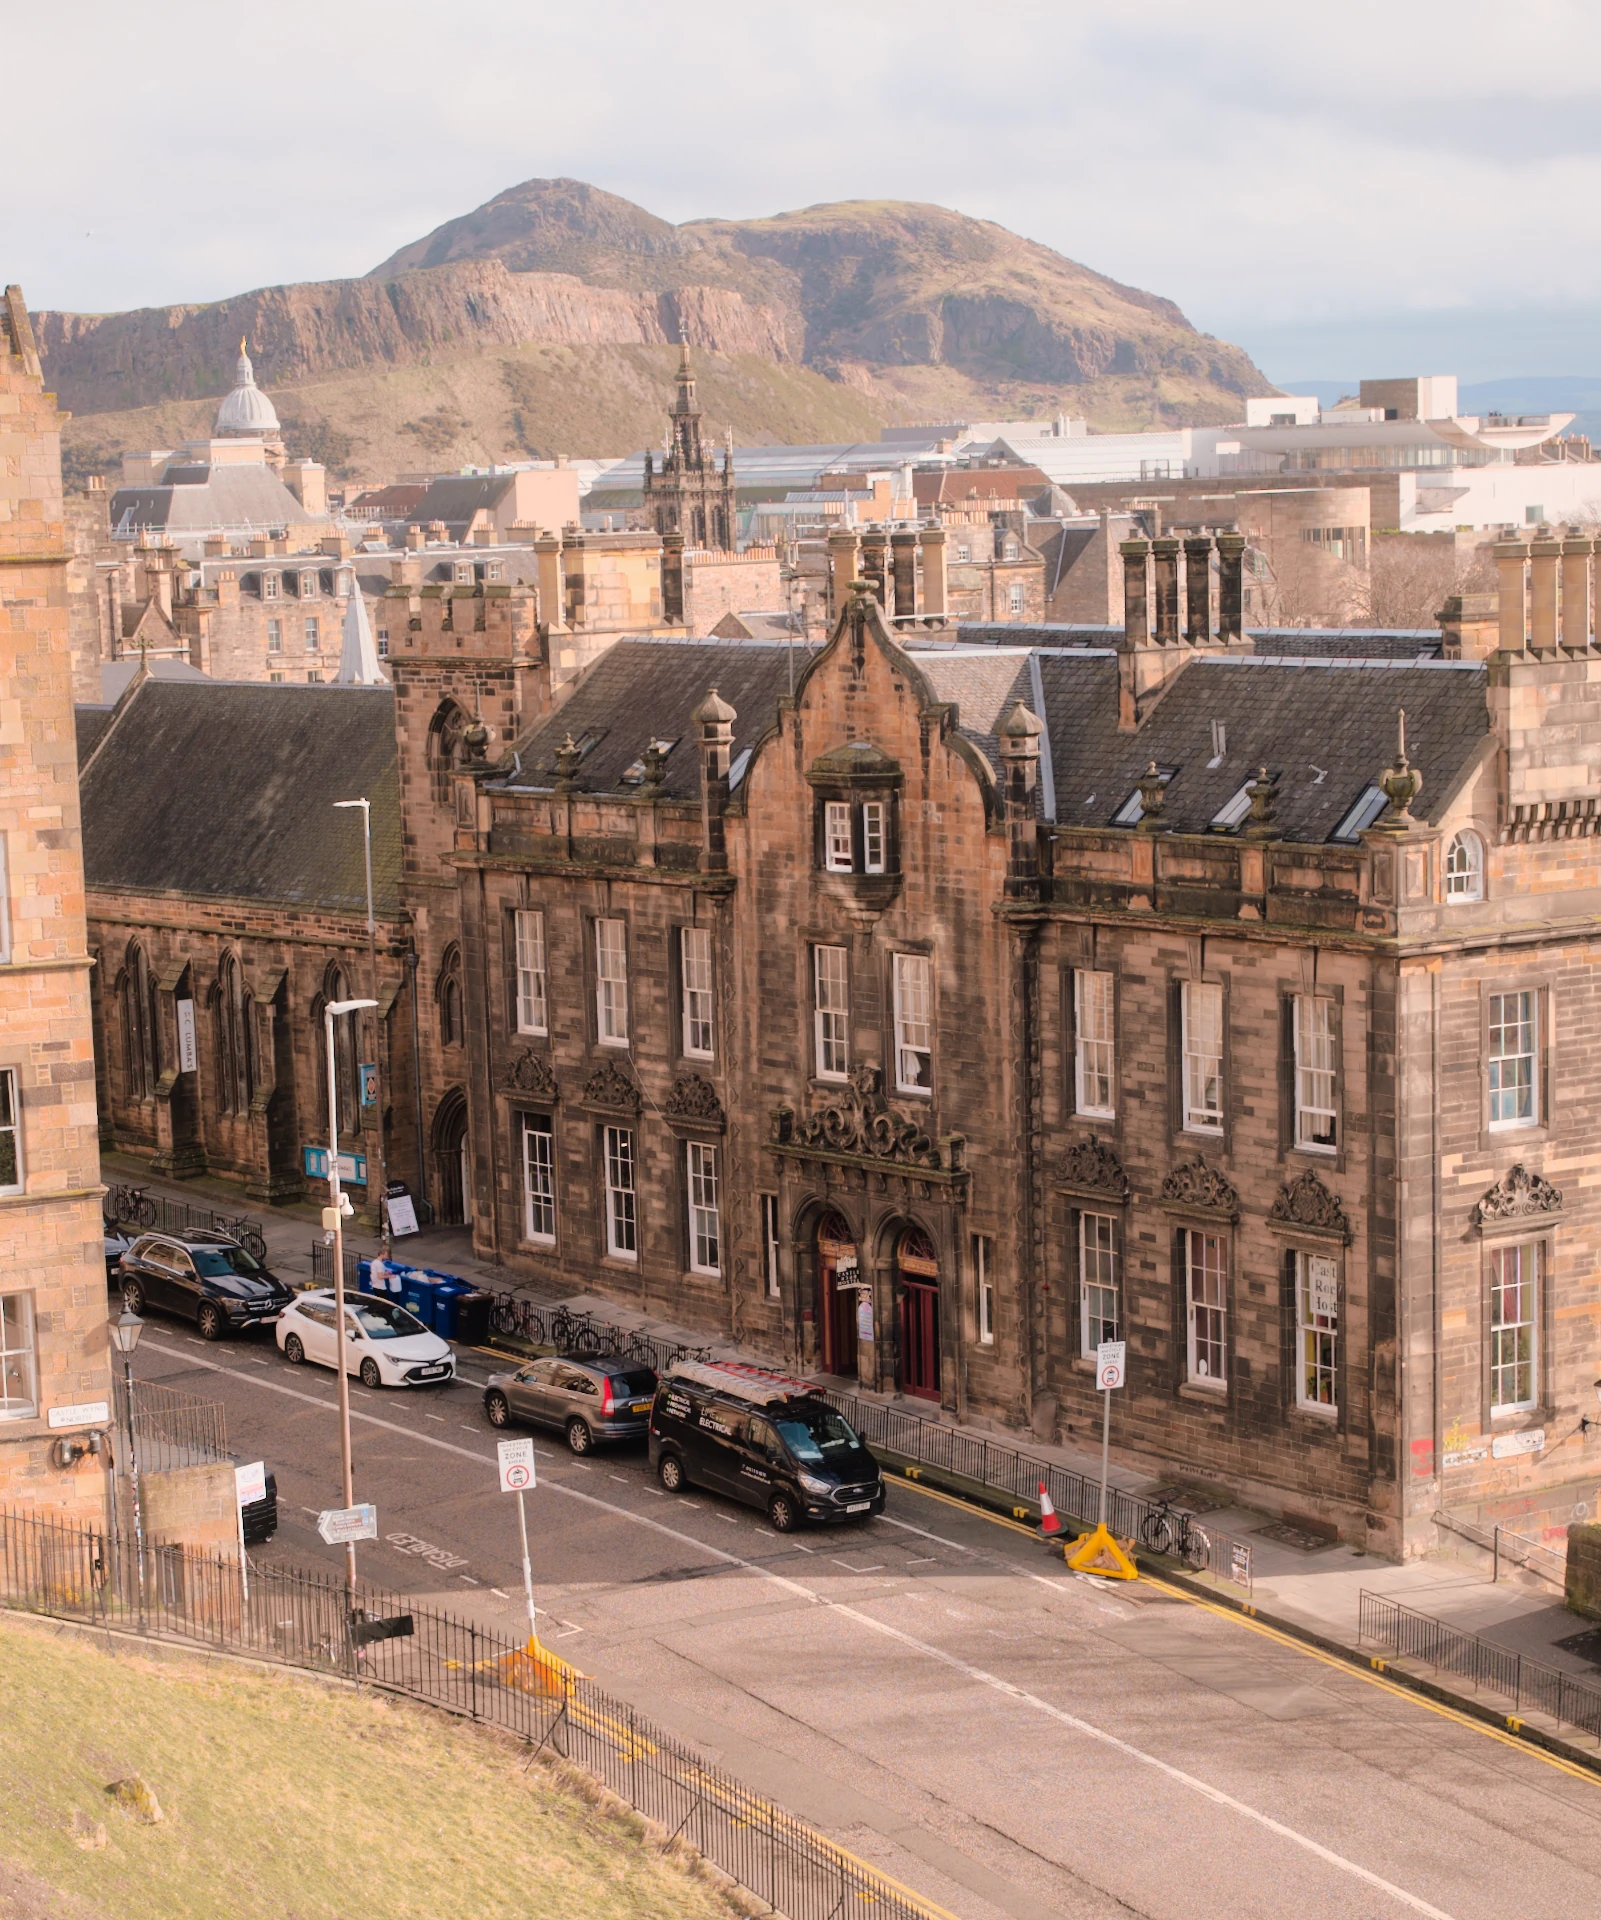
First, the photograph.
A natural starting point. Auto develops the RAW for the light you captured.
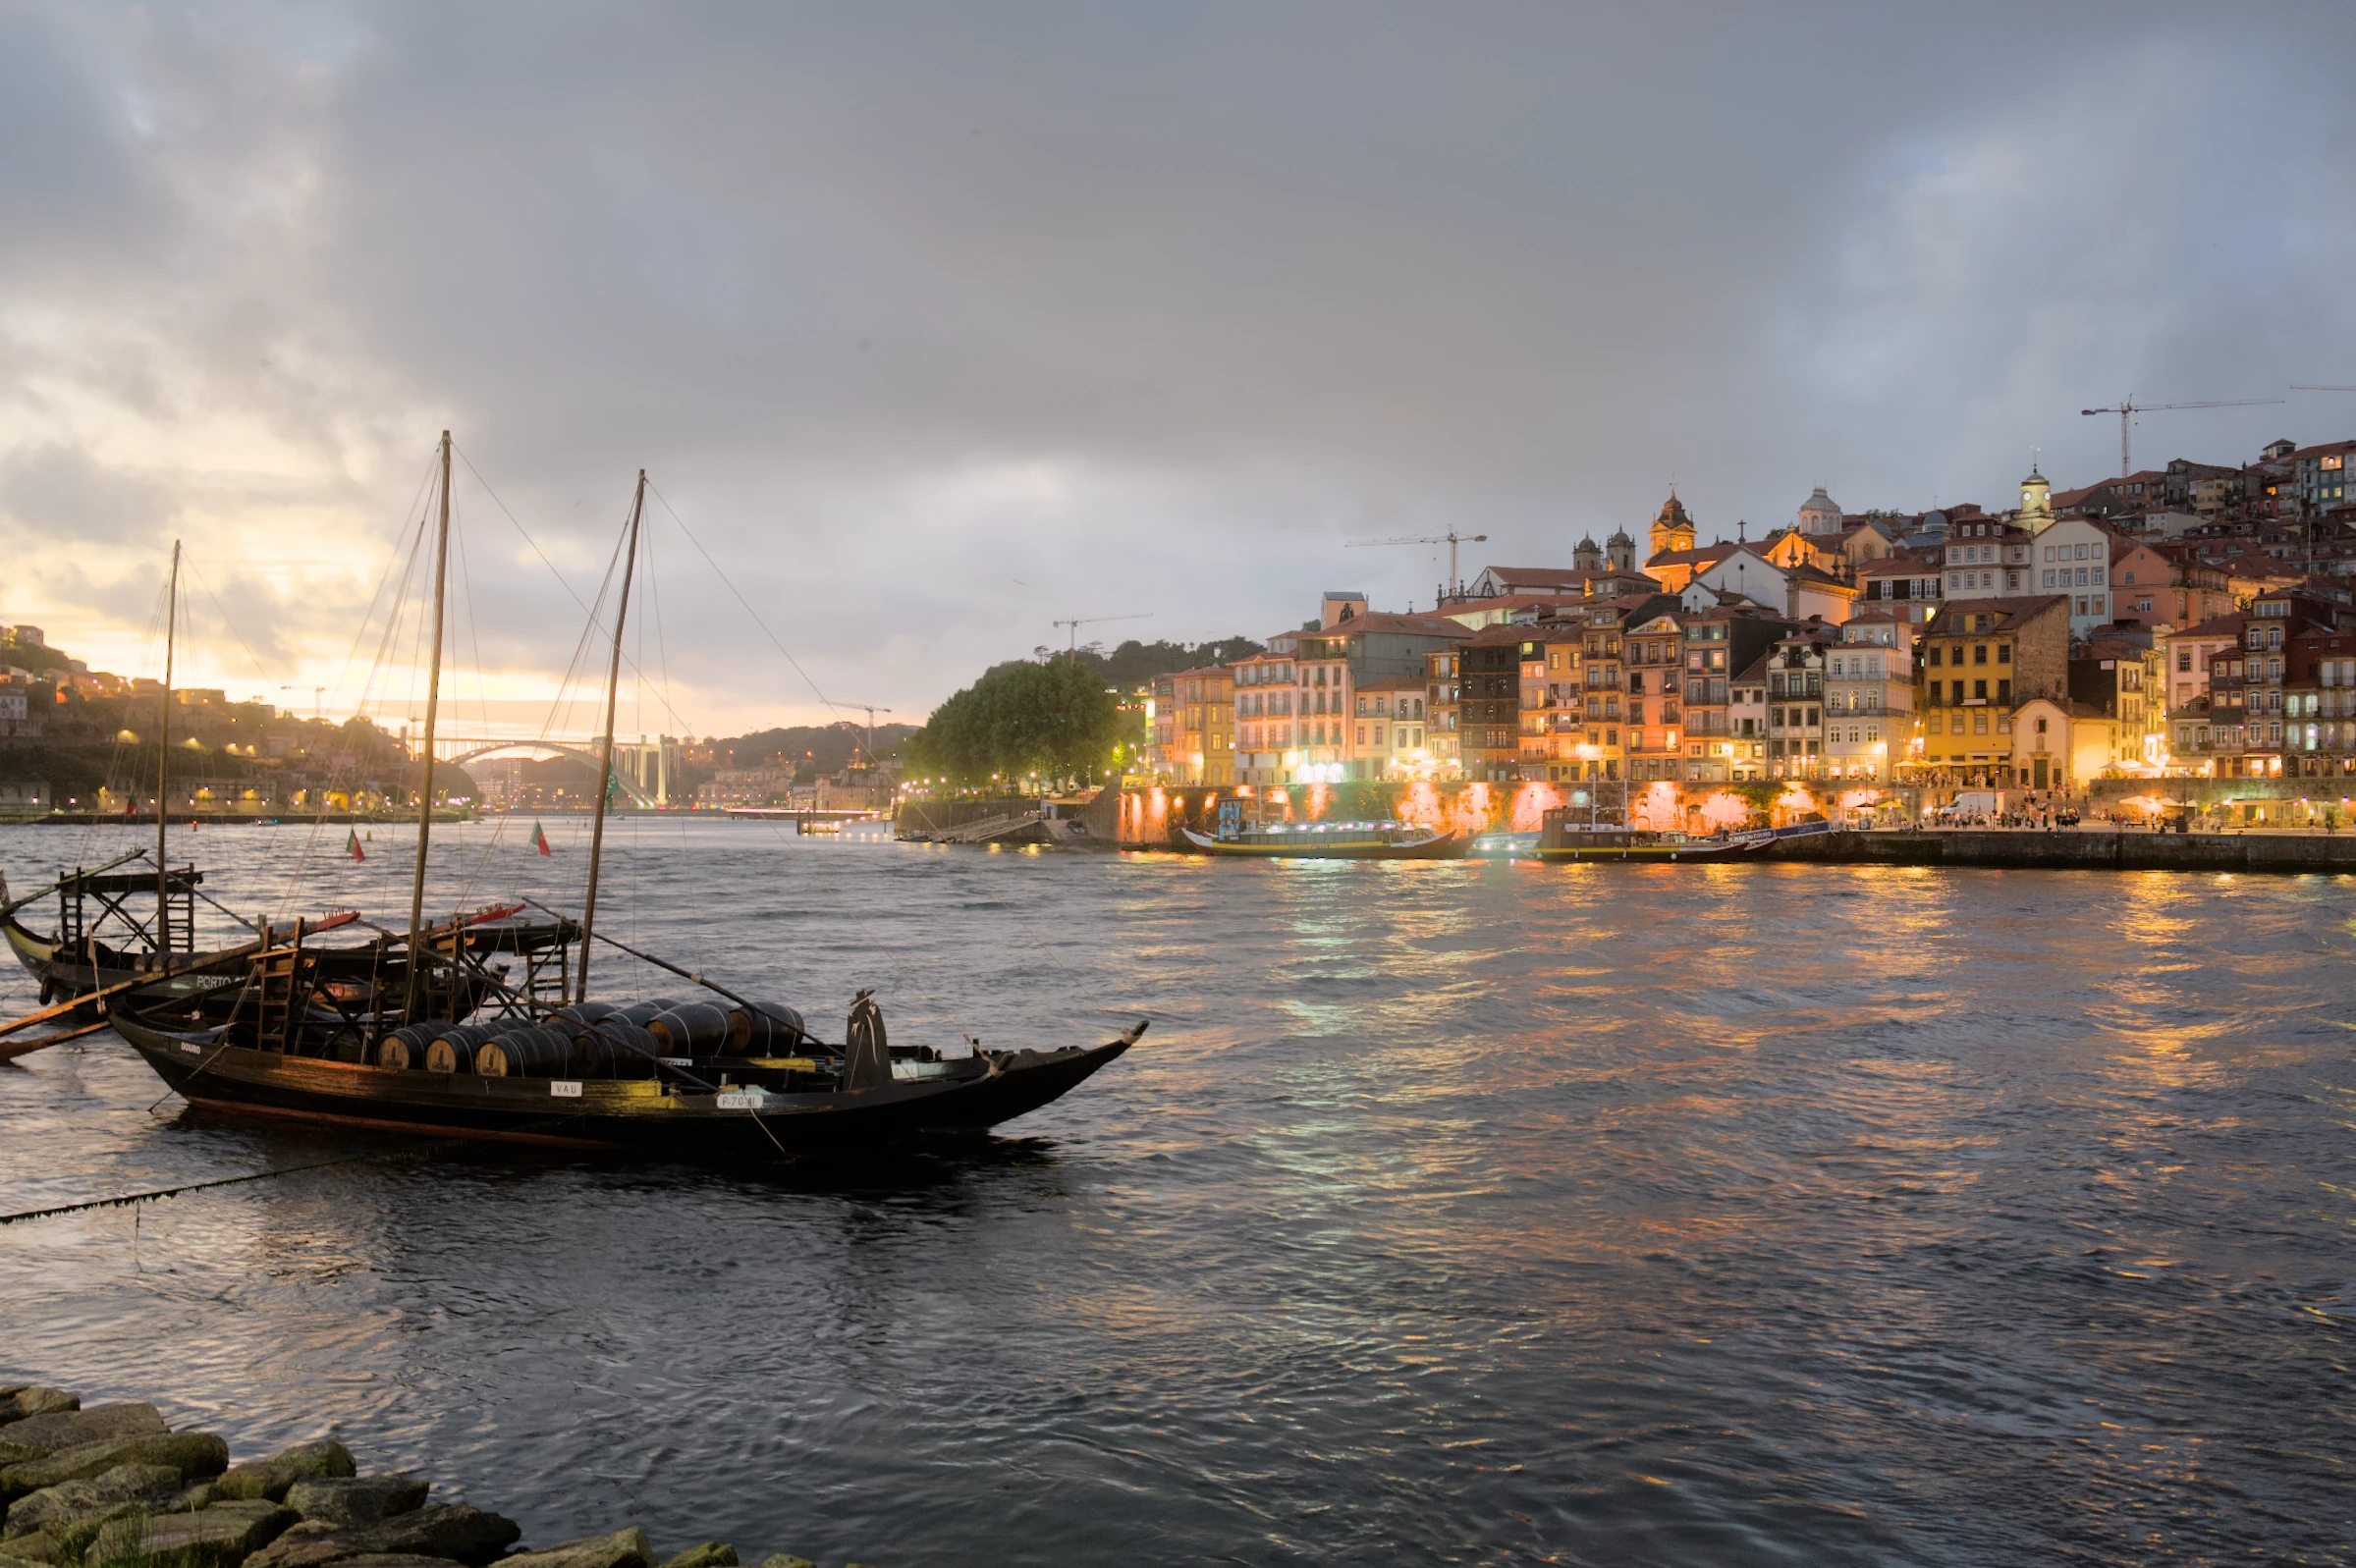
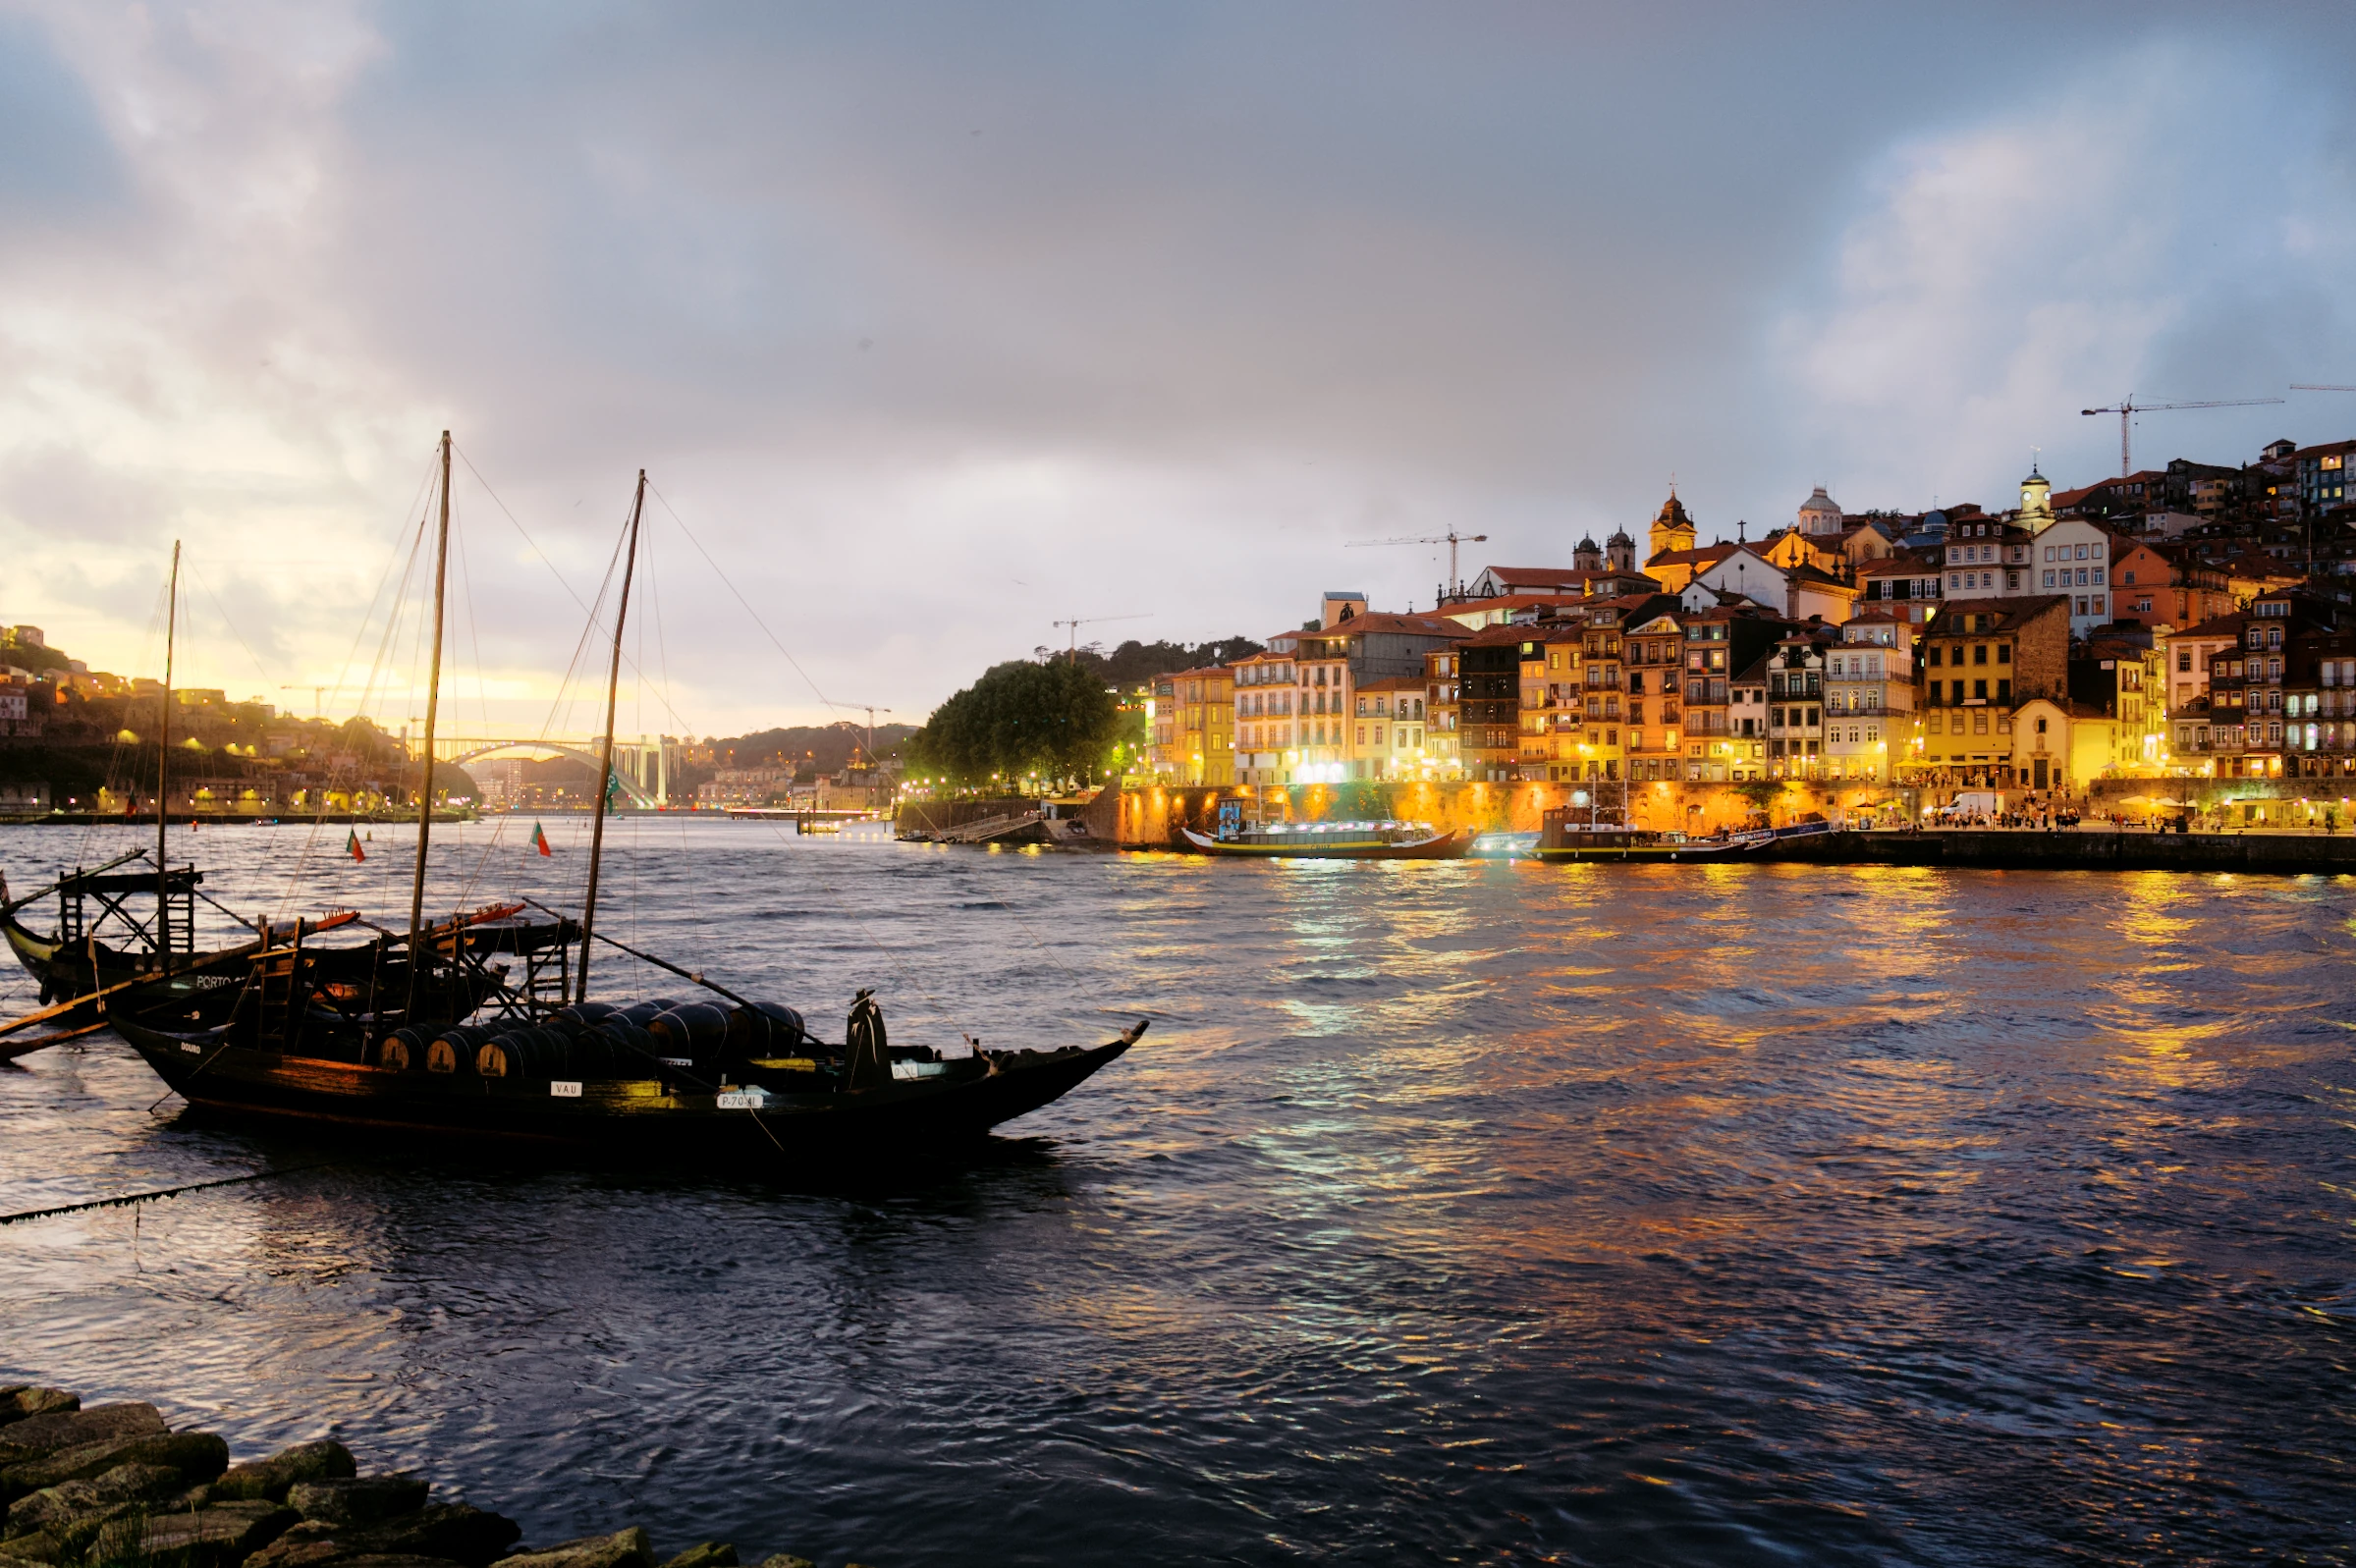
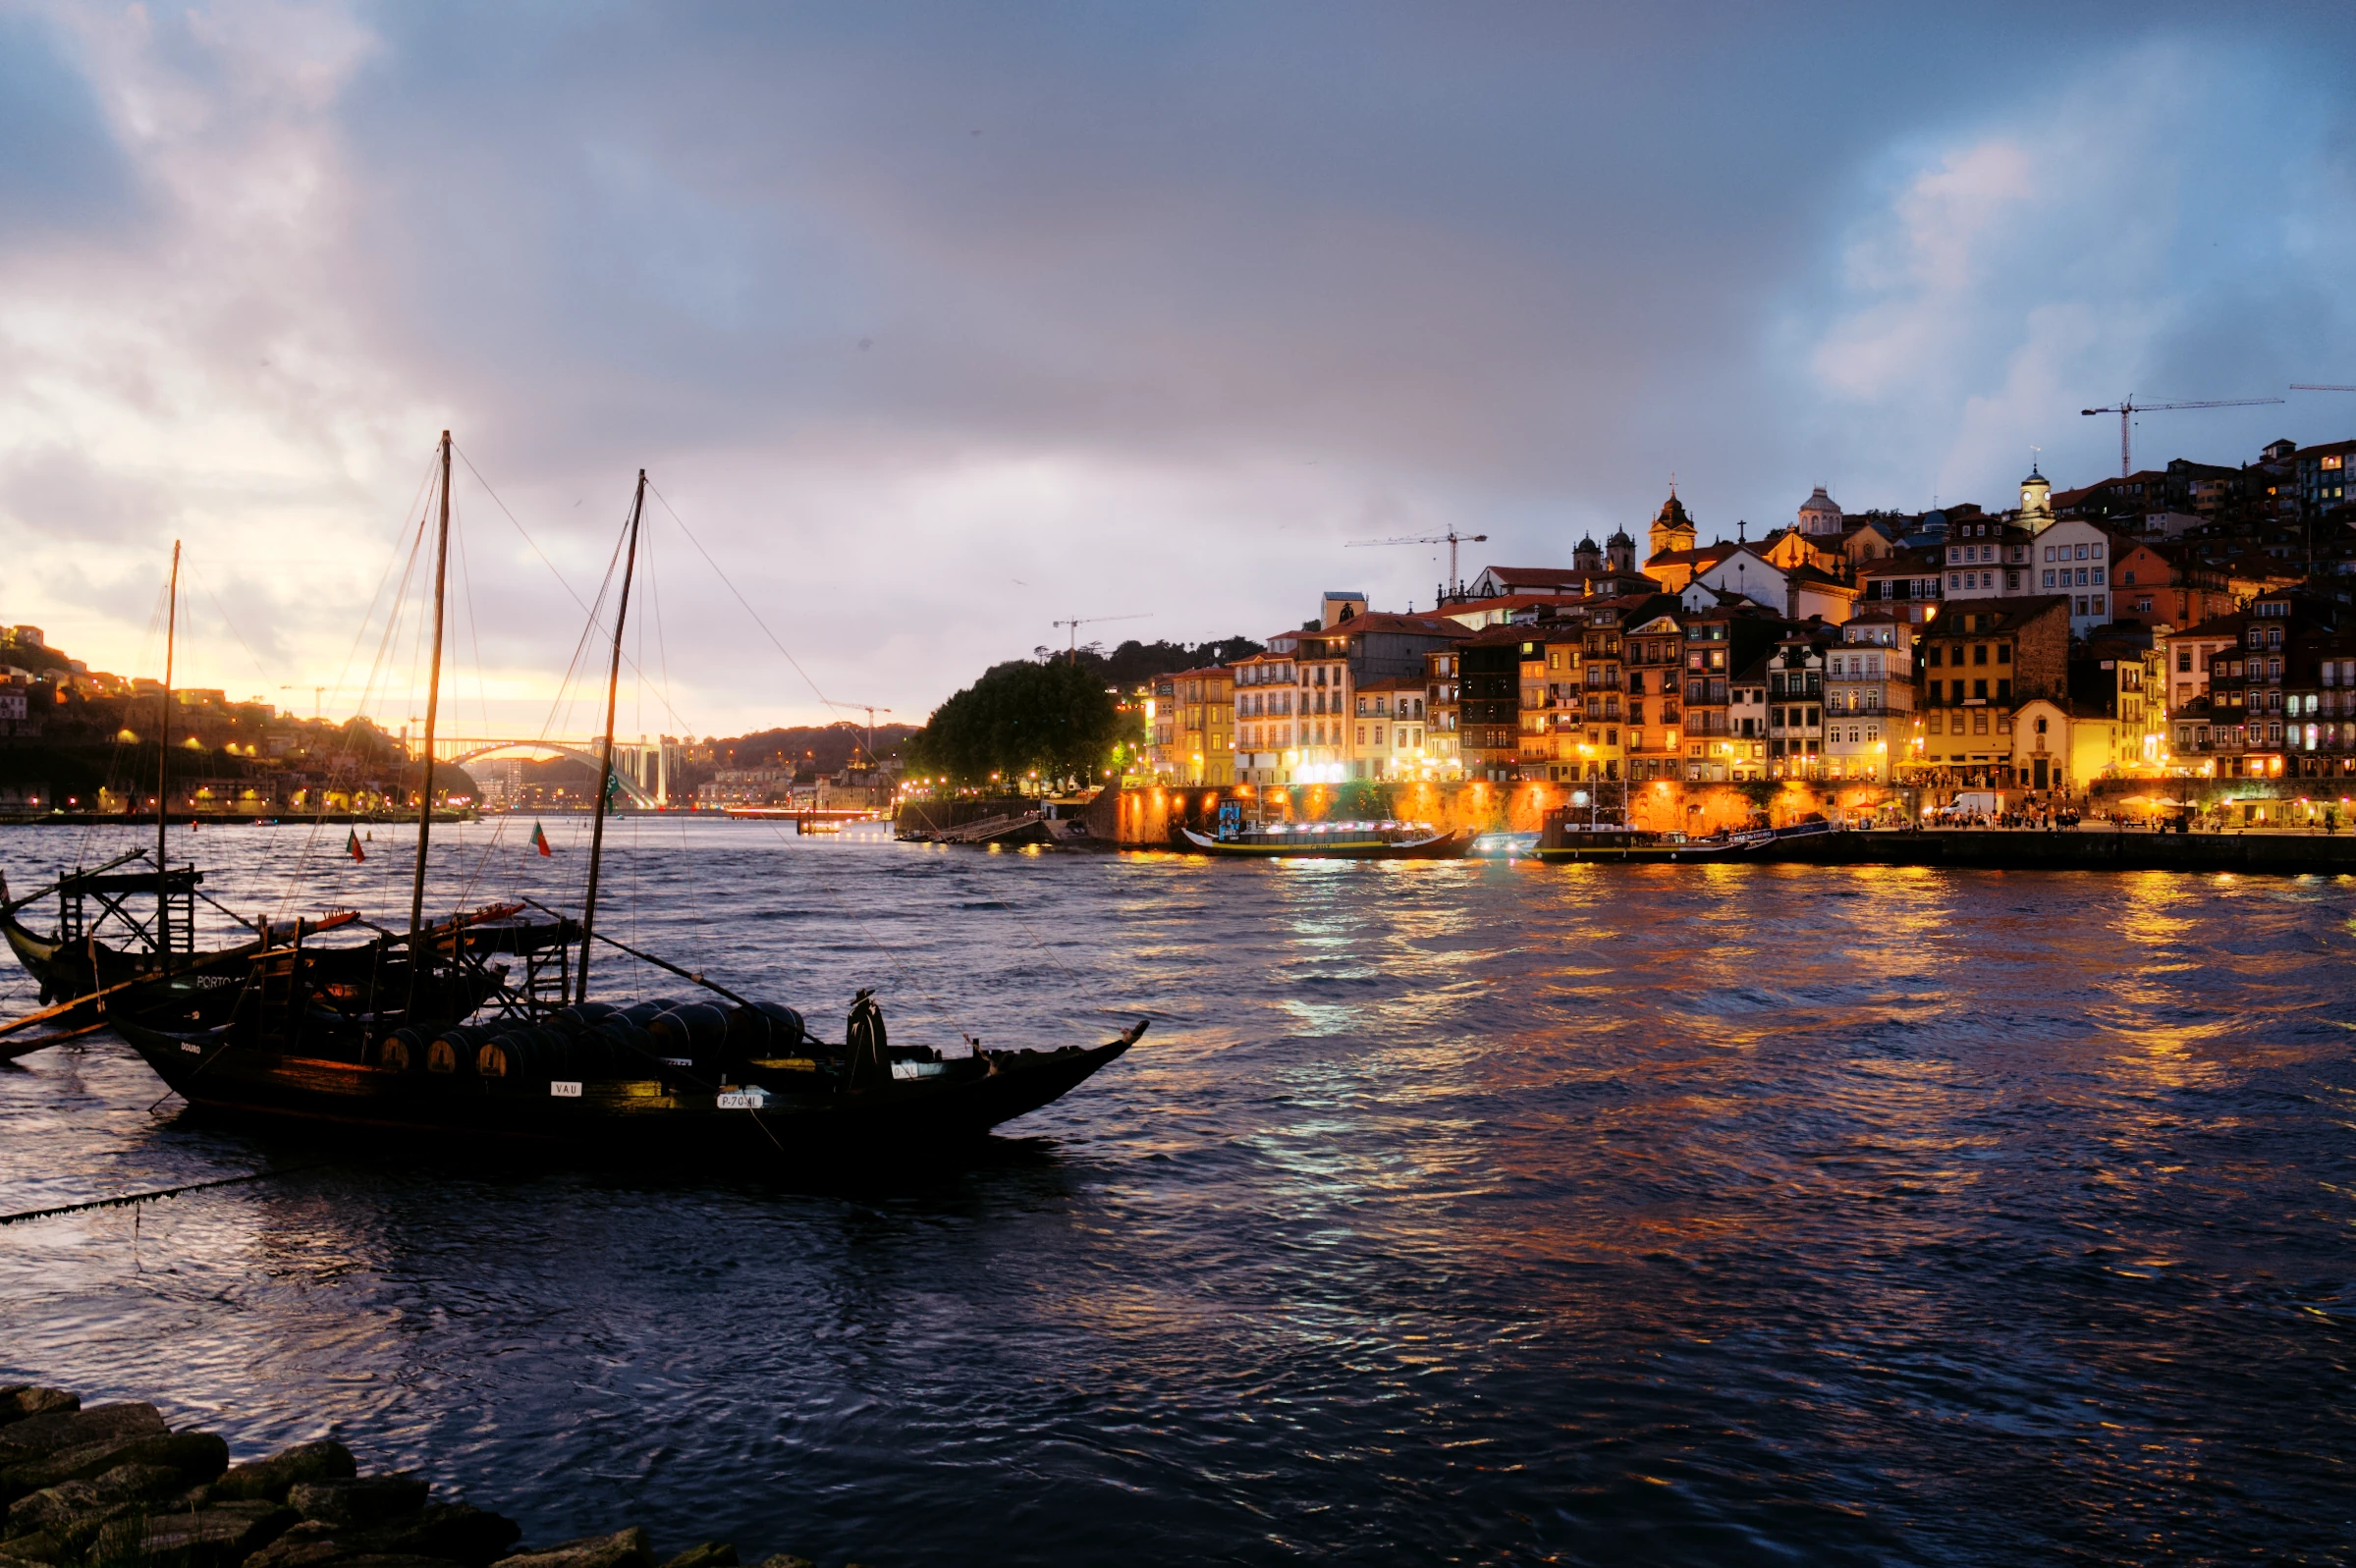
One photograph. Every stage rendered in ABNEY.
The comparison couldn’t load.
A RAW engine
with its own approach.
ABNEY takes control of the creative rendering instead of accepting the decoder’s default finished look. Choose natural colour, or build on that foundation with film.
What happens to the RAW?
Our pipeline controls the creative tone and colour treatment for supported camera RAWs and iPhone RAWs. Essential camera calibration and RAW decoding remain. Apple ProRAW can already contain processing from capture.
Where does the film response come from?
Our film-stock profiles are based on real stock scans made on a Noritsu LS-600. They carry a particular colour and tonal response into the RAW development. Presets add a finishing treatment. The animated colour bands illustrate those stages; they are not measured response curves. This example uses Chroma at its standard strength. The final recipe keeps Chroma and adds native Moody light, a cooler white balance, grain and halation.
Look closer.
There’s more to it.
The colour of a shadow. The edge of a bright light. The texture in between. Choose a different rendering and see the whole photograph change.
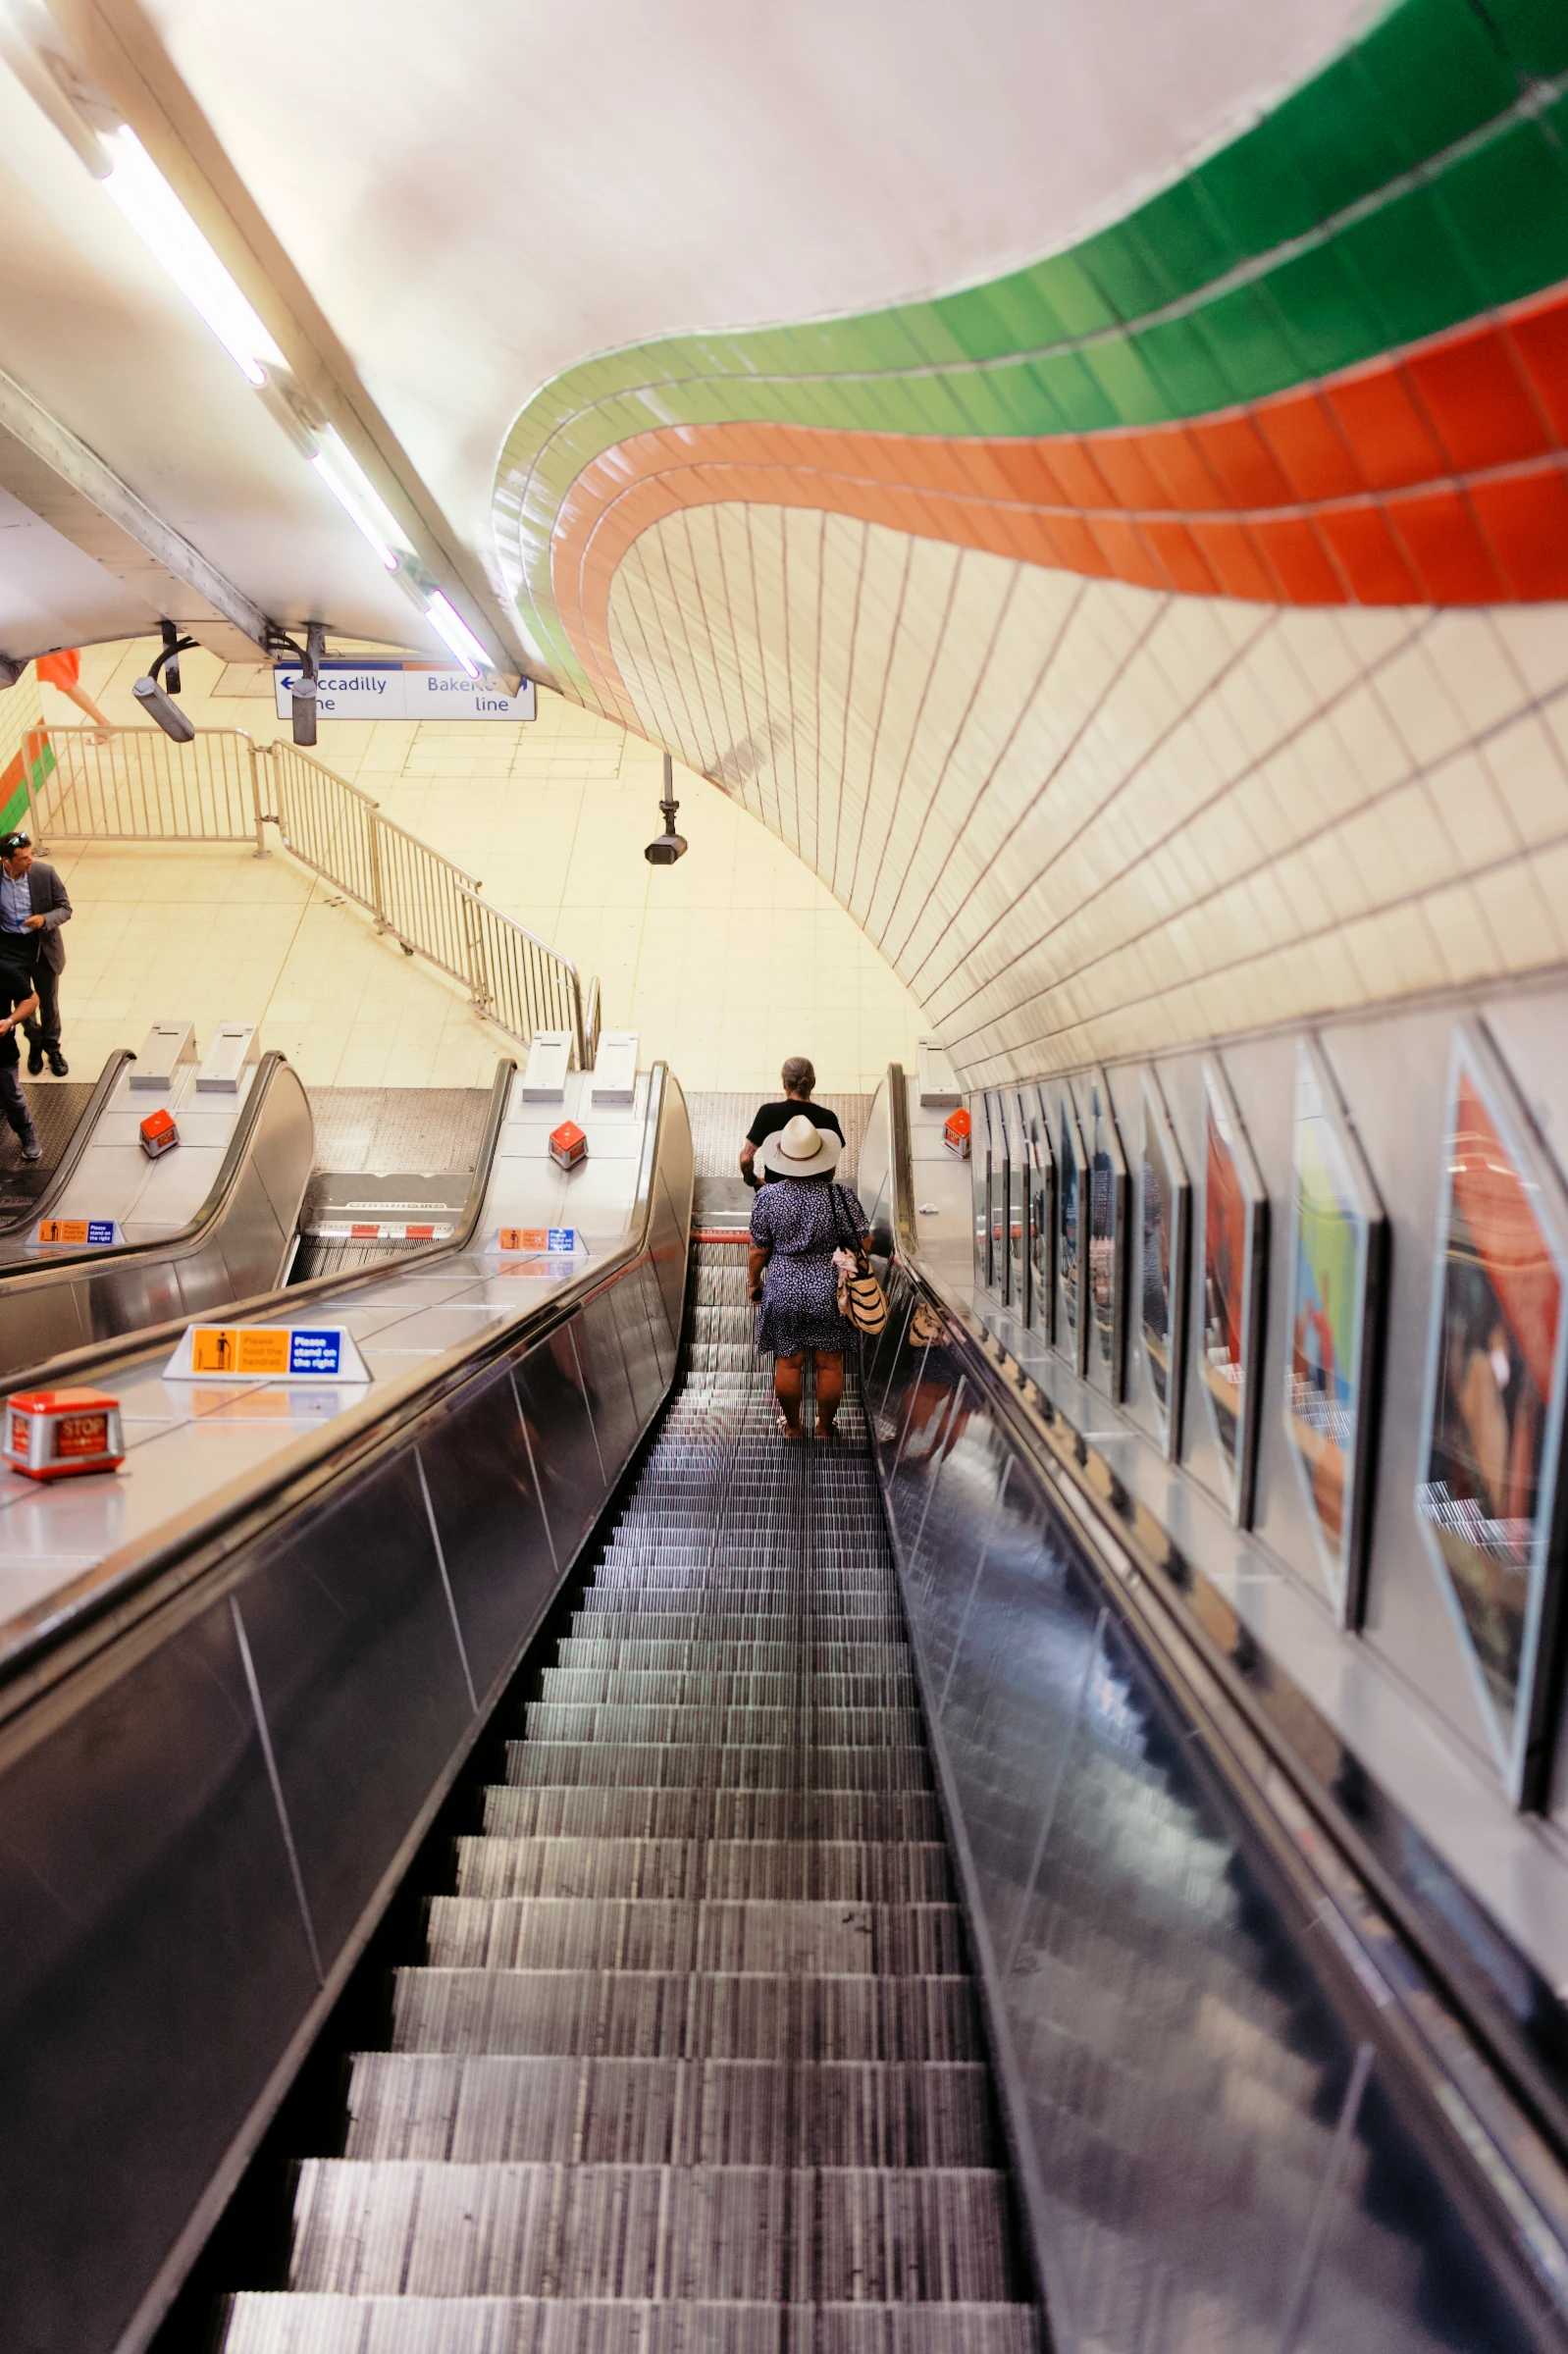
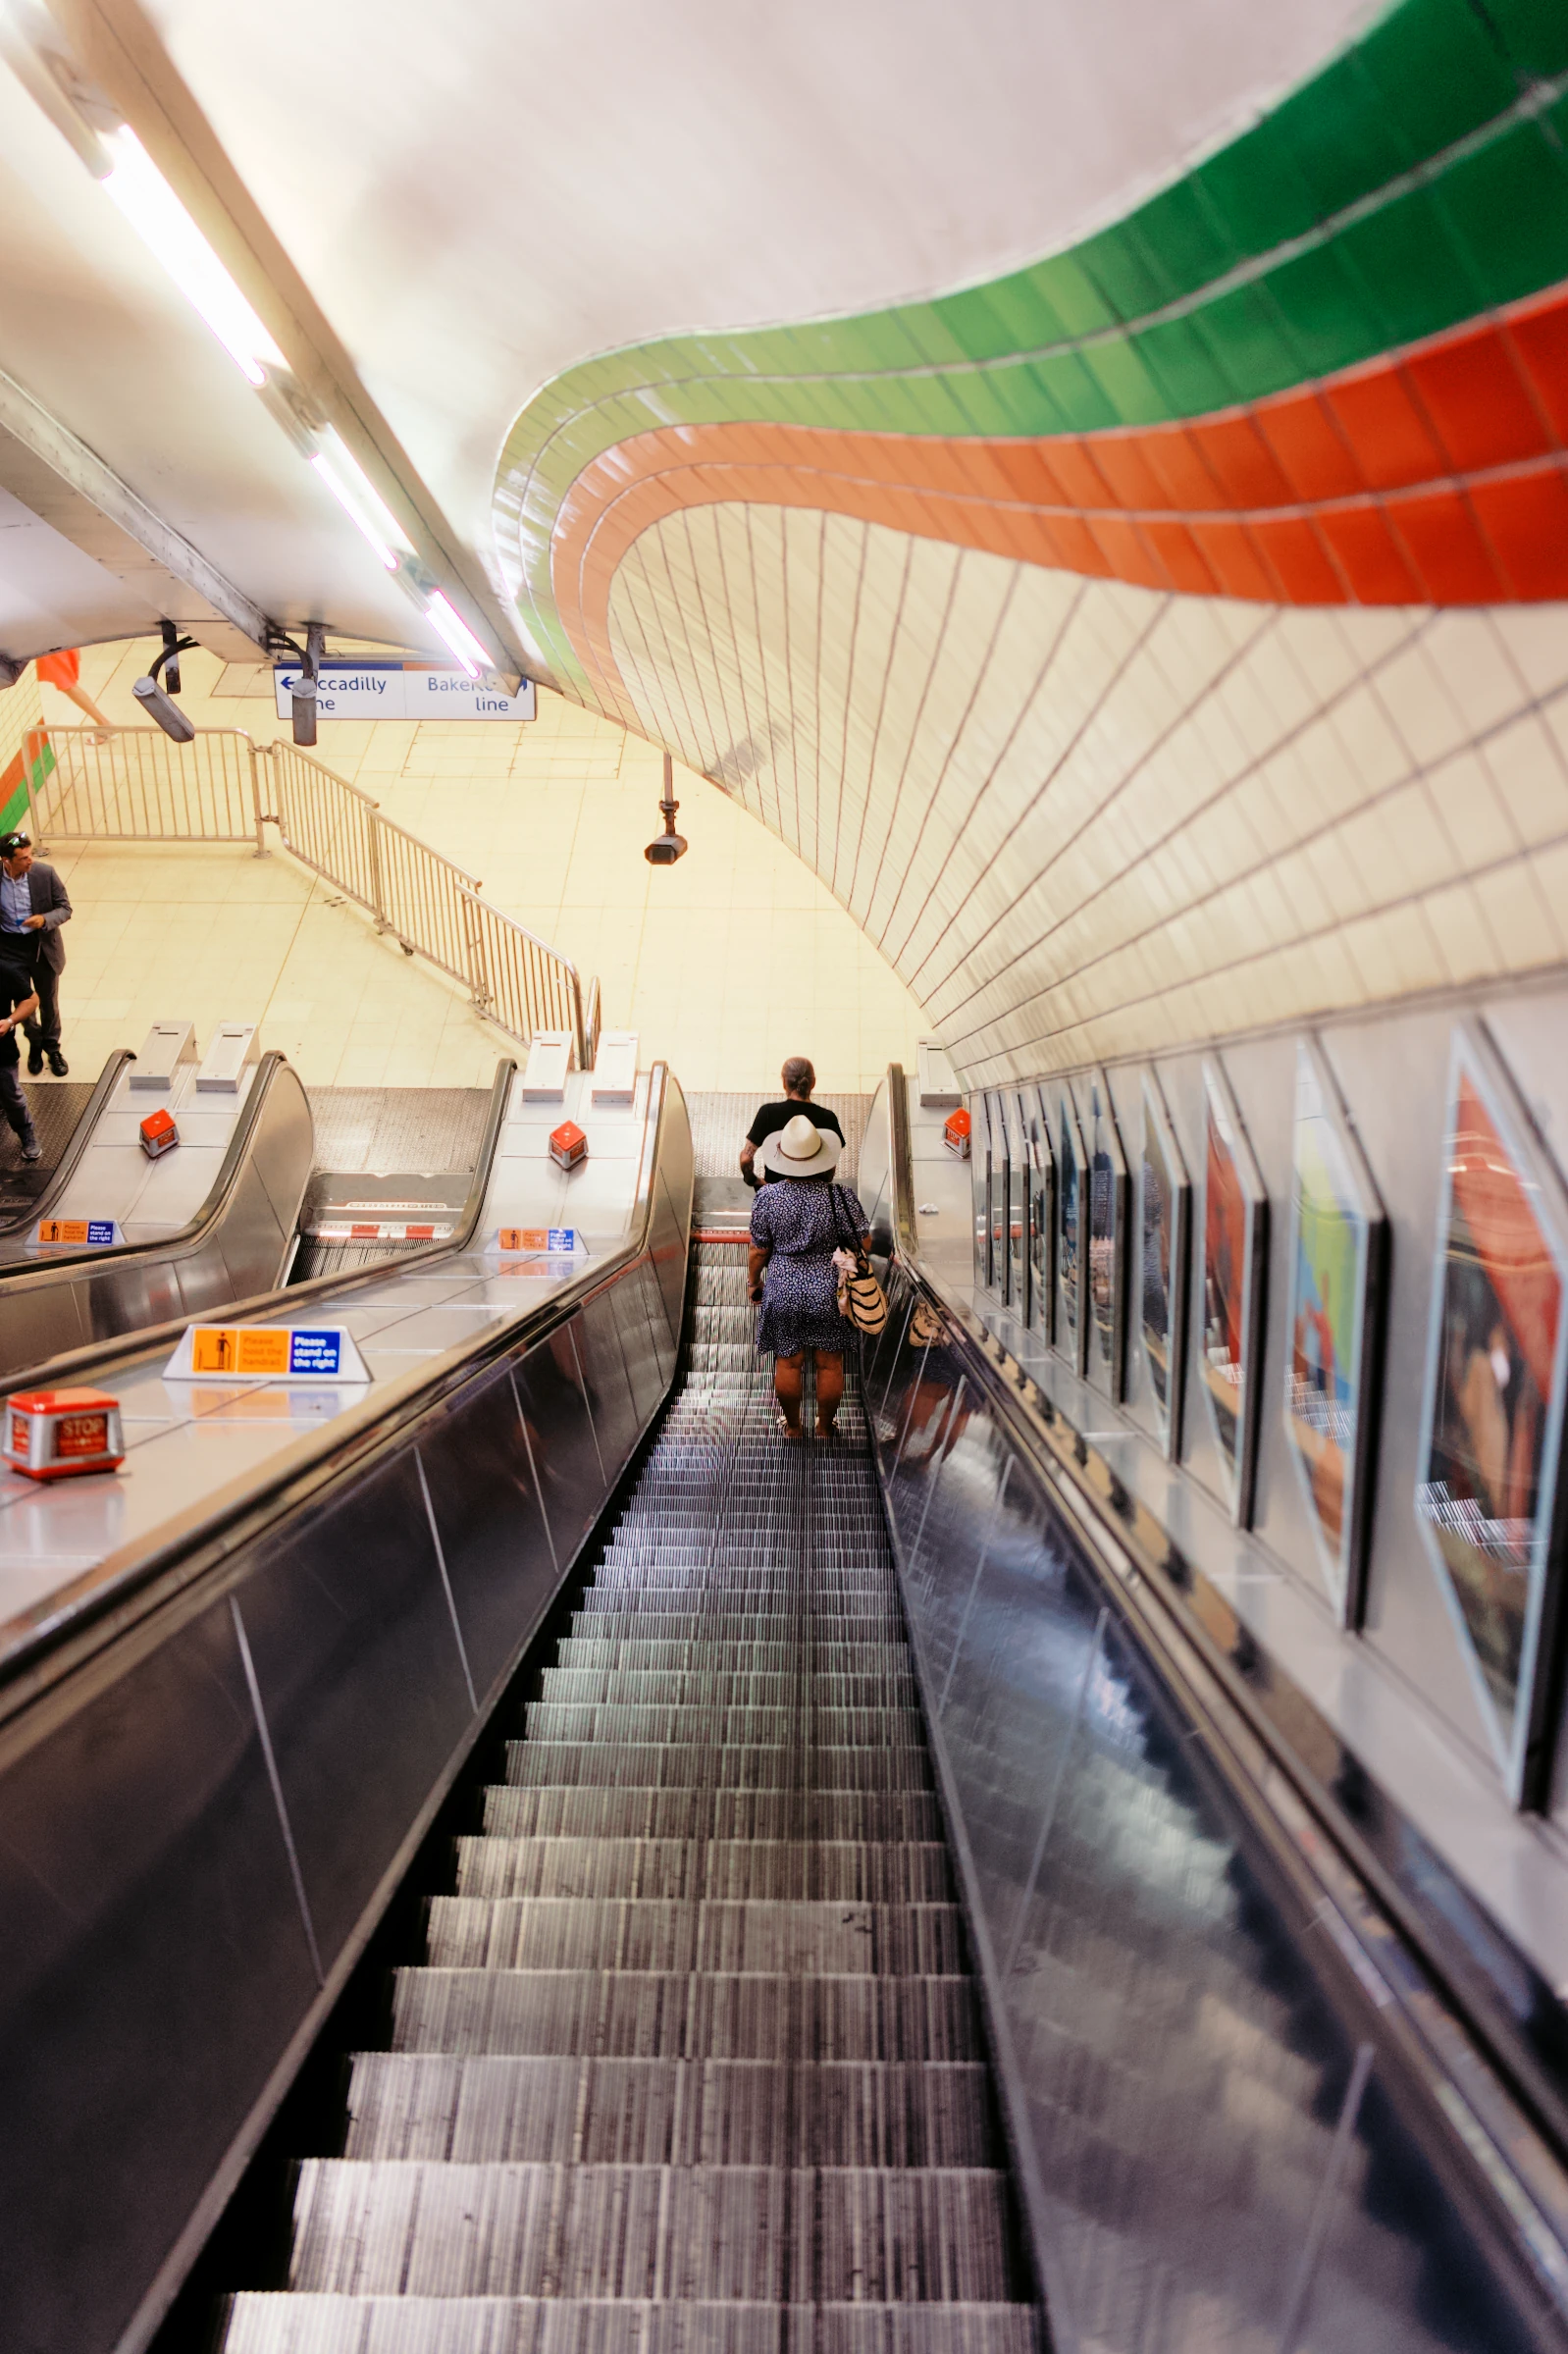
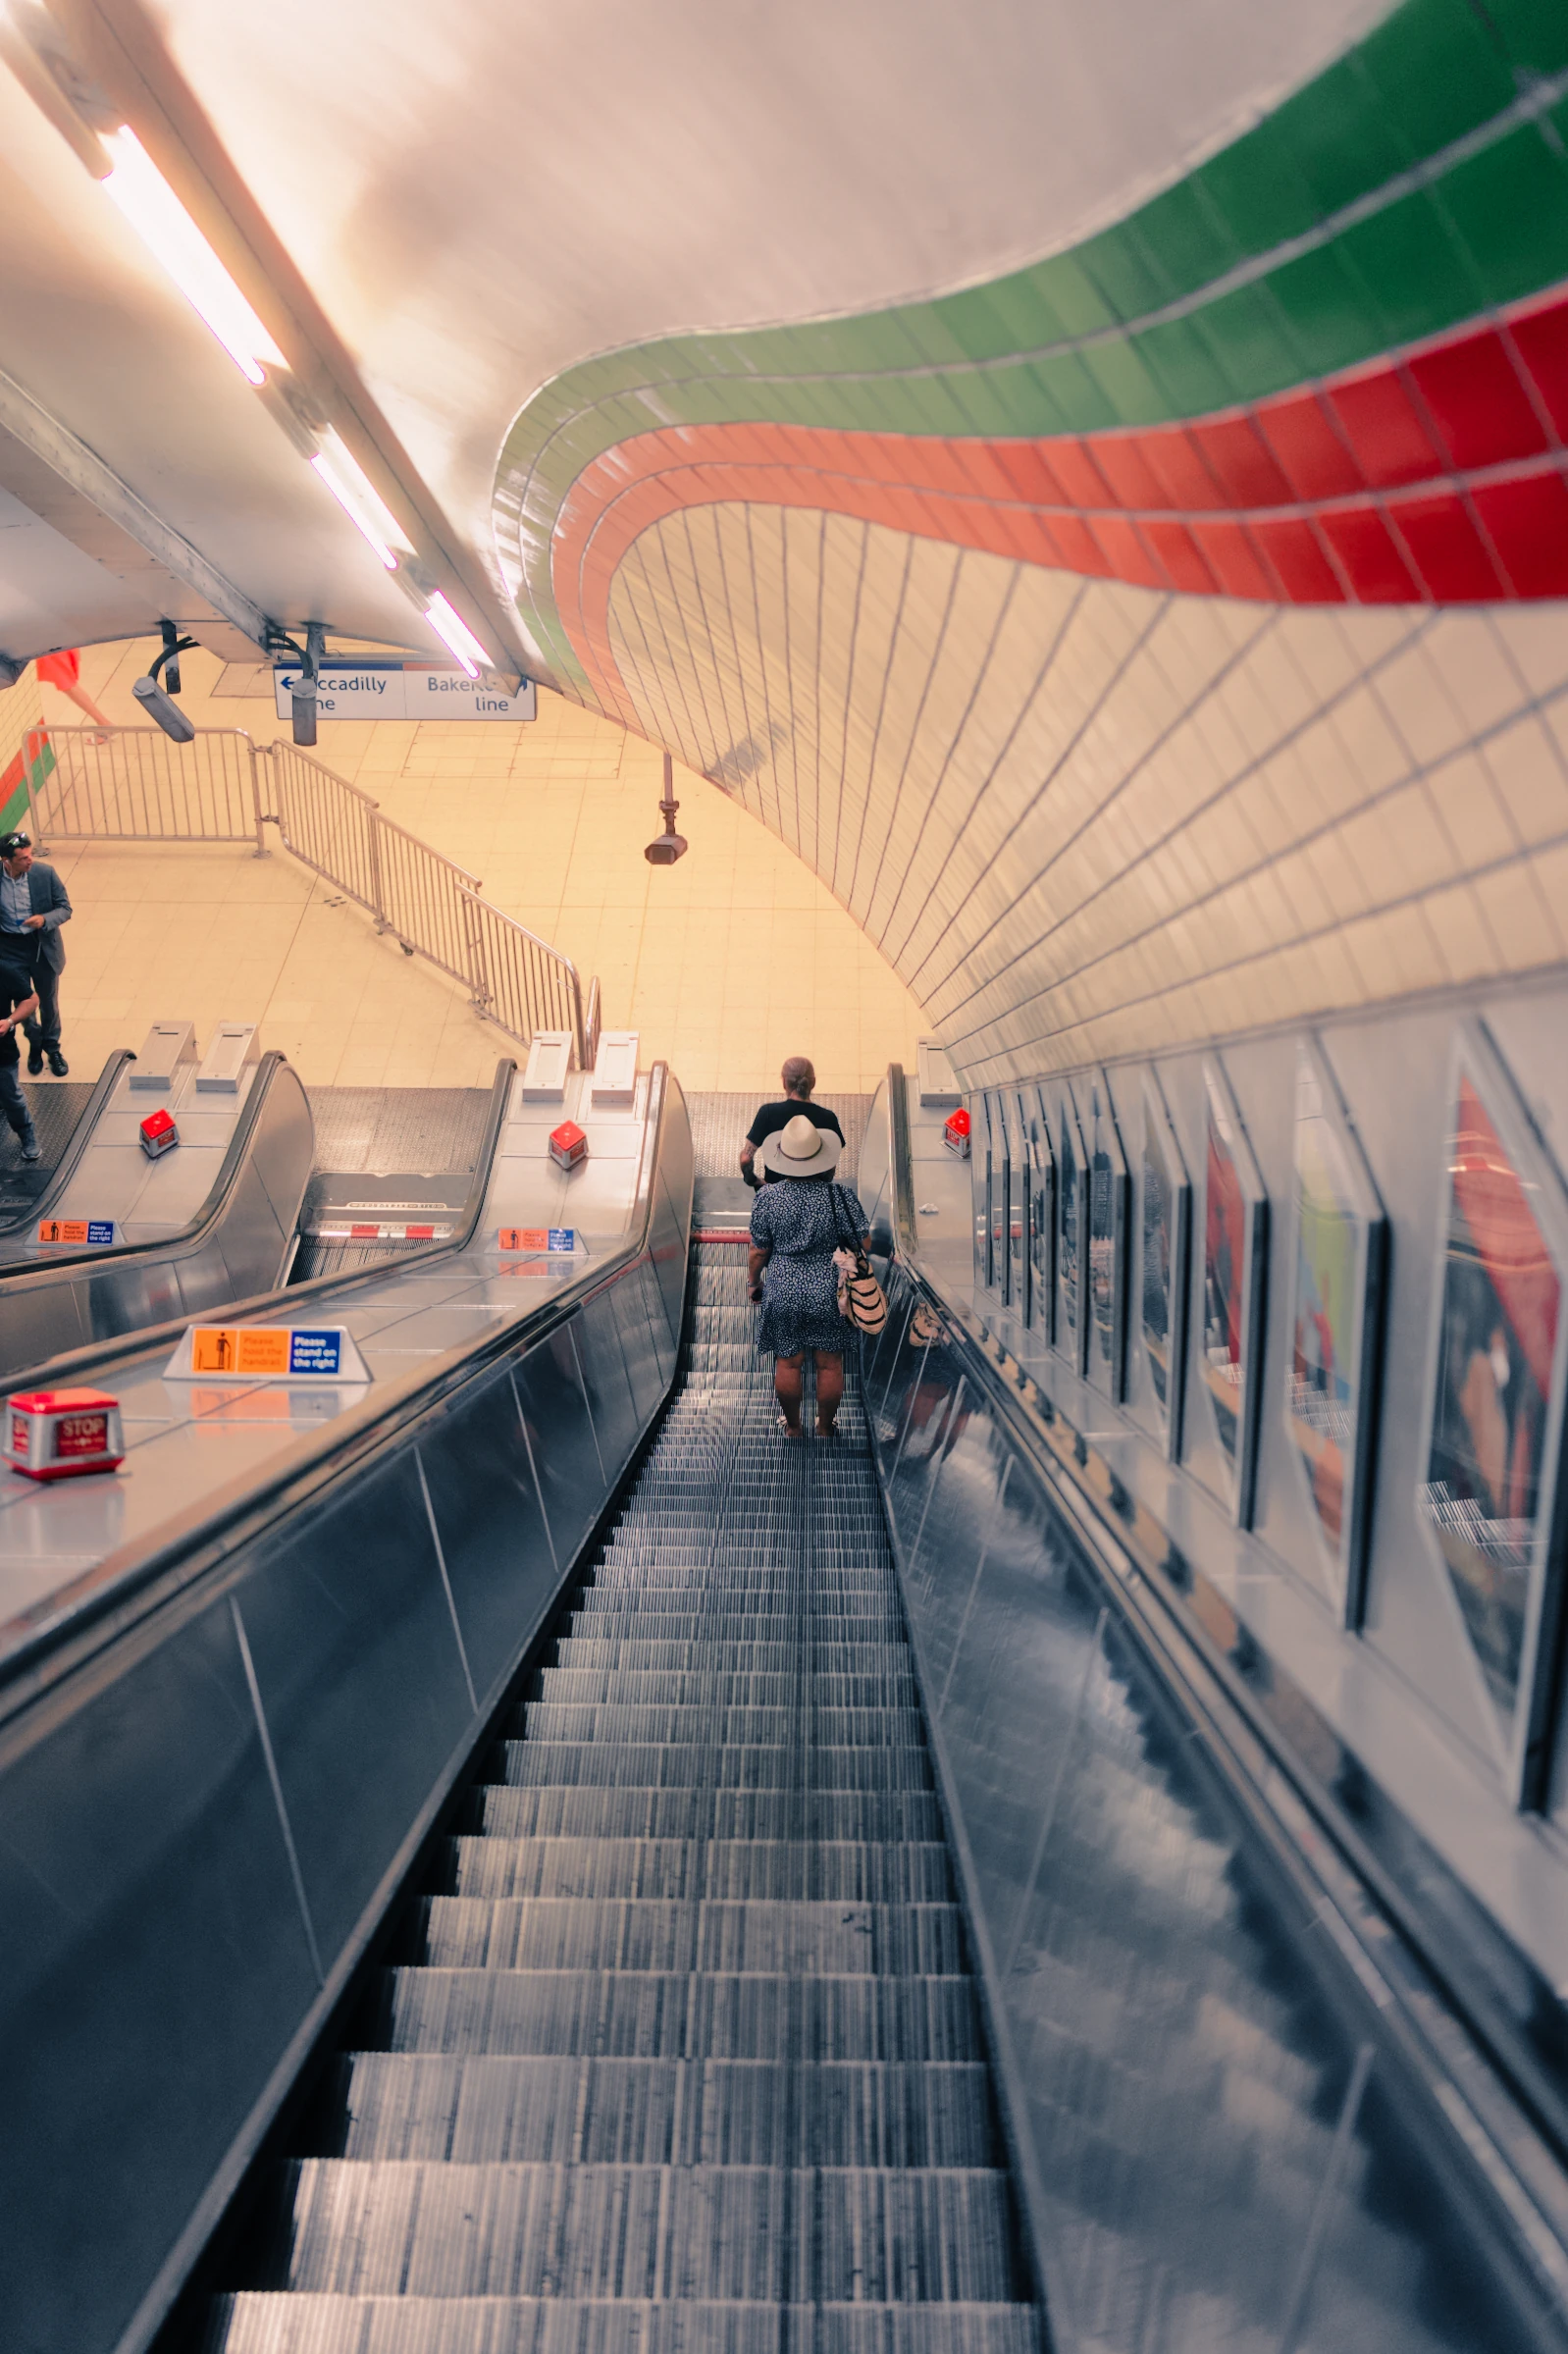
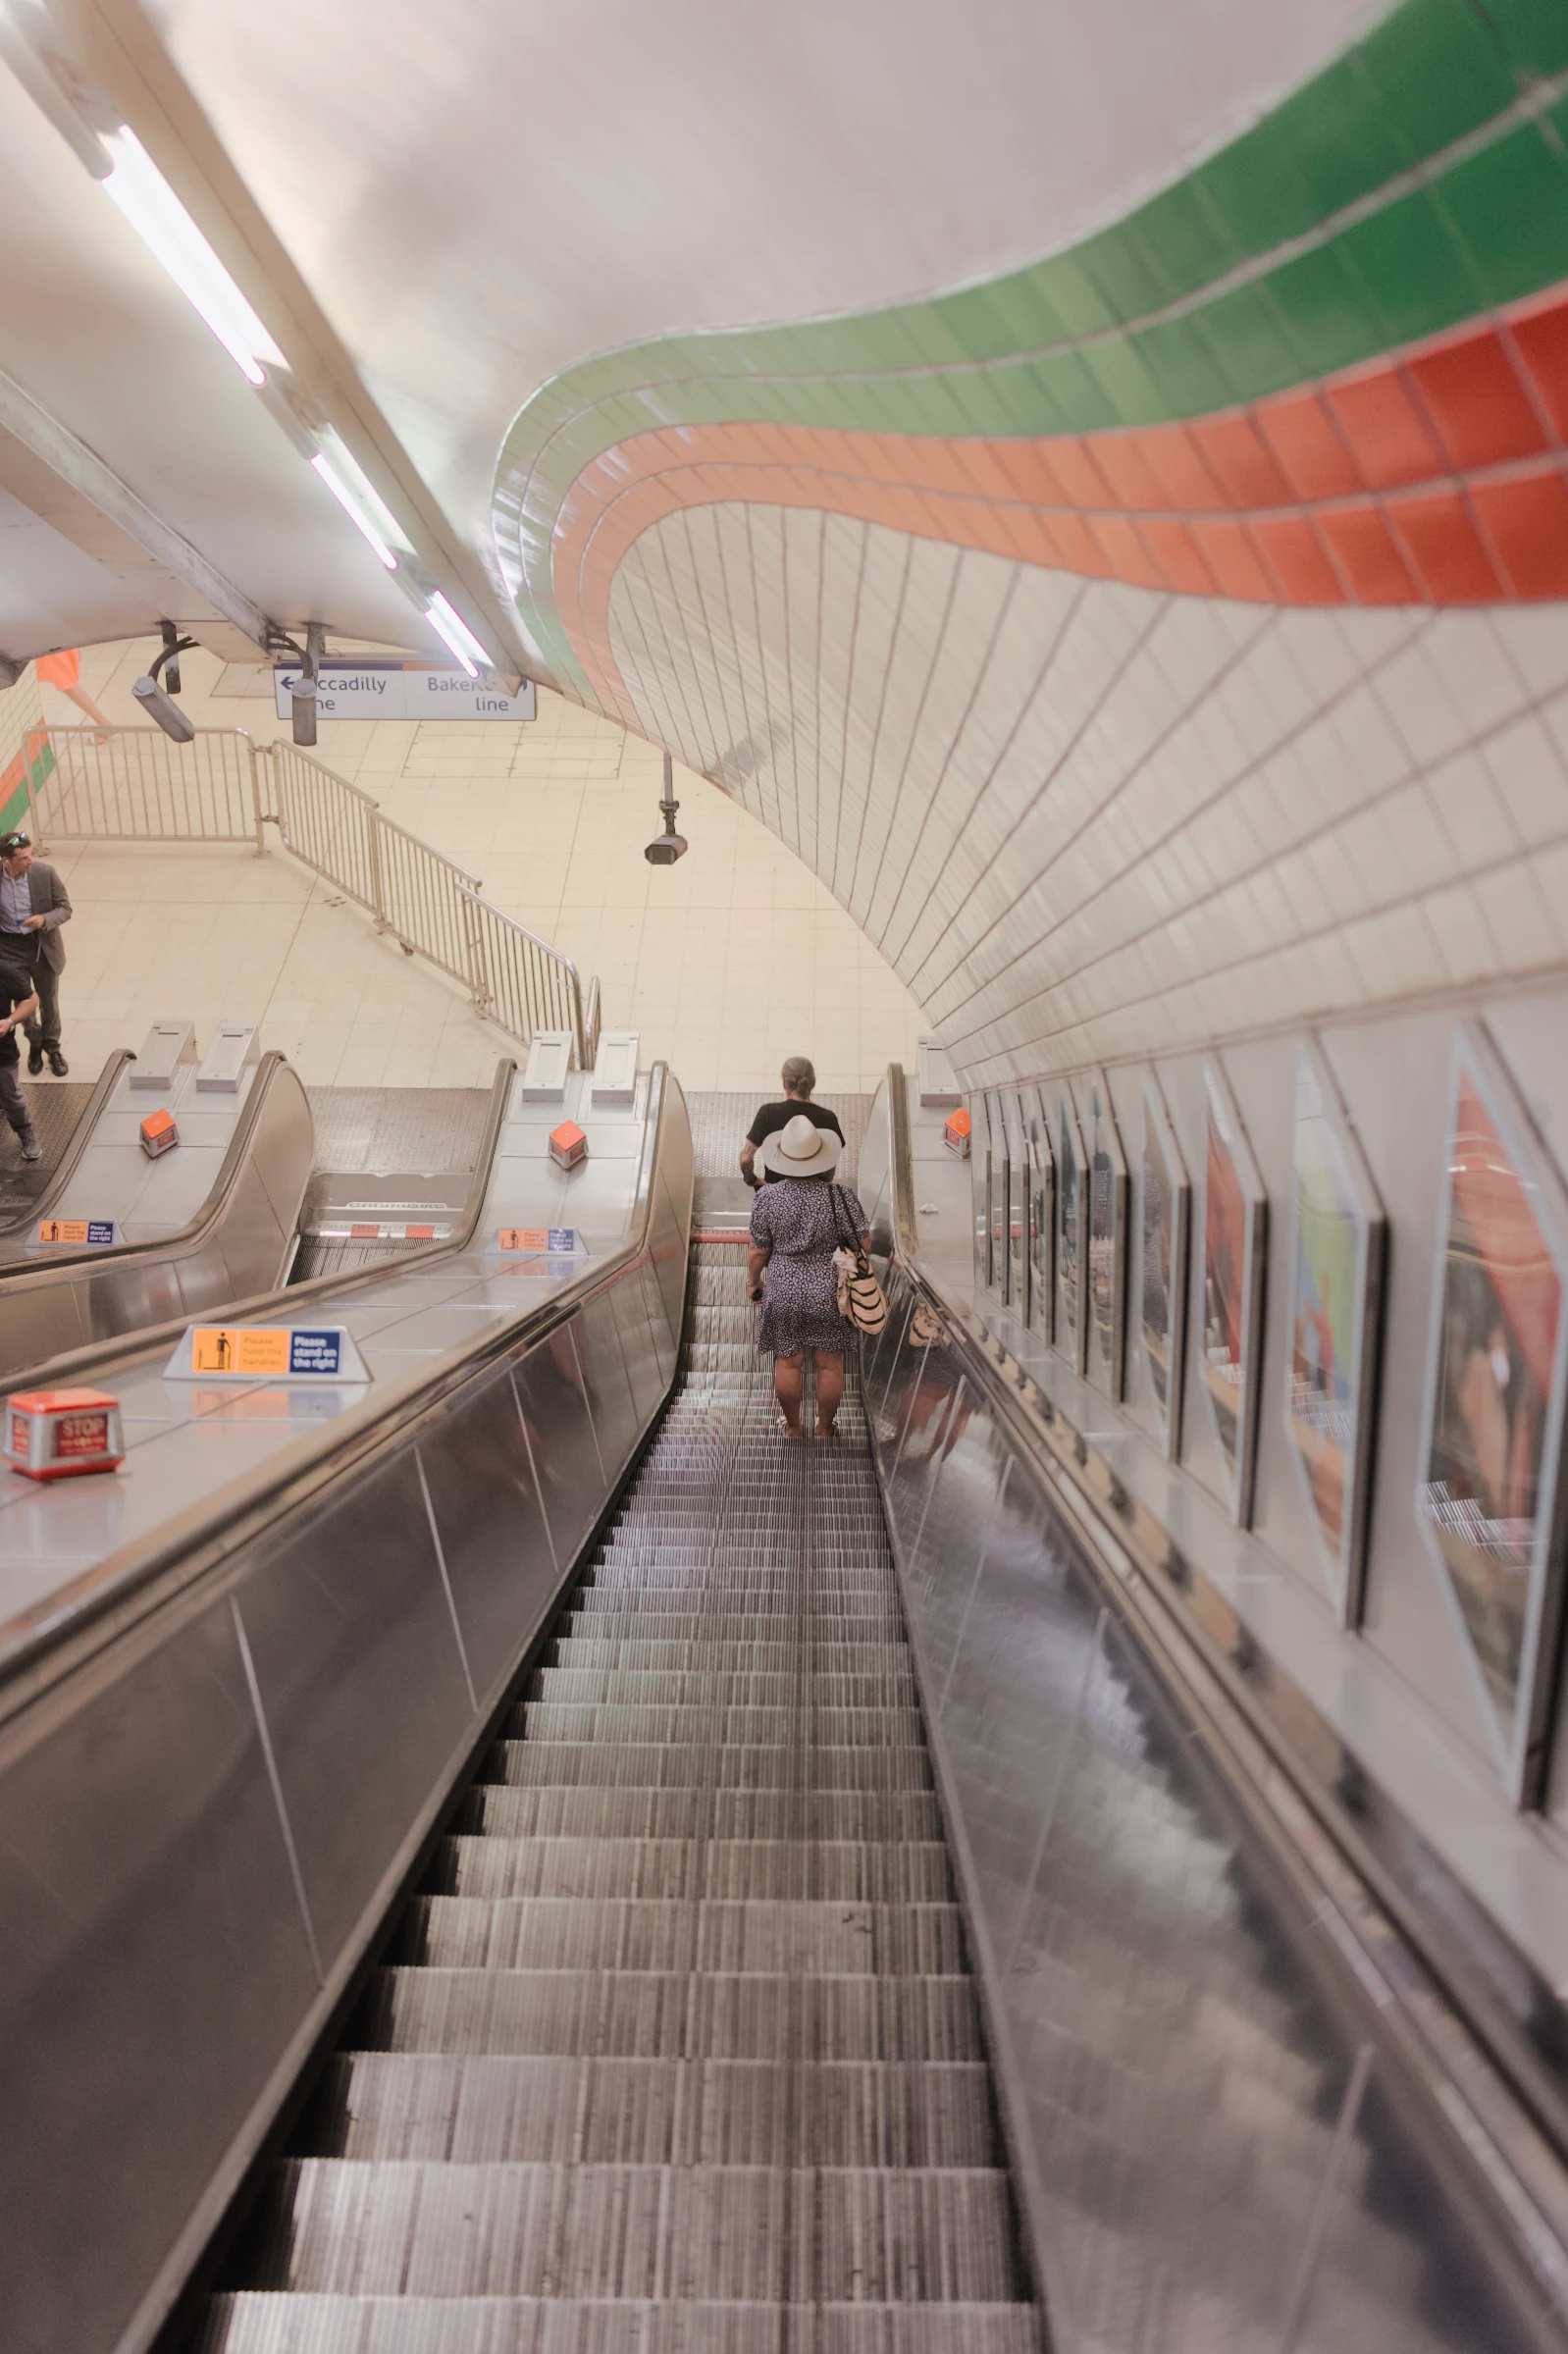 Chroma
The character
of film.
Compare the red and green tiles, the bright ceiling and the shadows along the escalators. Choose a film profile or a finished preset to see the whole photograph change.
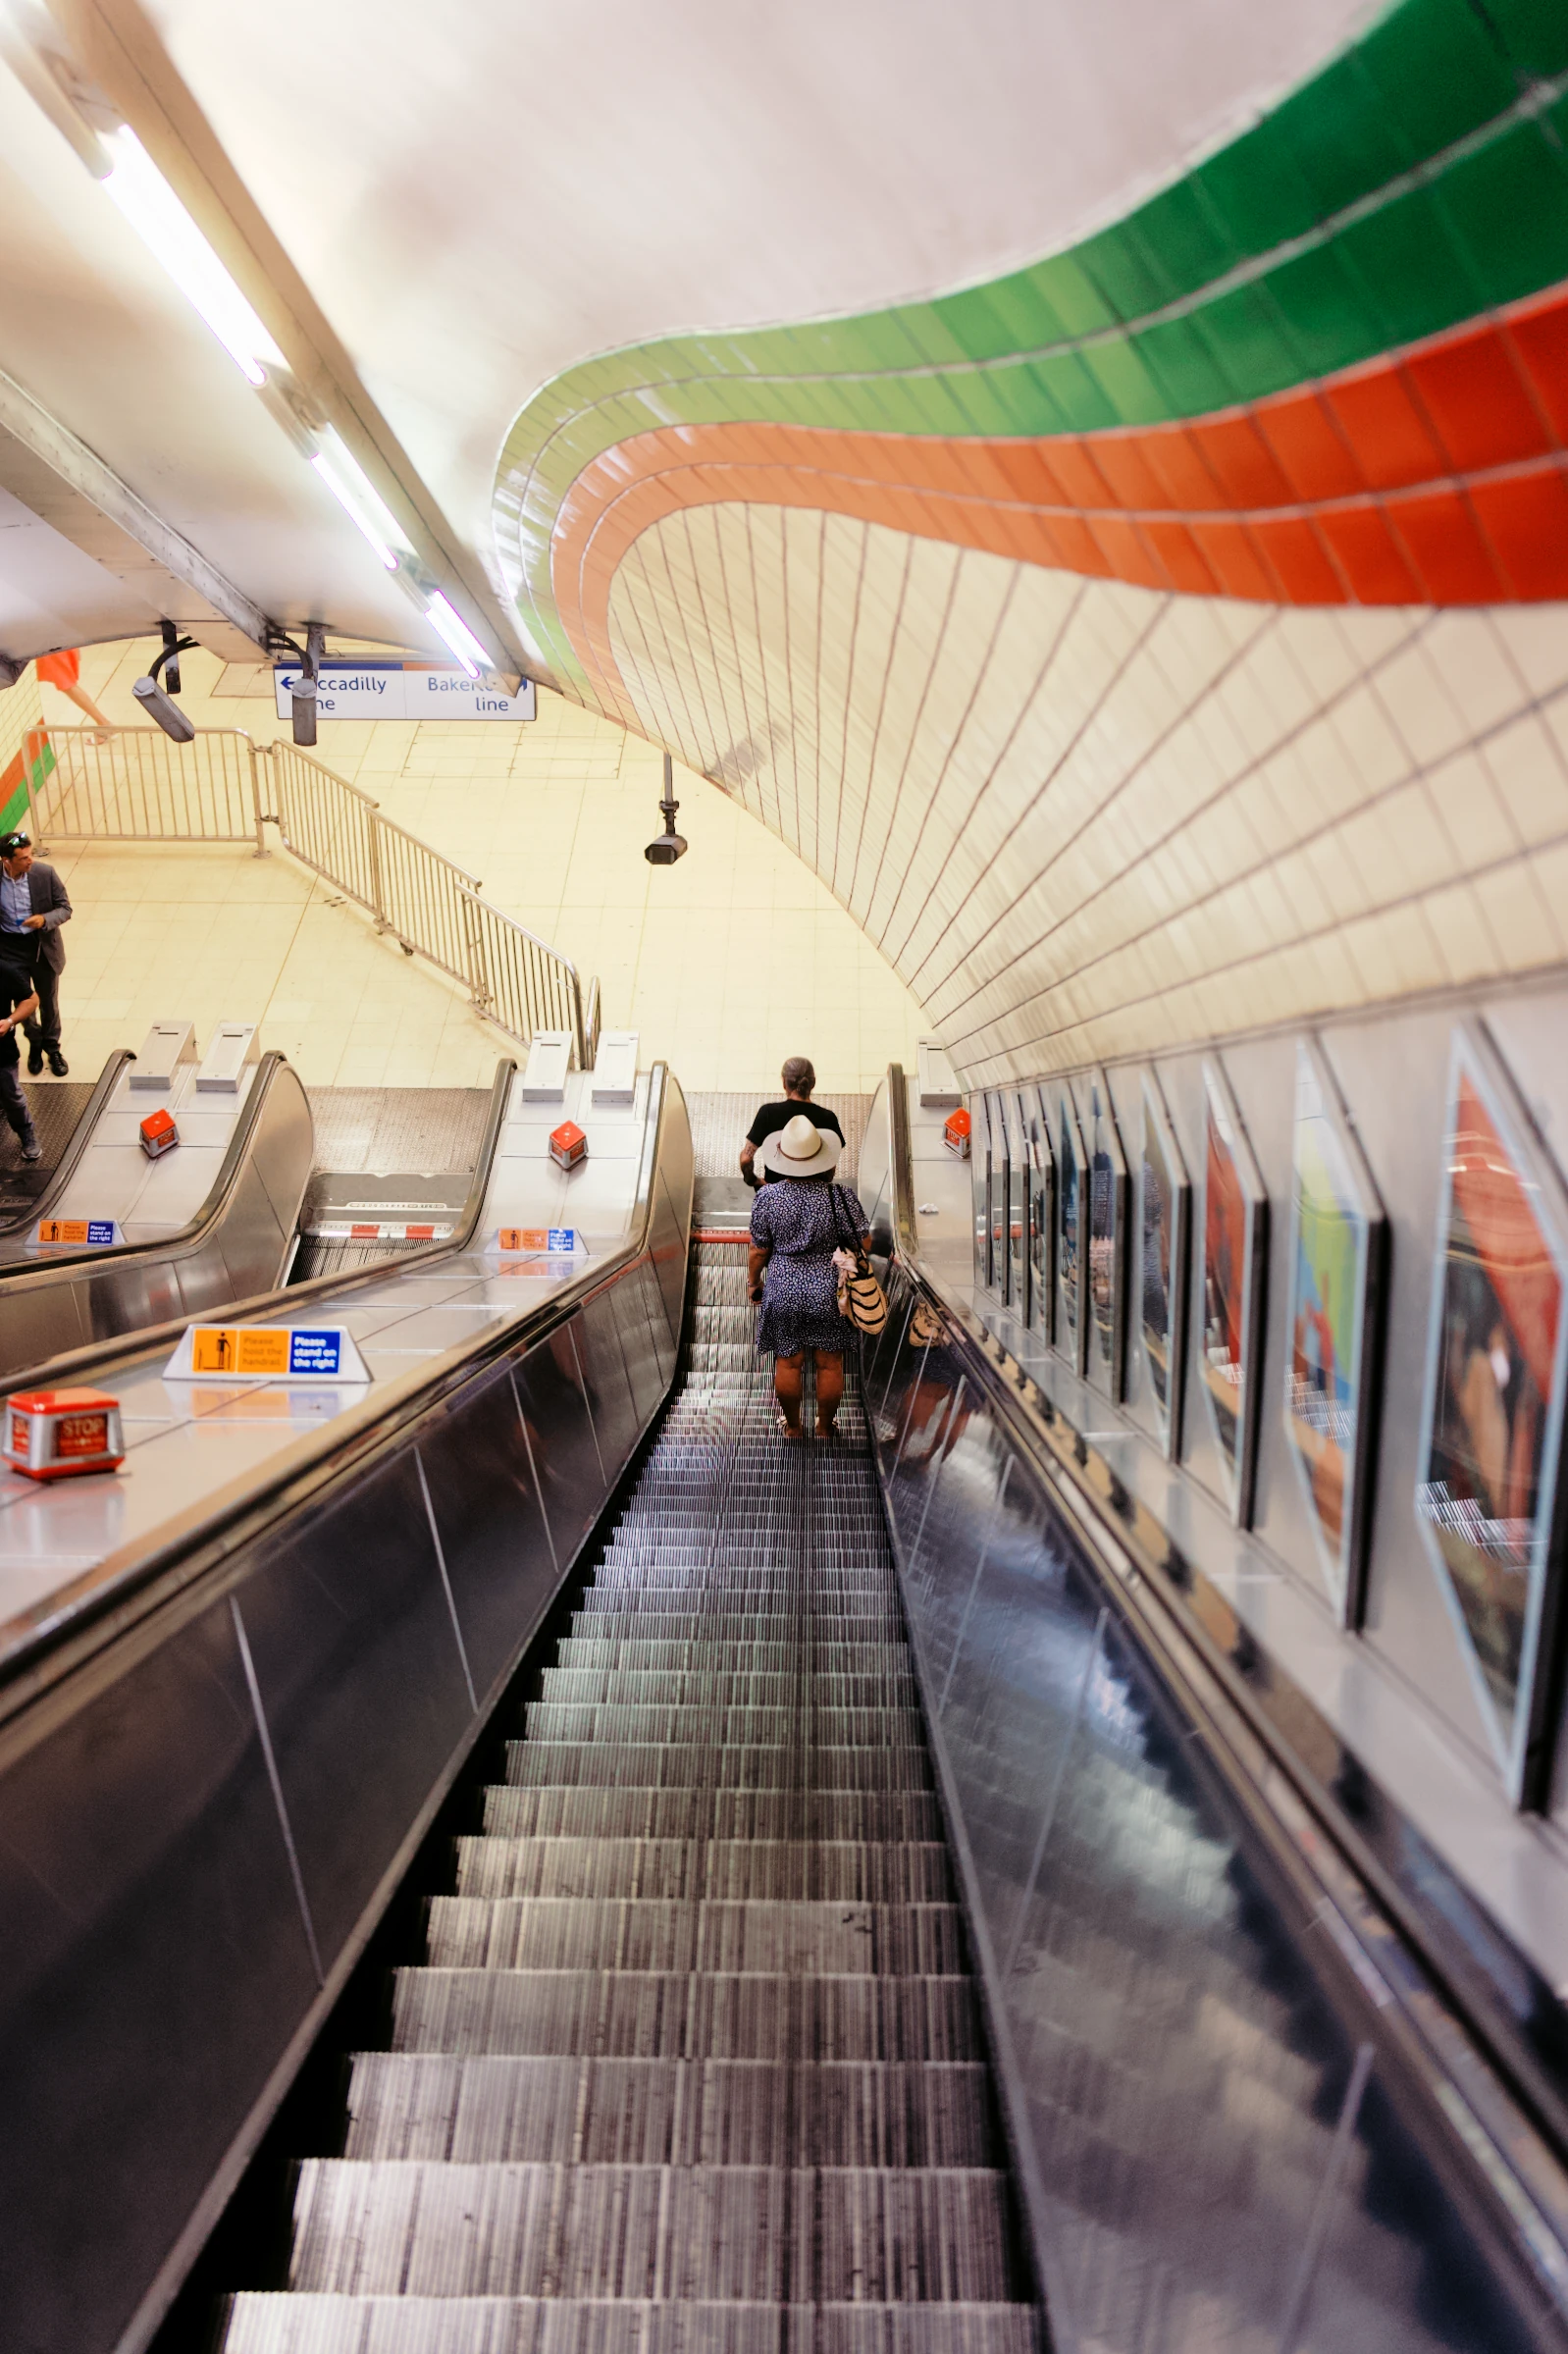 Chroma · detail
- Colour & contrast
- A film profile shapes how colours relate, from muted shades to saturated reds and blues.
- Highlights & shadows
- Shape the transition into bright light and the depth of your blacks with editable tone curves.
- Grain & glow
- Fine or pronounced grain. Soft bloom around lights. Adjust the finish to suit the photograph.
Explore one detail: halation
Halation adds a coloured glow around bright edges. This comparison uses Chroma.
Watch the glow around the ceiling lights.
Drag right from the centre to increase halation.
Try the looks.
Compare presets and film profiles
on the same photograph.
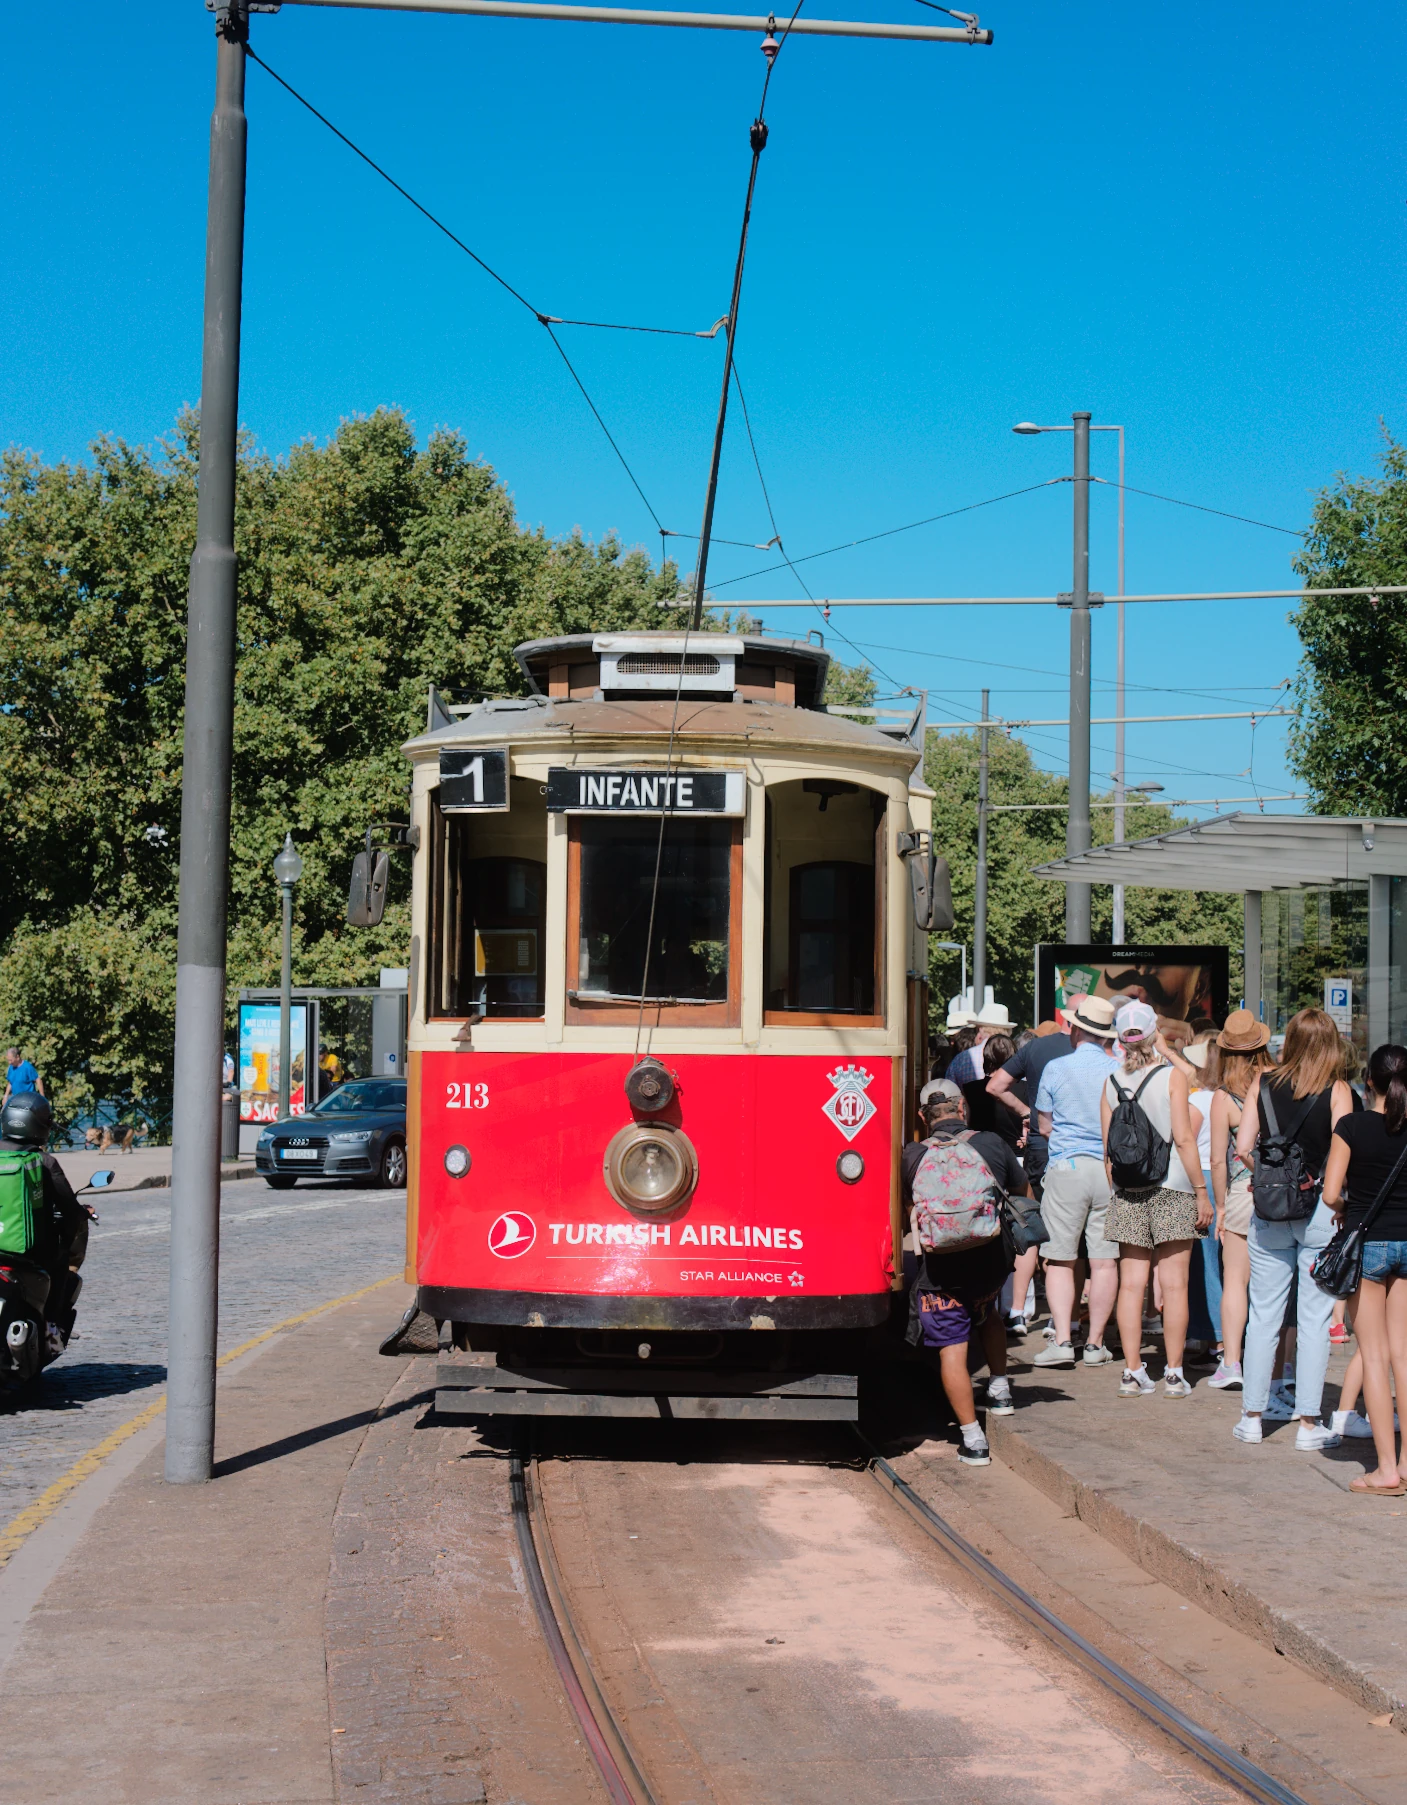
Start with Natural, Rich or Soft, then explore the colour and black-and-white presets. Adjust any of them and save your version as a recipe.
Choose a preset
19 presetsEveryday
Warm colour with moderate contrast.
Loading the collection…
Each preview uses the same Auto settings. Compare with Natural to see how the selected look changes the photograph.
Why presets
and film profiles?
The same negative can look quite different depending on how it is scanned or printed. In ABNEY, the profile describes the film’s colour response. A preset adds a particular treatment. Save your adjustments with the profile to reuse them as a recipe.
From real film to your RAW
Our film-stock profiles are based on real stock scans made on a Noritsu LS-600. Different scanning and finishing choices can produce different interpretations of the same film. The profile, preset and editable recipe preserve those distinct roles in ABNEY.
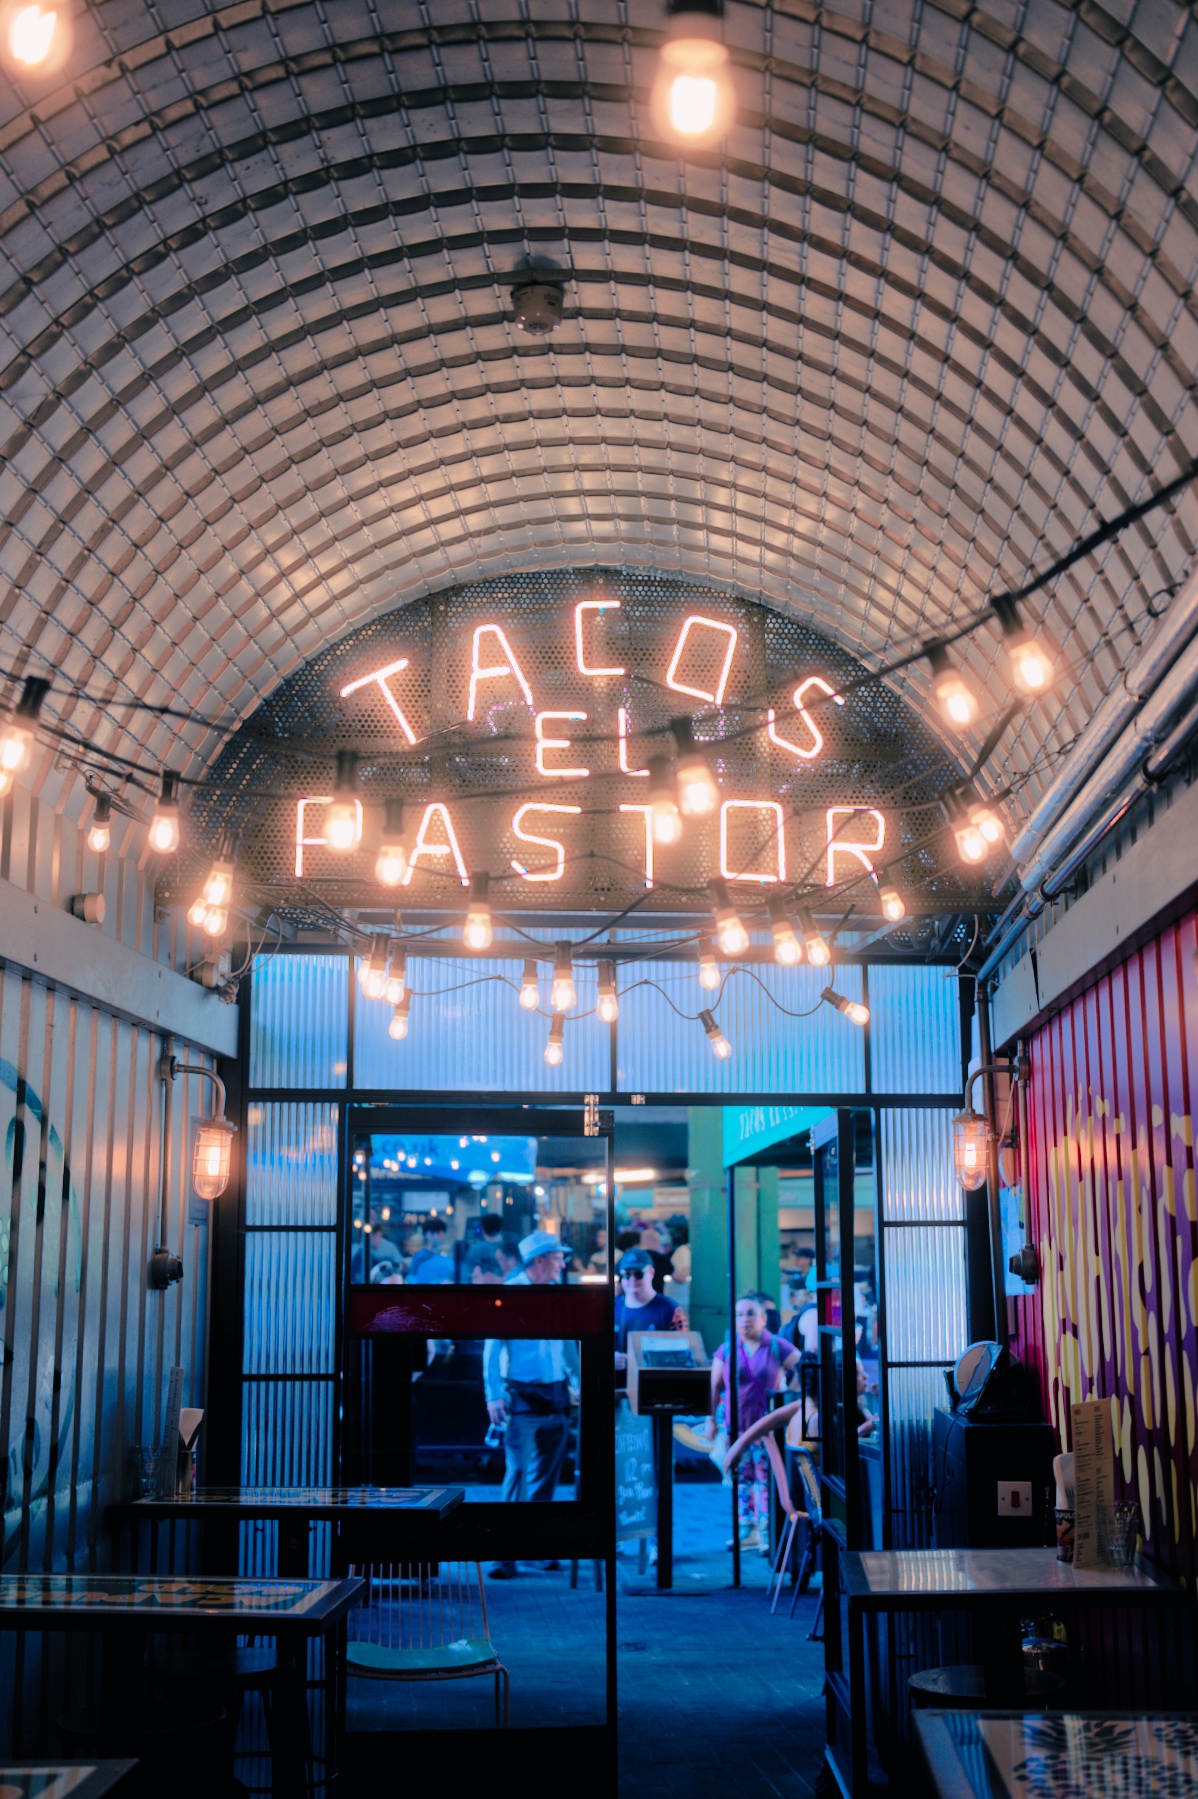
Let the lights shine.
On an HDR display, the illuminated lettering can shine brighter than the surrounding photograph. Switch between Standard and HDR to see the difference.
Stop making
the same adjustments.
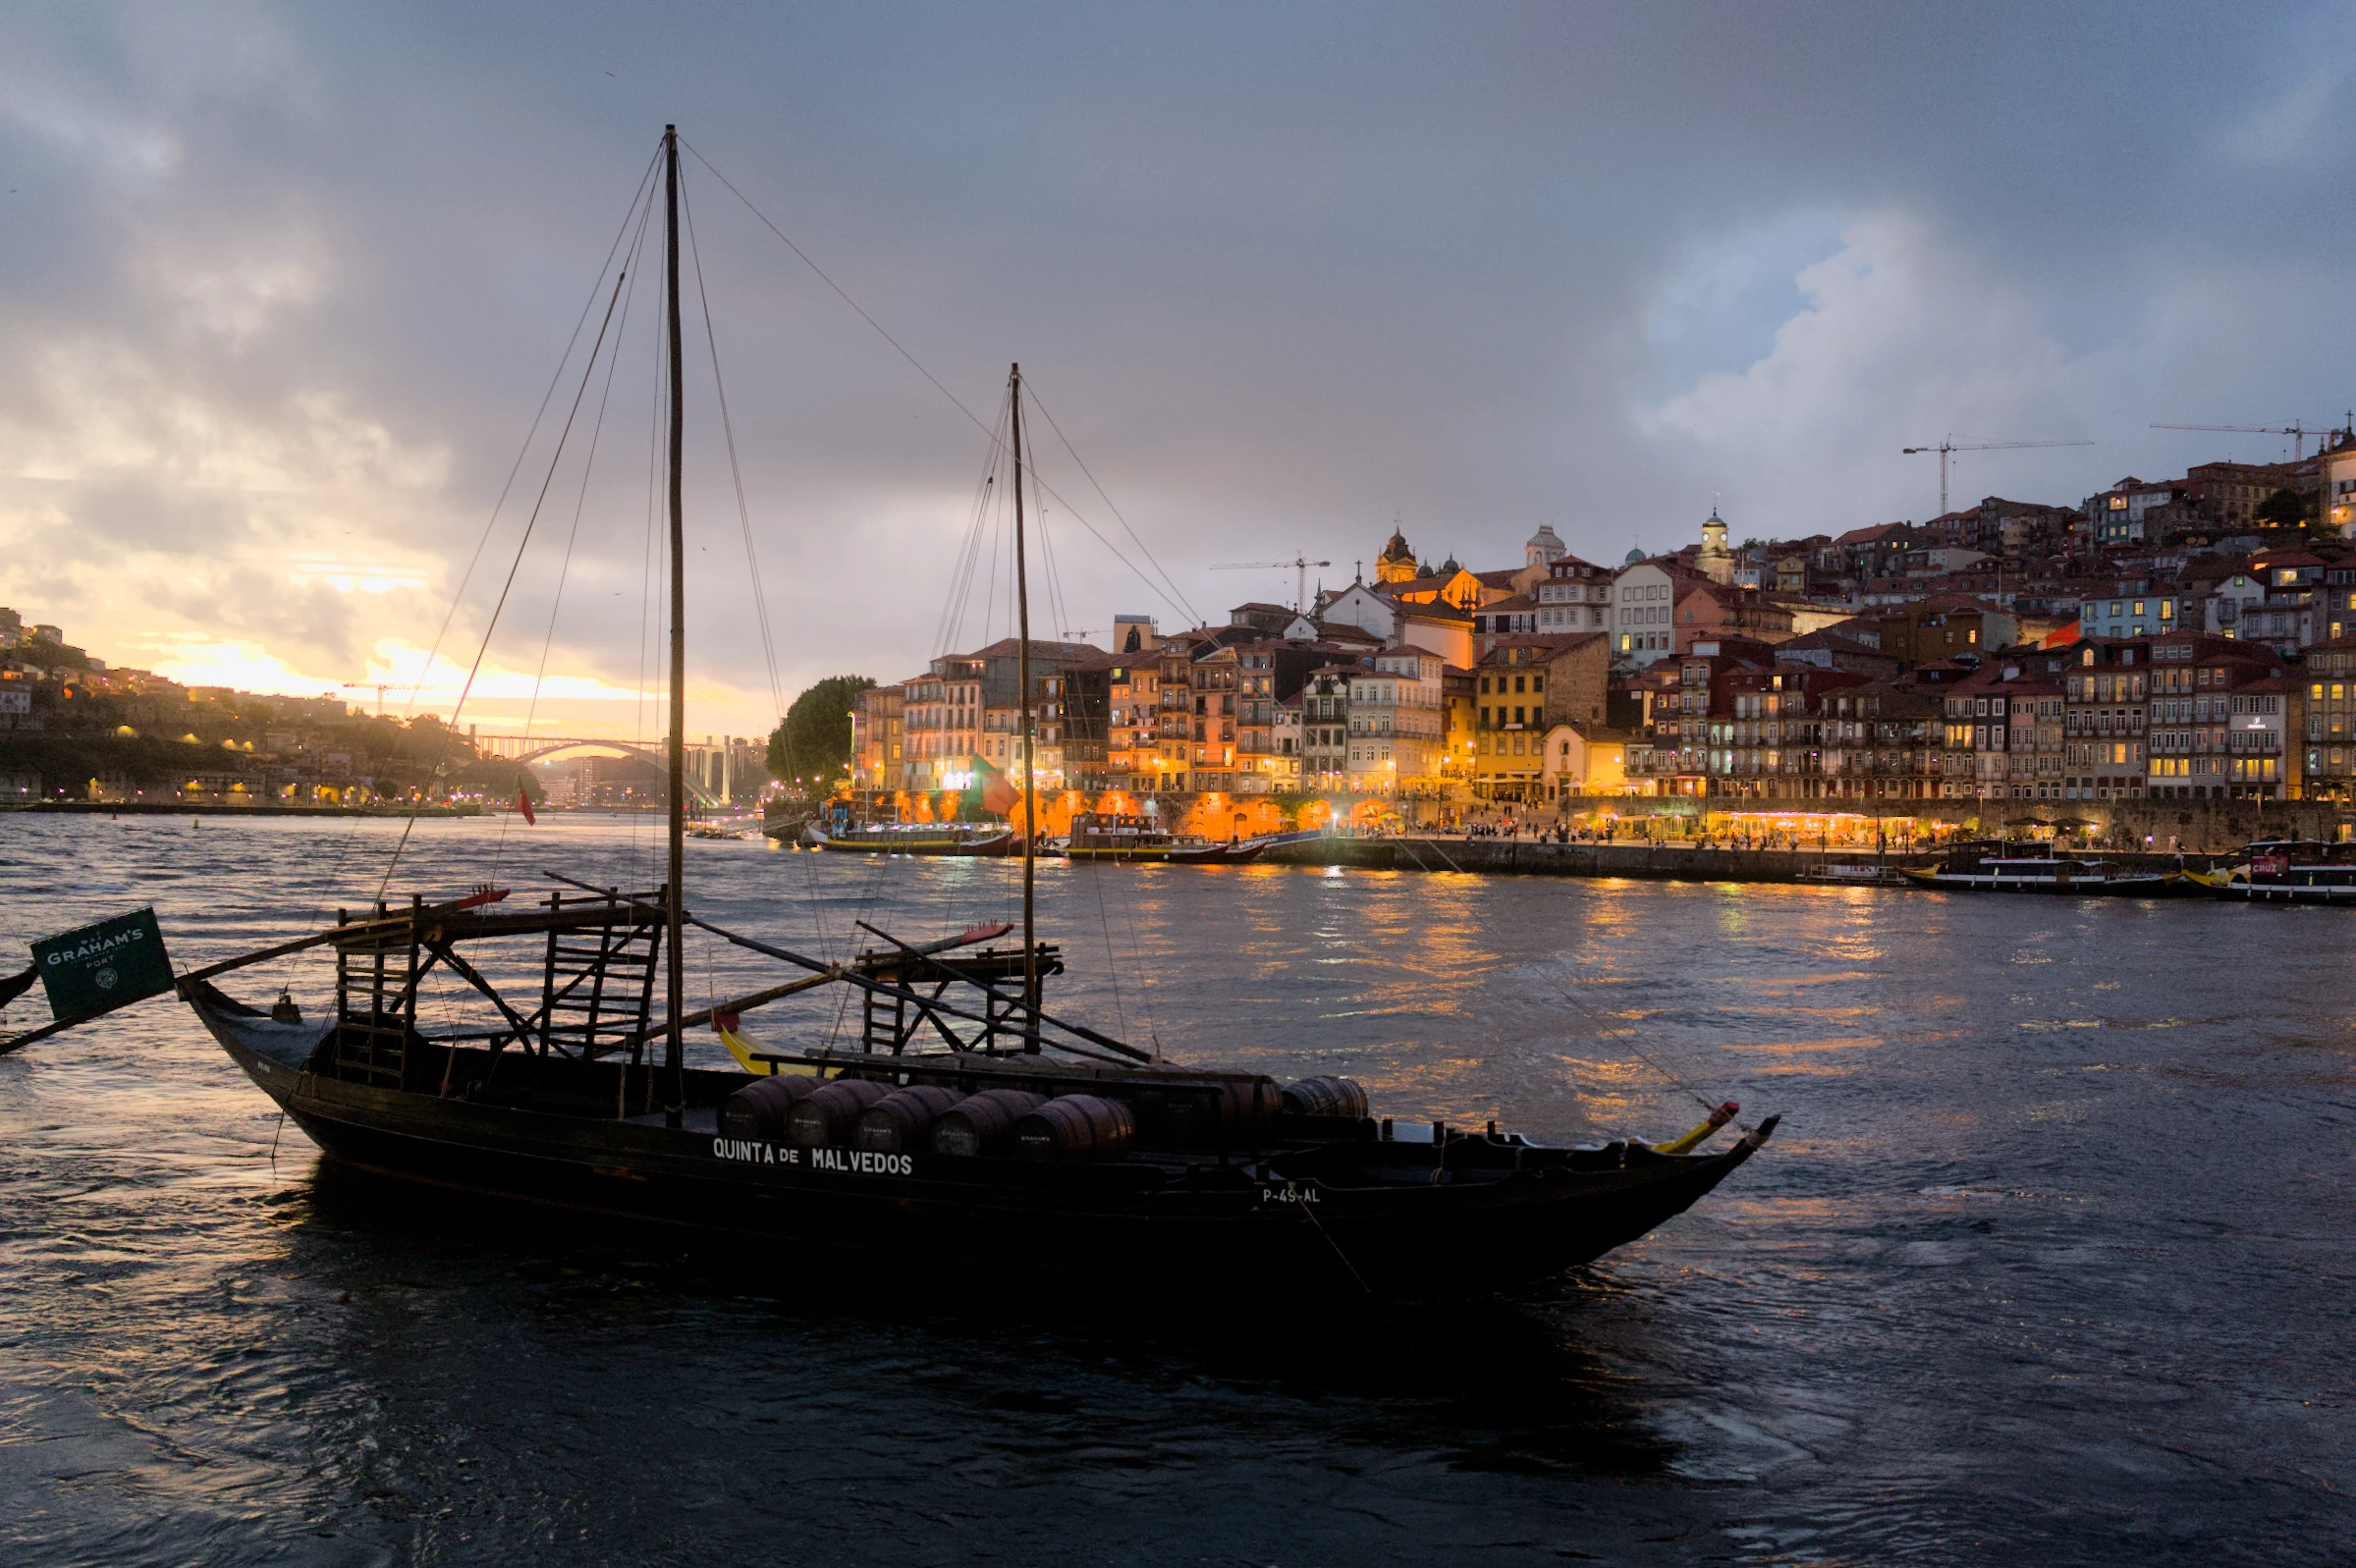
If you tend to keep evenings dark, deepen the shadows or bring out the colour, Personal learns from those edits. It carries your preferences into similar photographs, so you have fewer adjustments to repeat.
Your previous edits
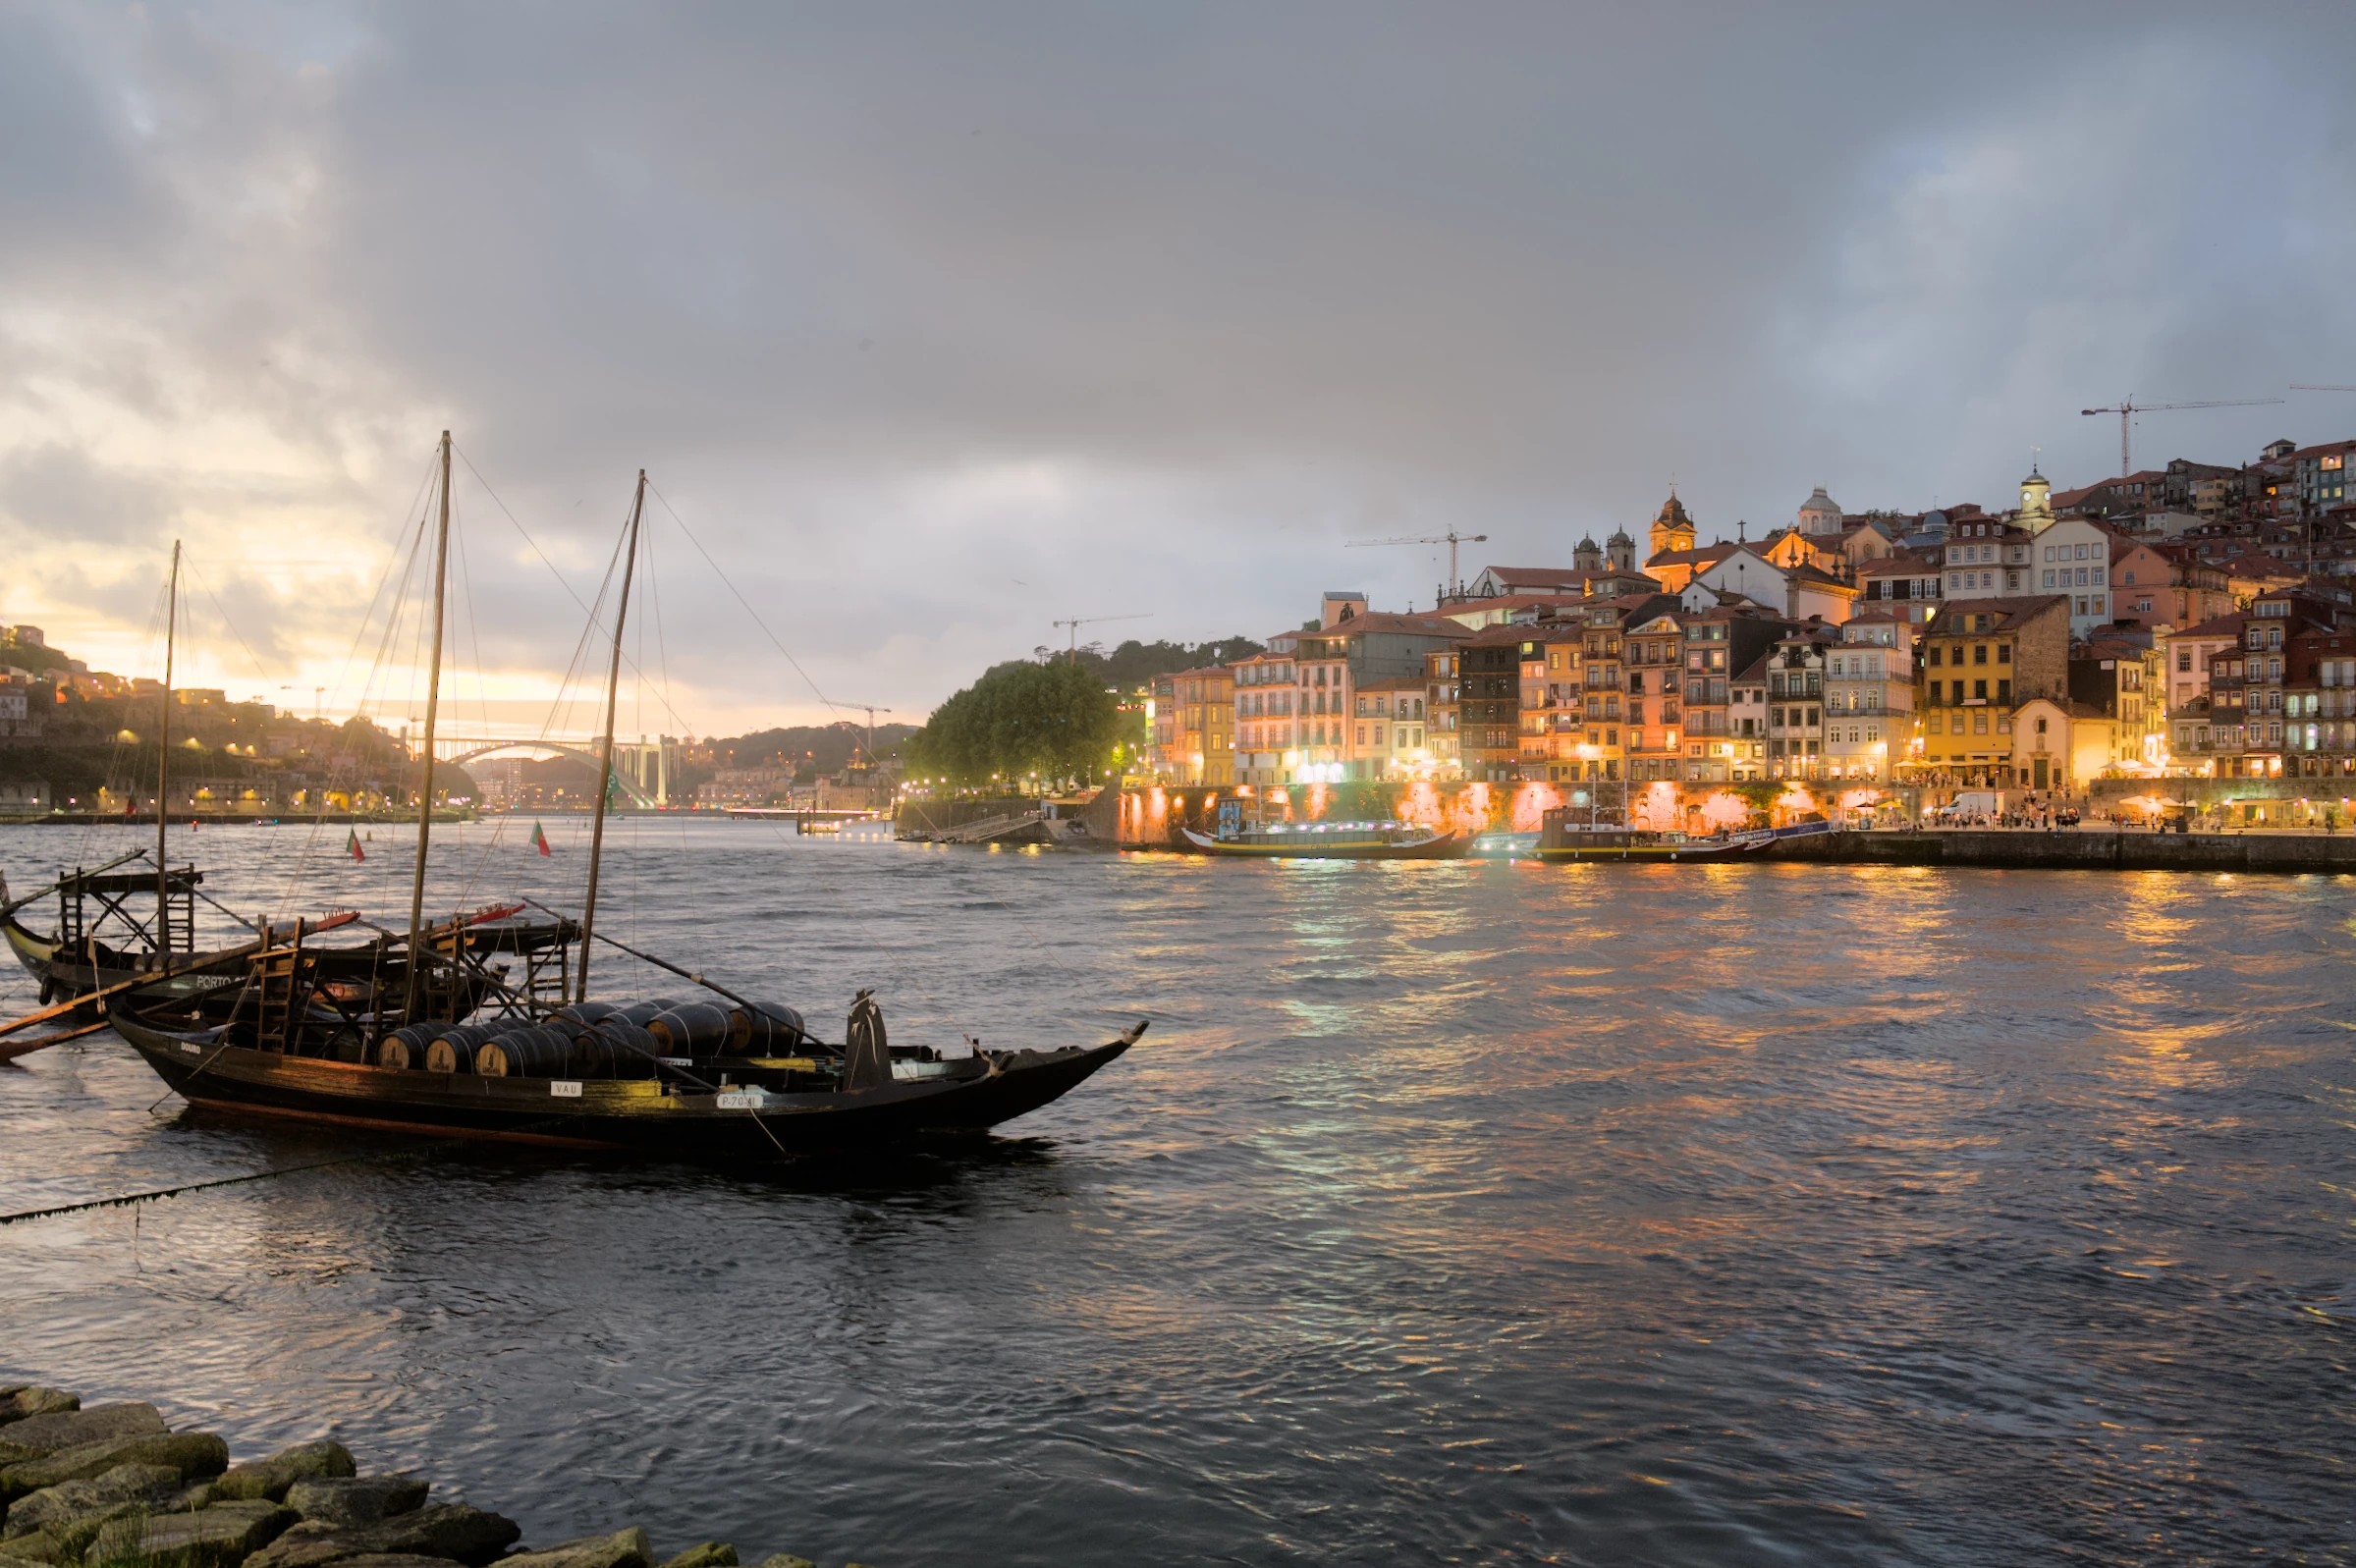
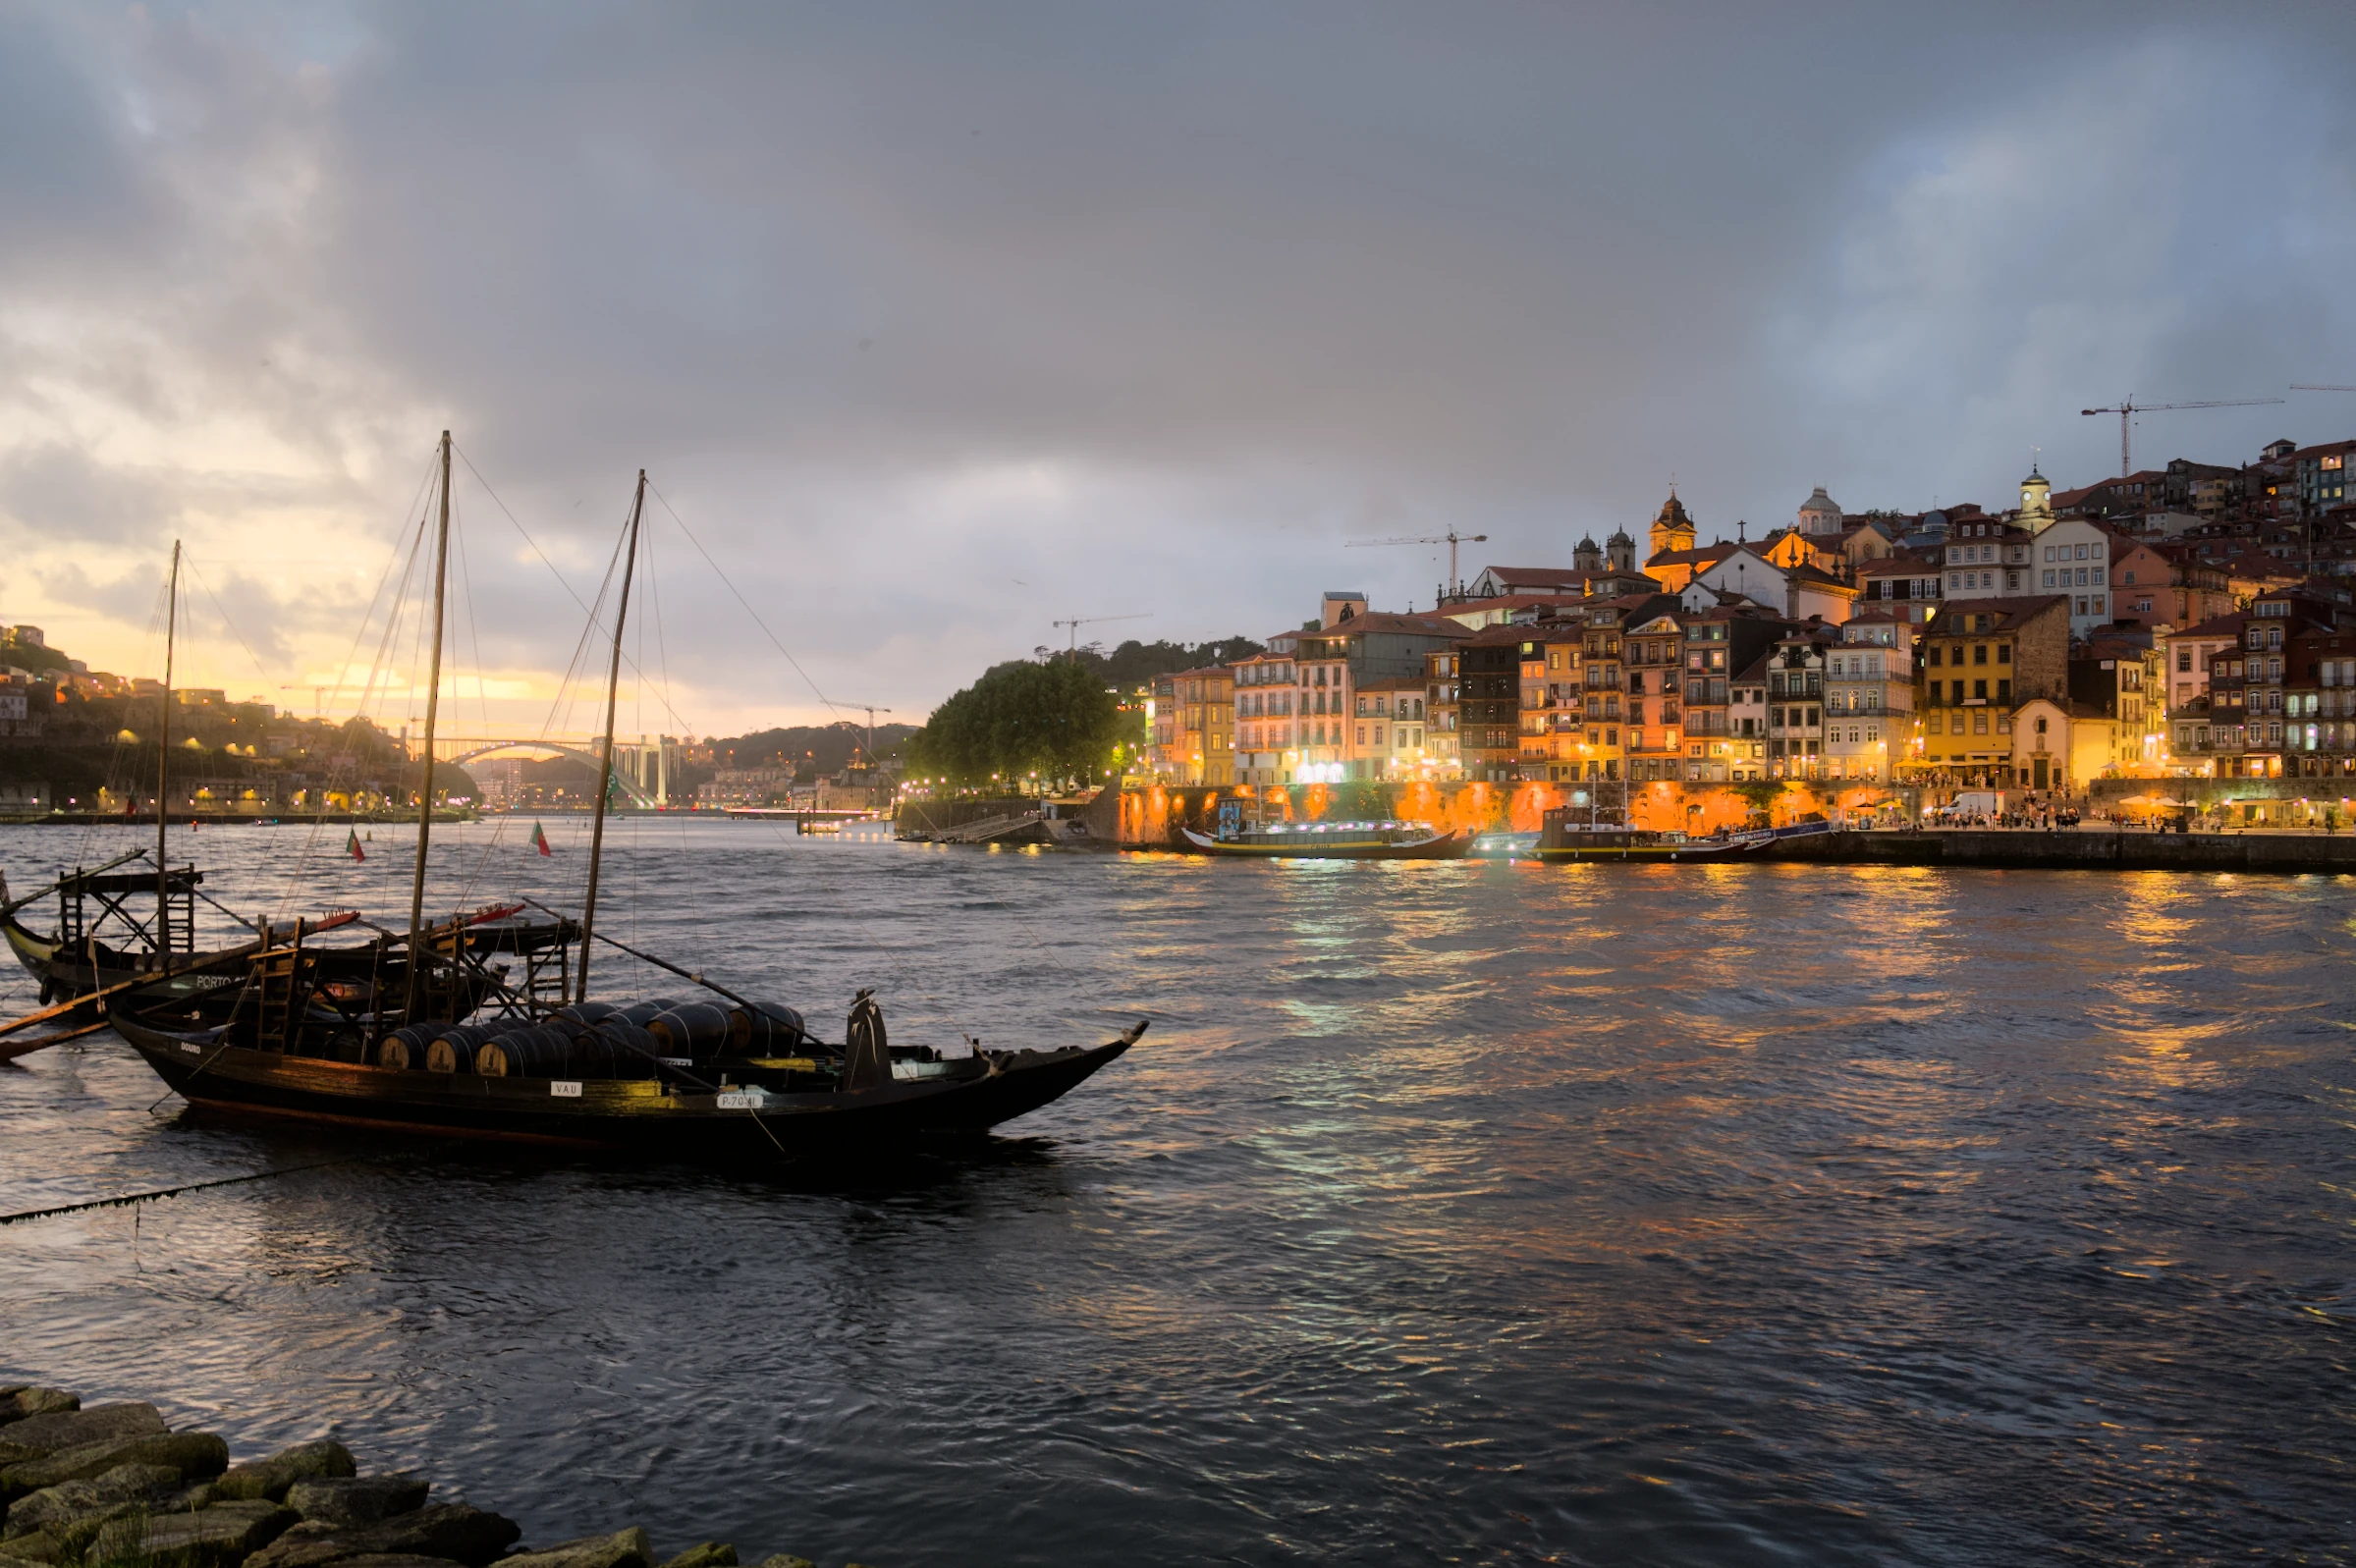
Auto and Personal, together.
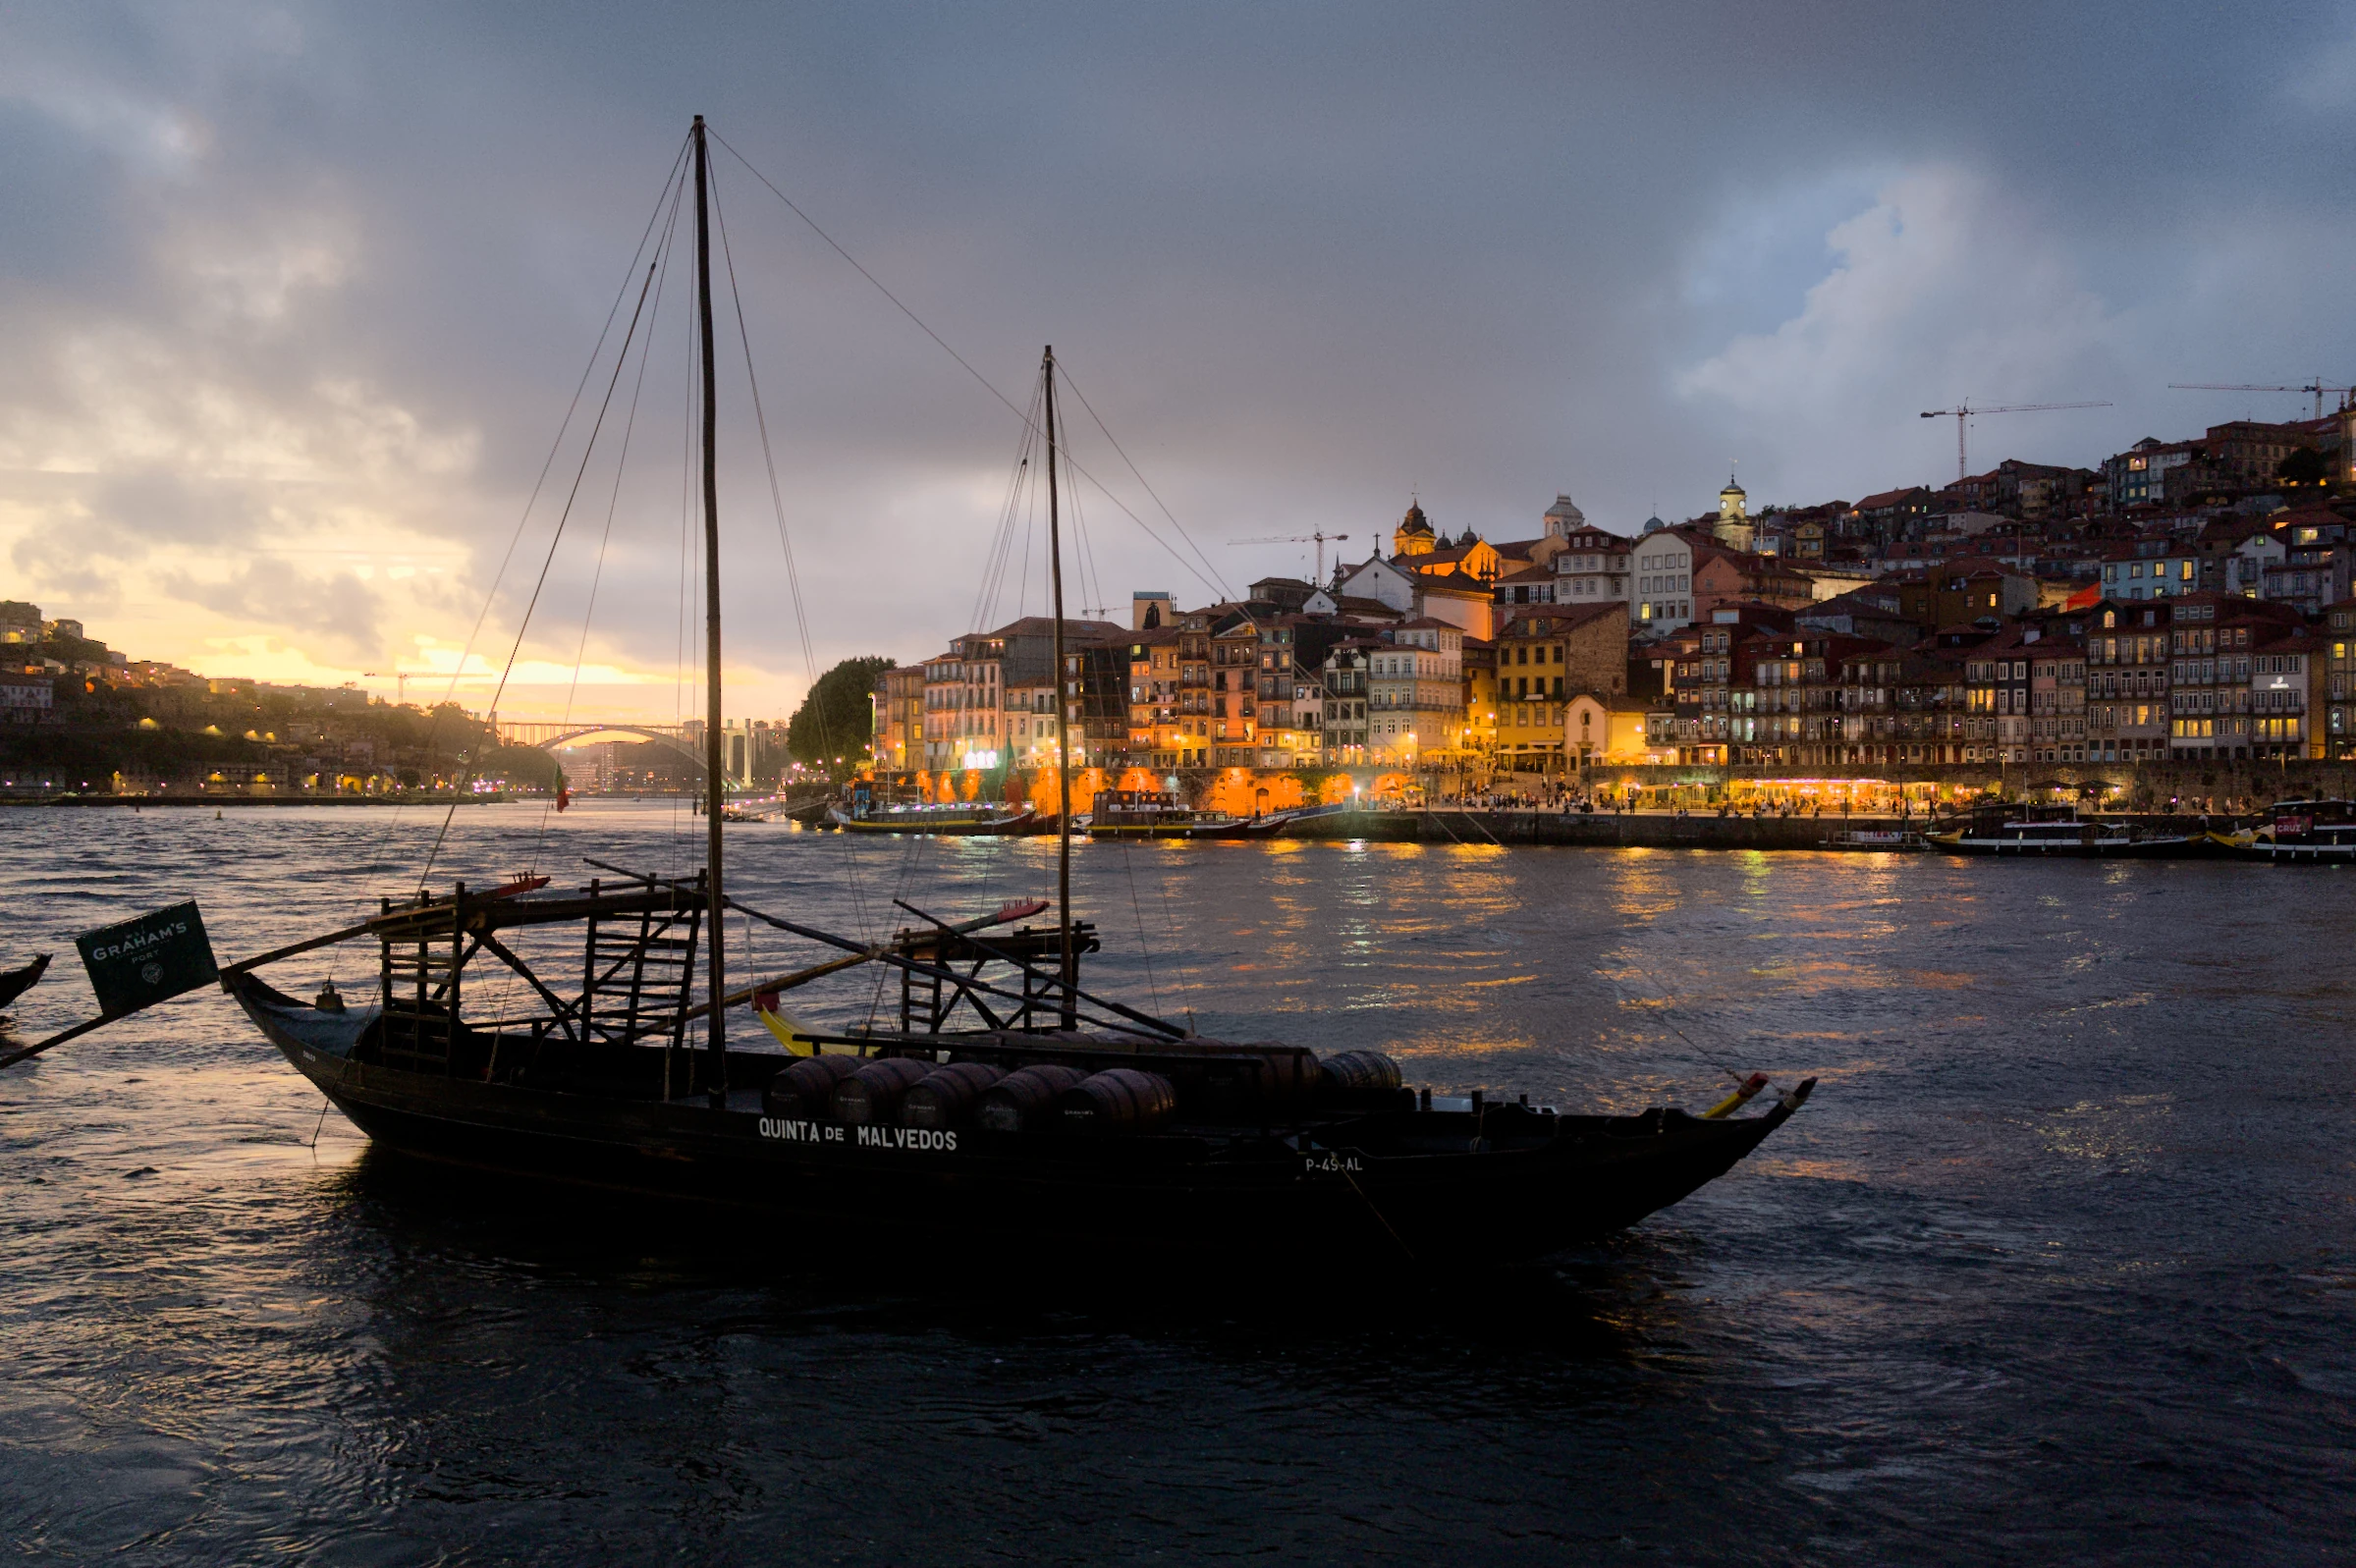
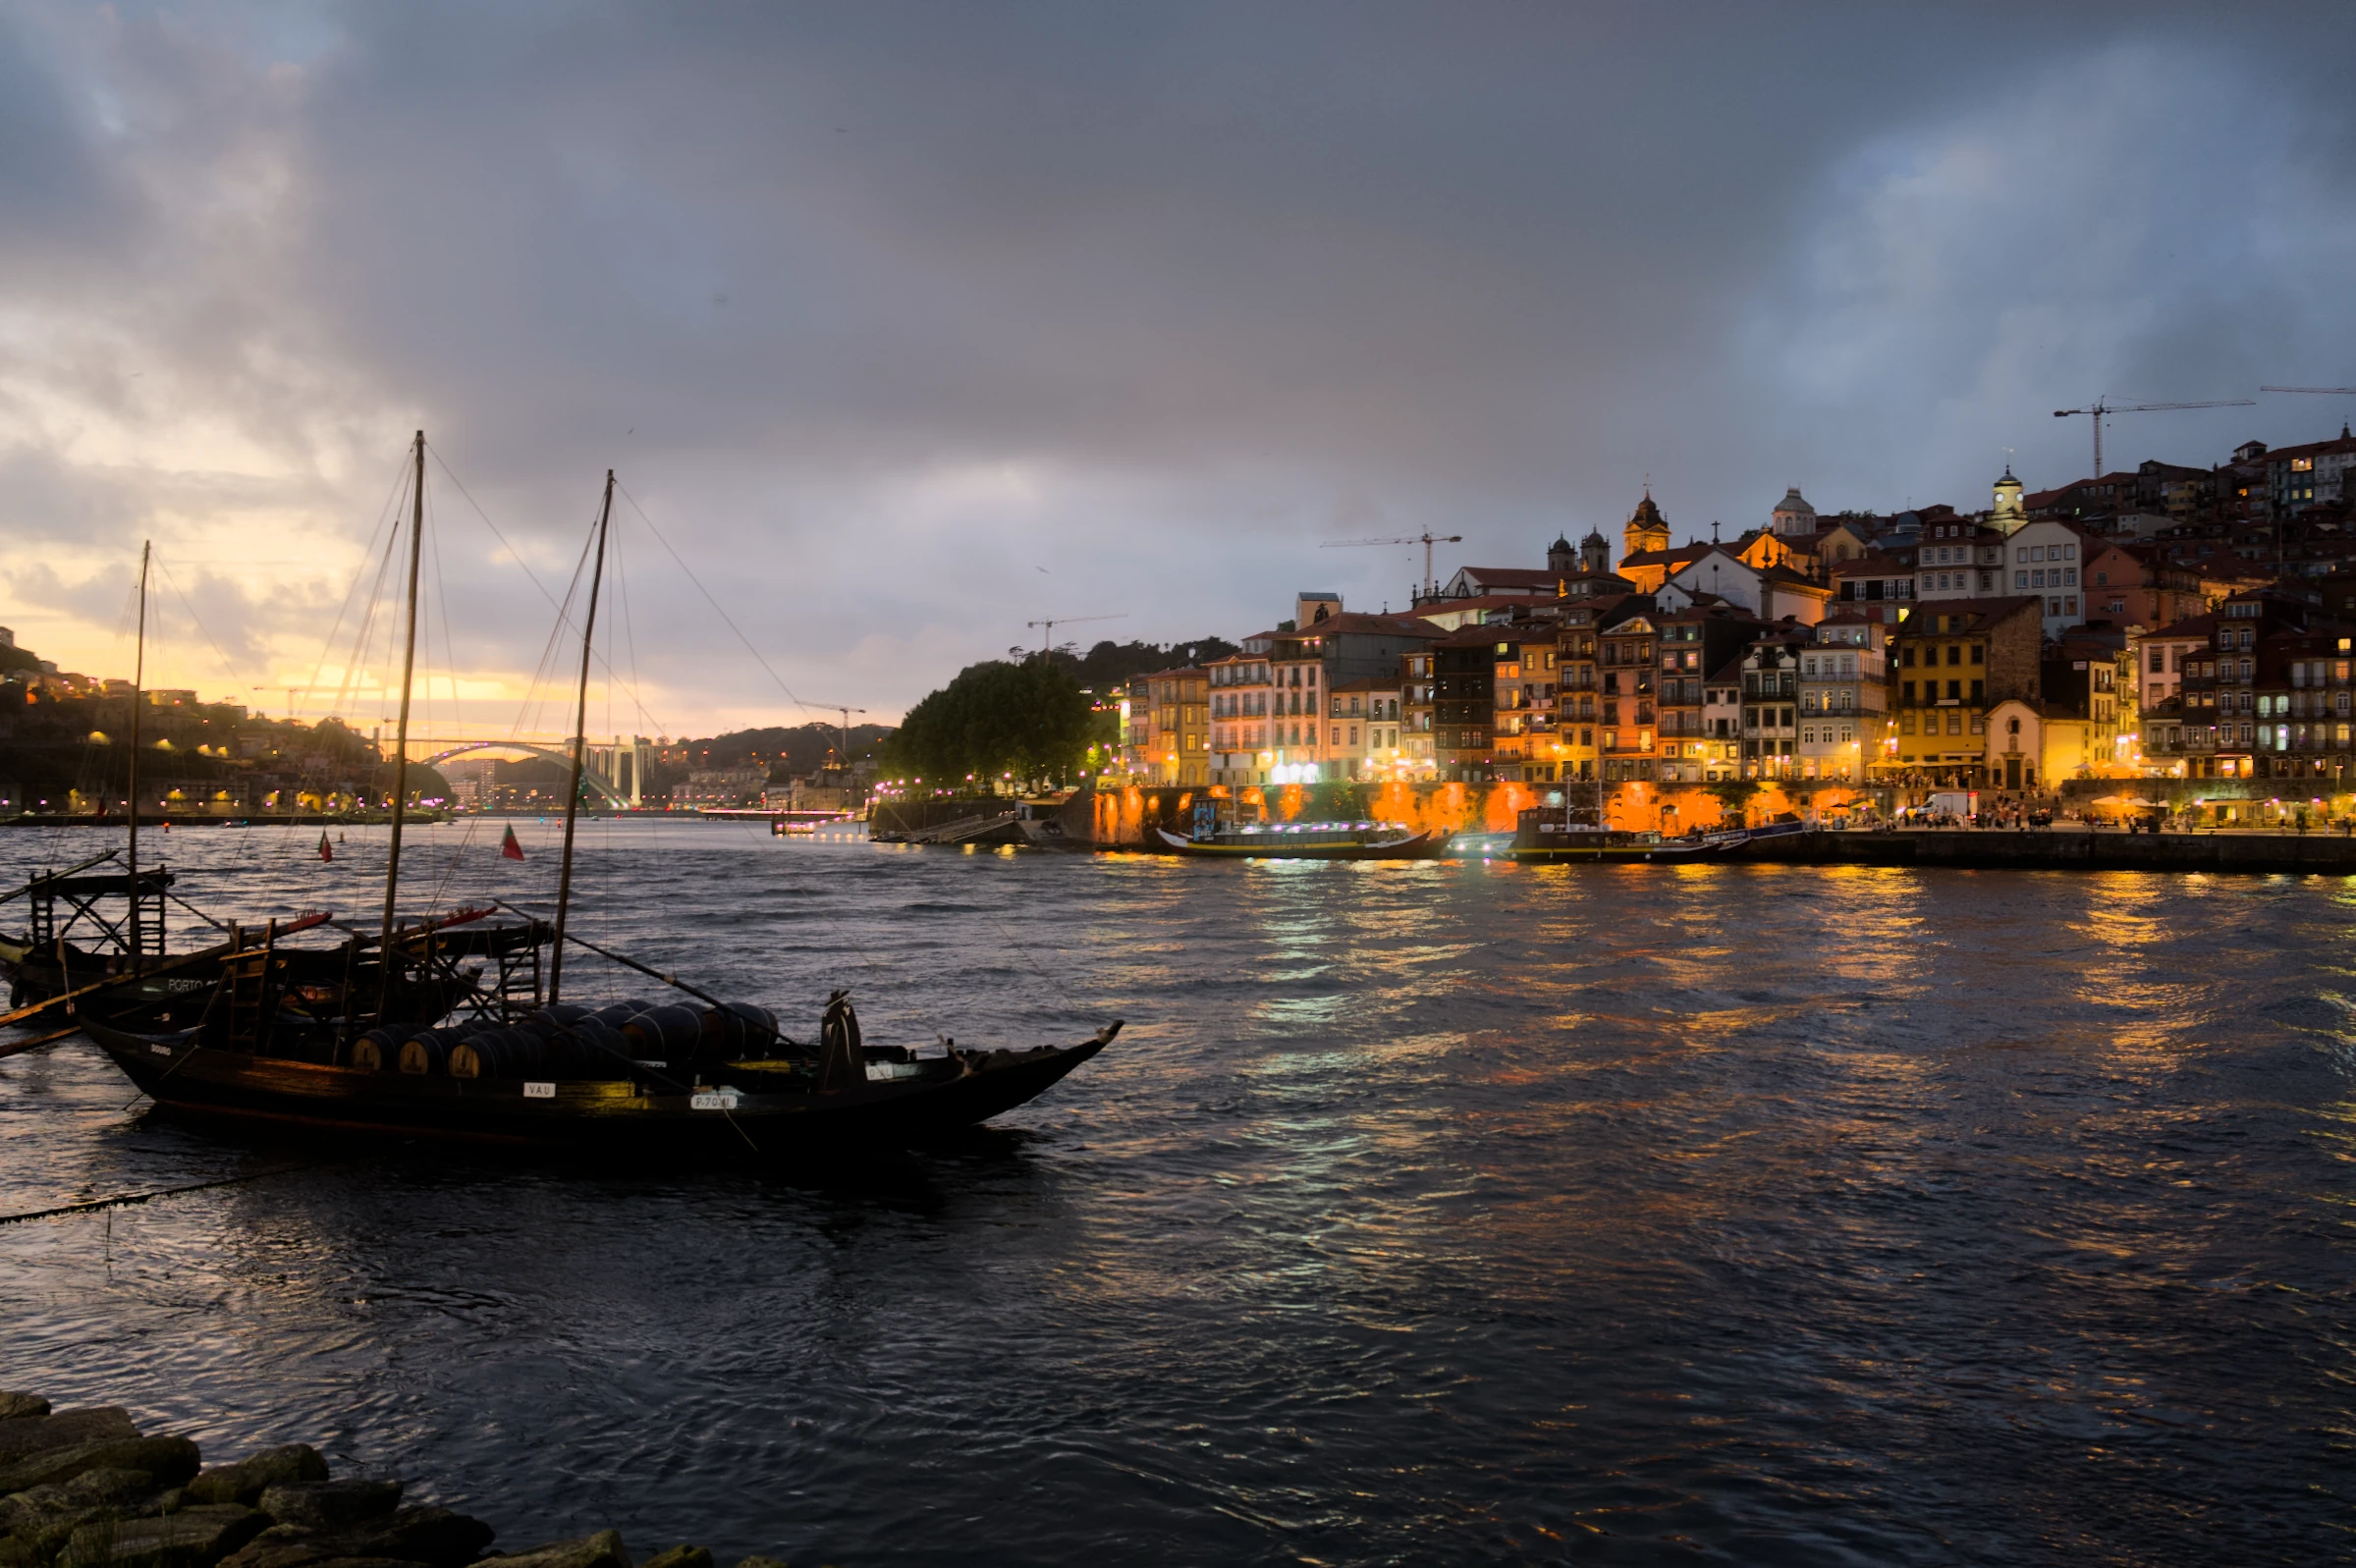
For this example, we edited eight photographs. Personal learned from the six that matched this scene and developed a ninth. Drag across the photograph to compare the clouds, reflections and shadows around the boats.
What does Personal learn?
Personal learns repeated light and colour preferences from comparable photographs using the same base and preset. It becomes more confident as examples accumulate, while keeping each adjustment within its learning limits. Manual adjustments take priority. The three thumbnails show part of this example’s eight-photo training set; each received the same set of authored changes.
Your look.
Across the whole set.
Select your photographs and apply a recipe once. Auto develops each RAW for its own light, so the same look works across sunlit streets and deep shade.
 Everyday + Airy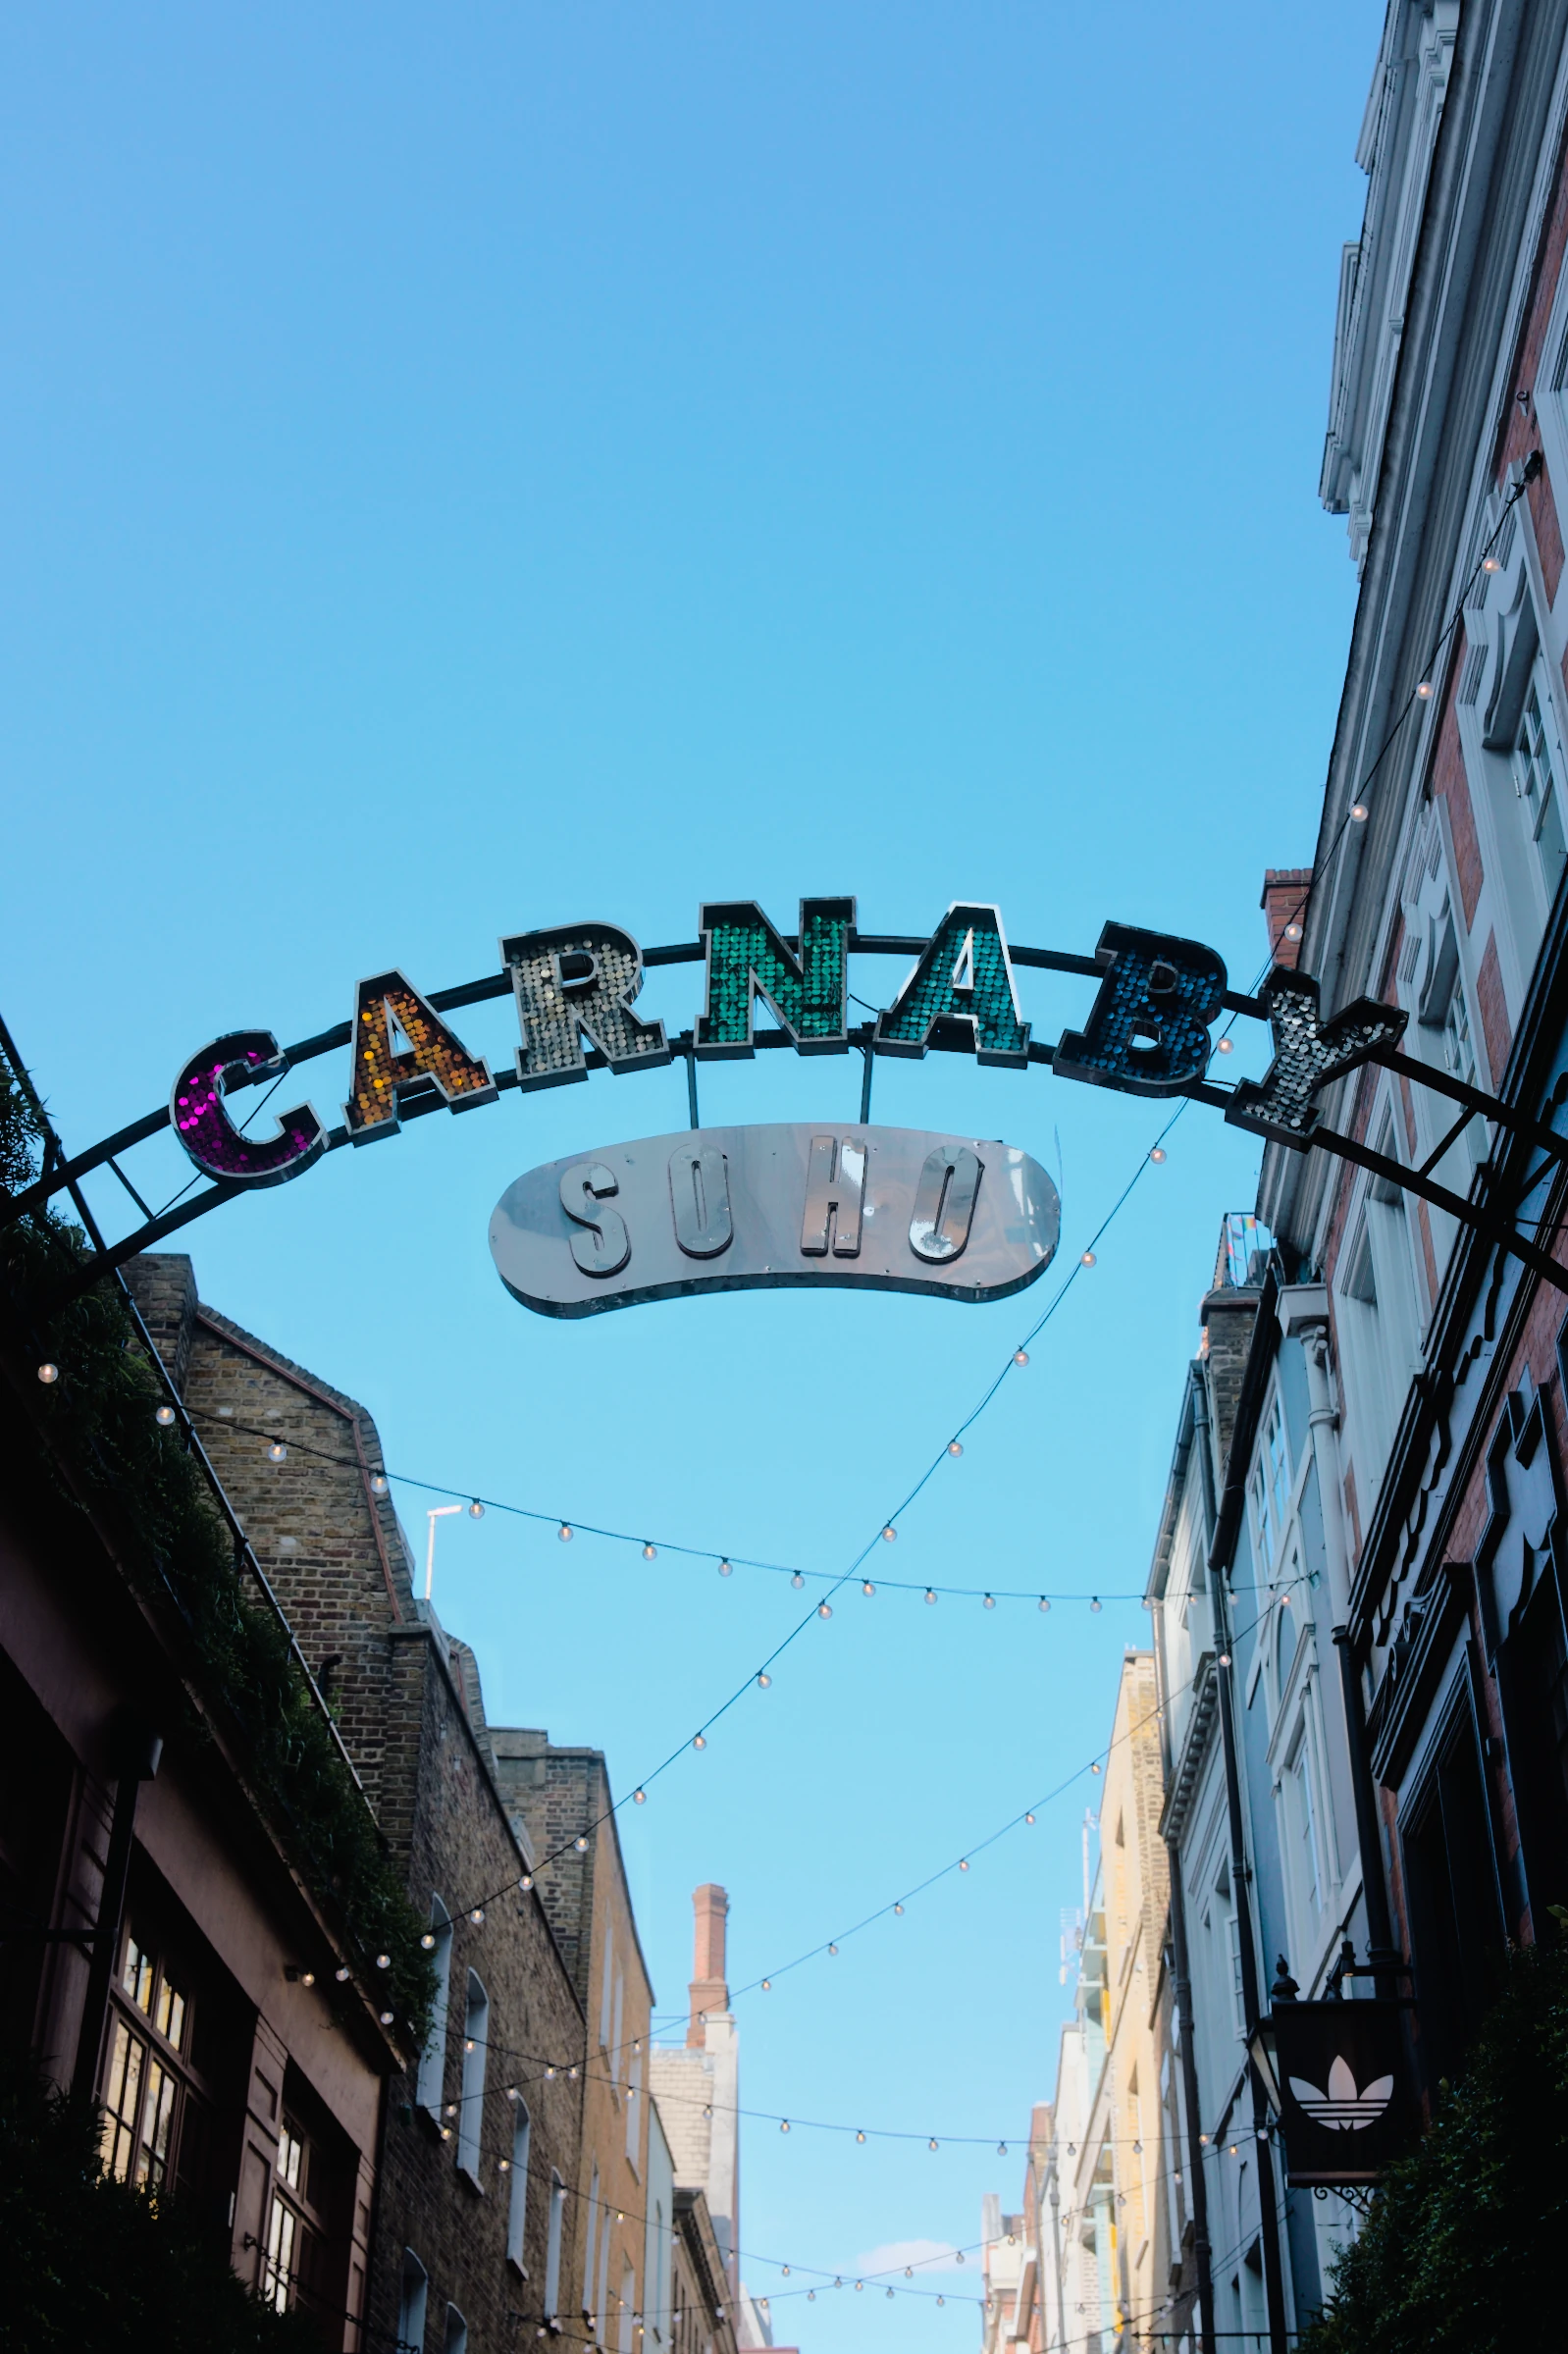
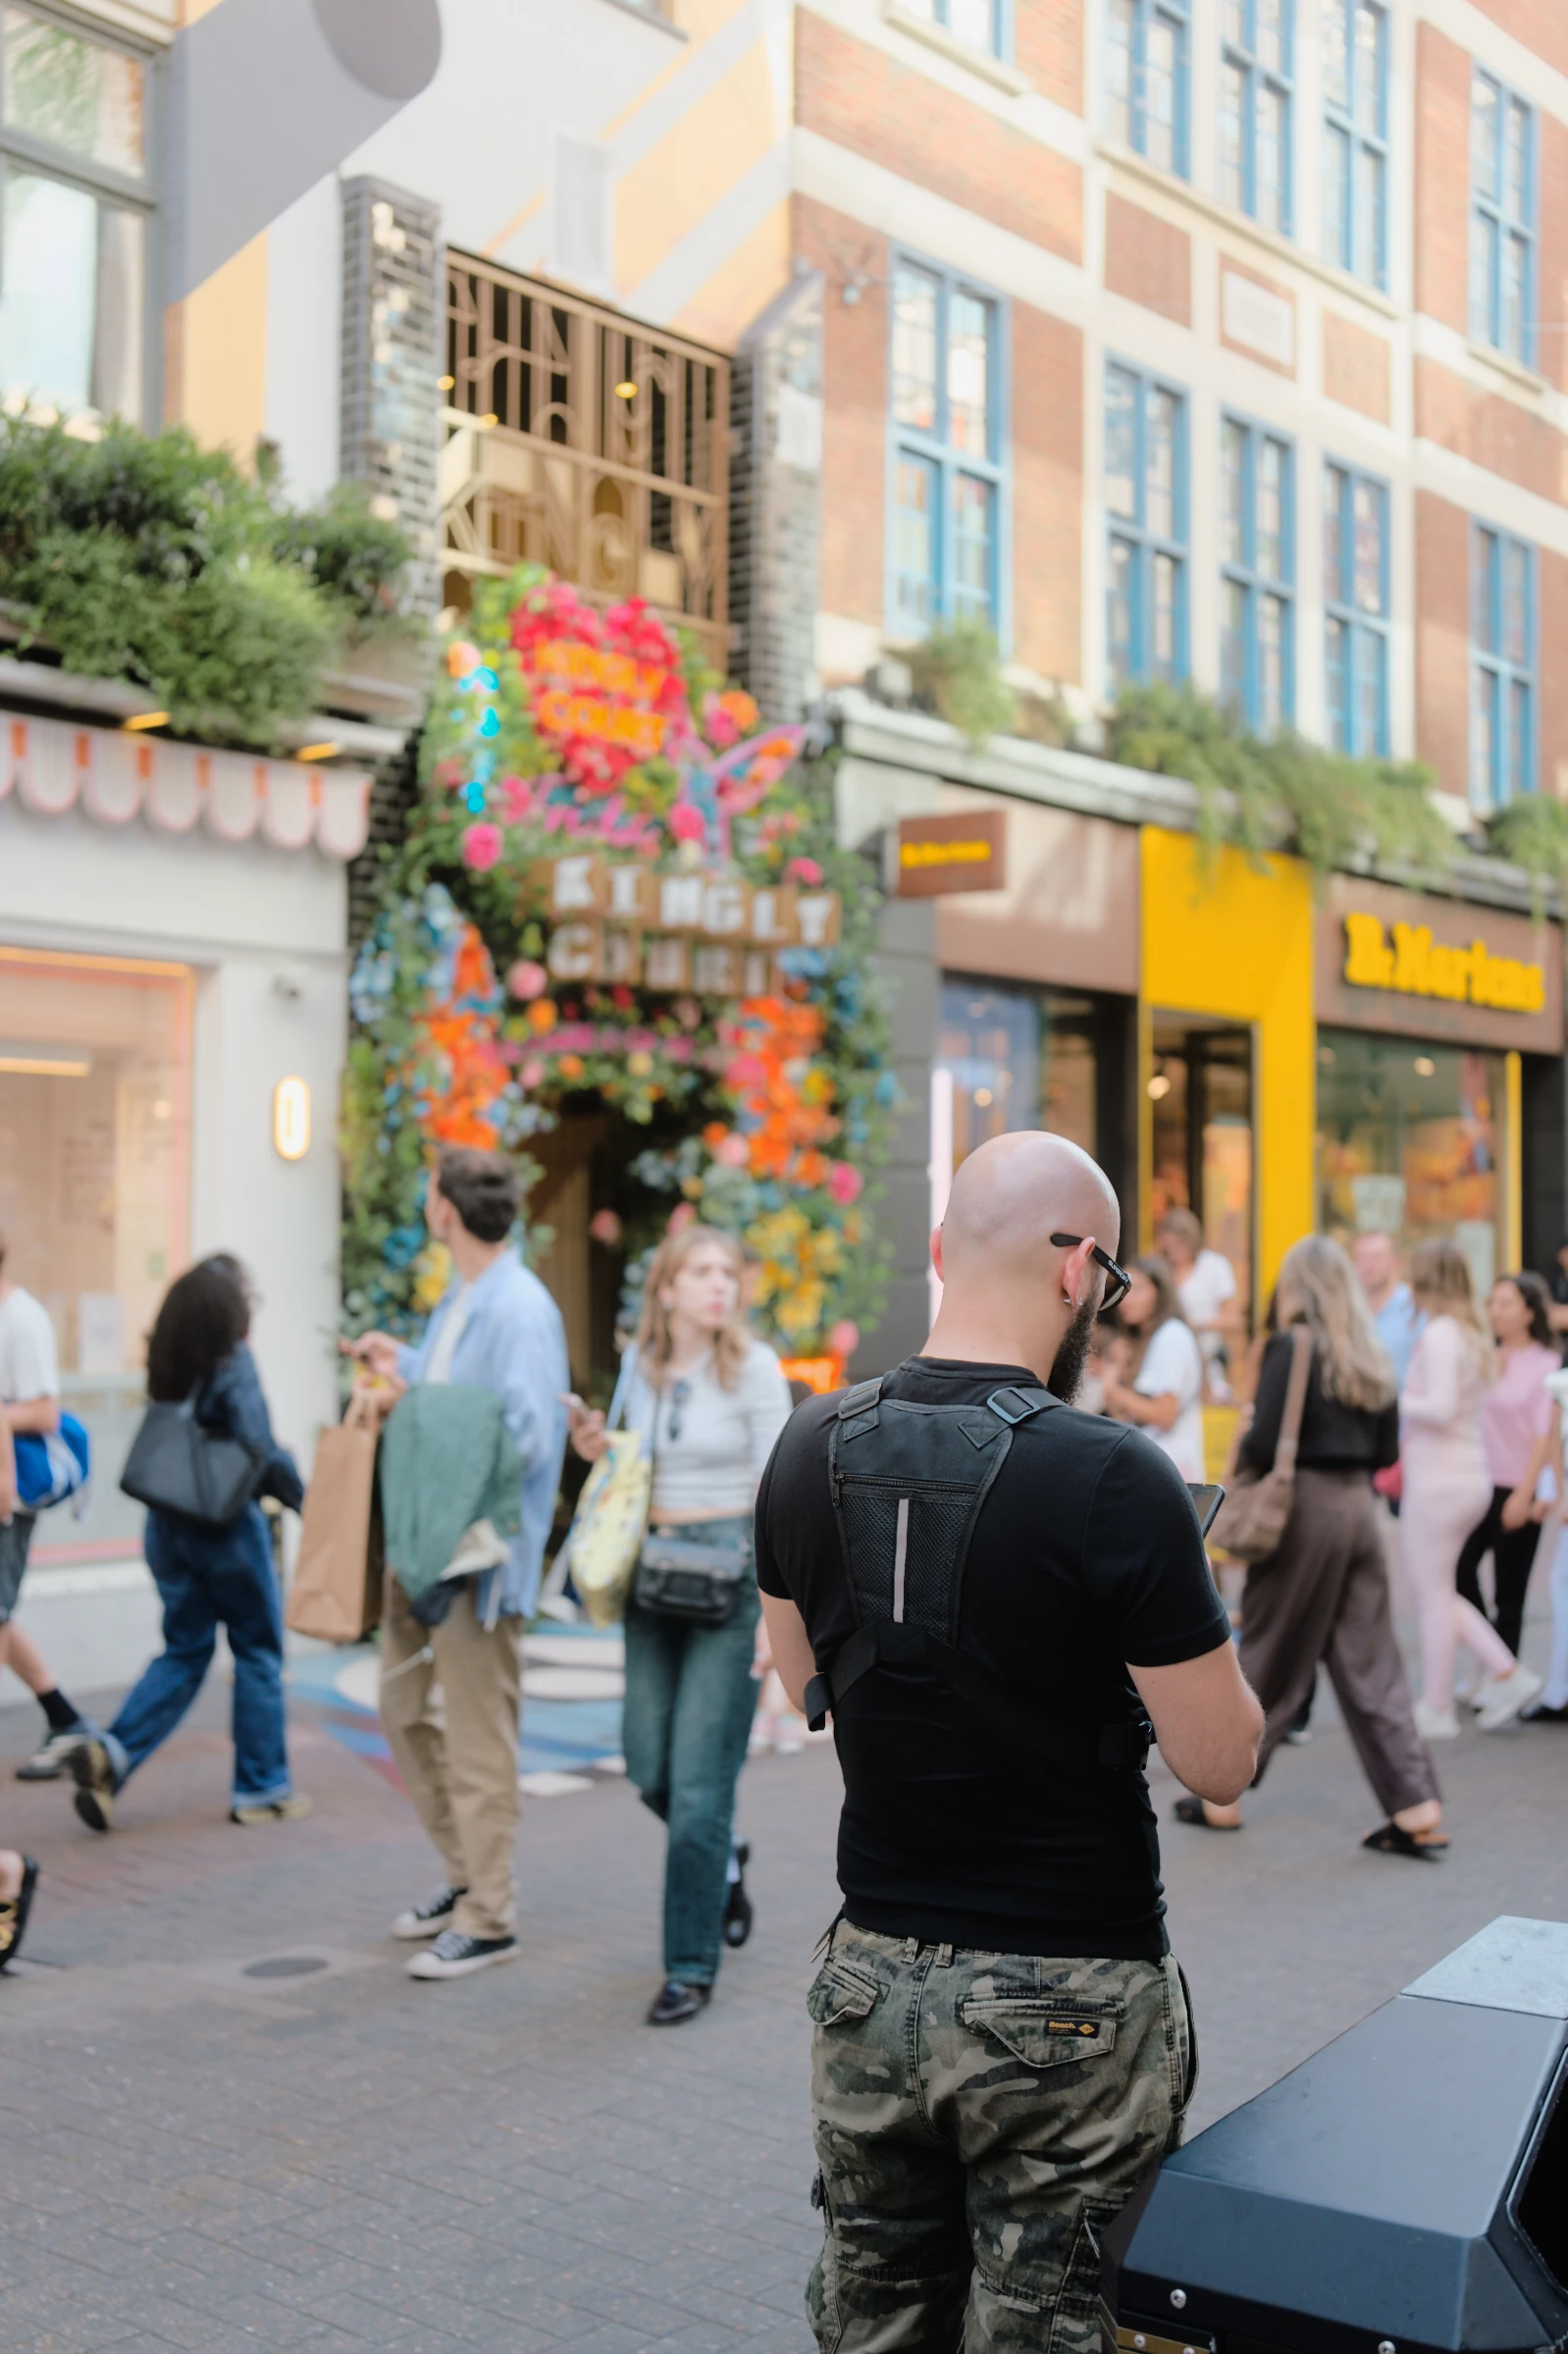
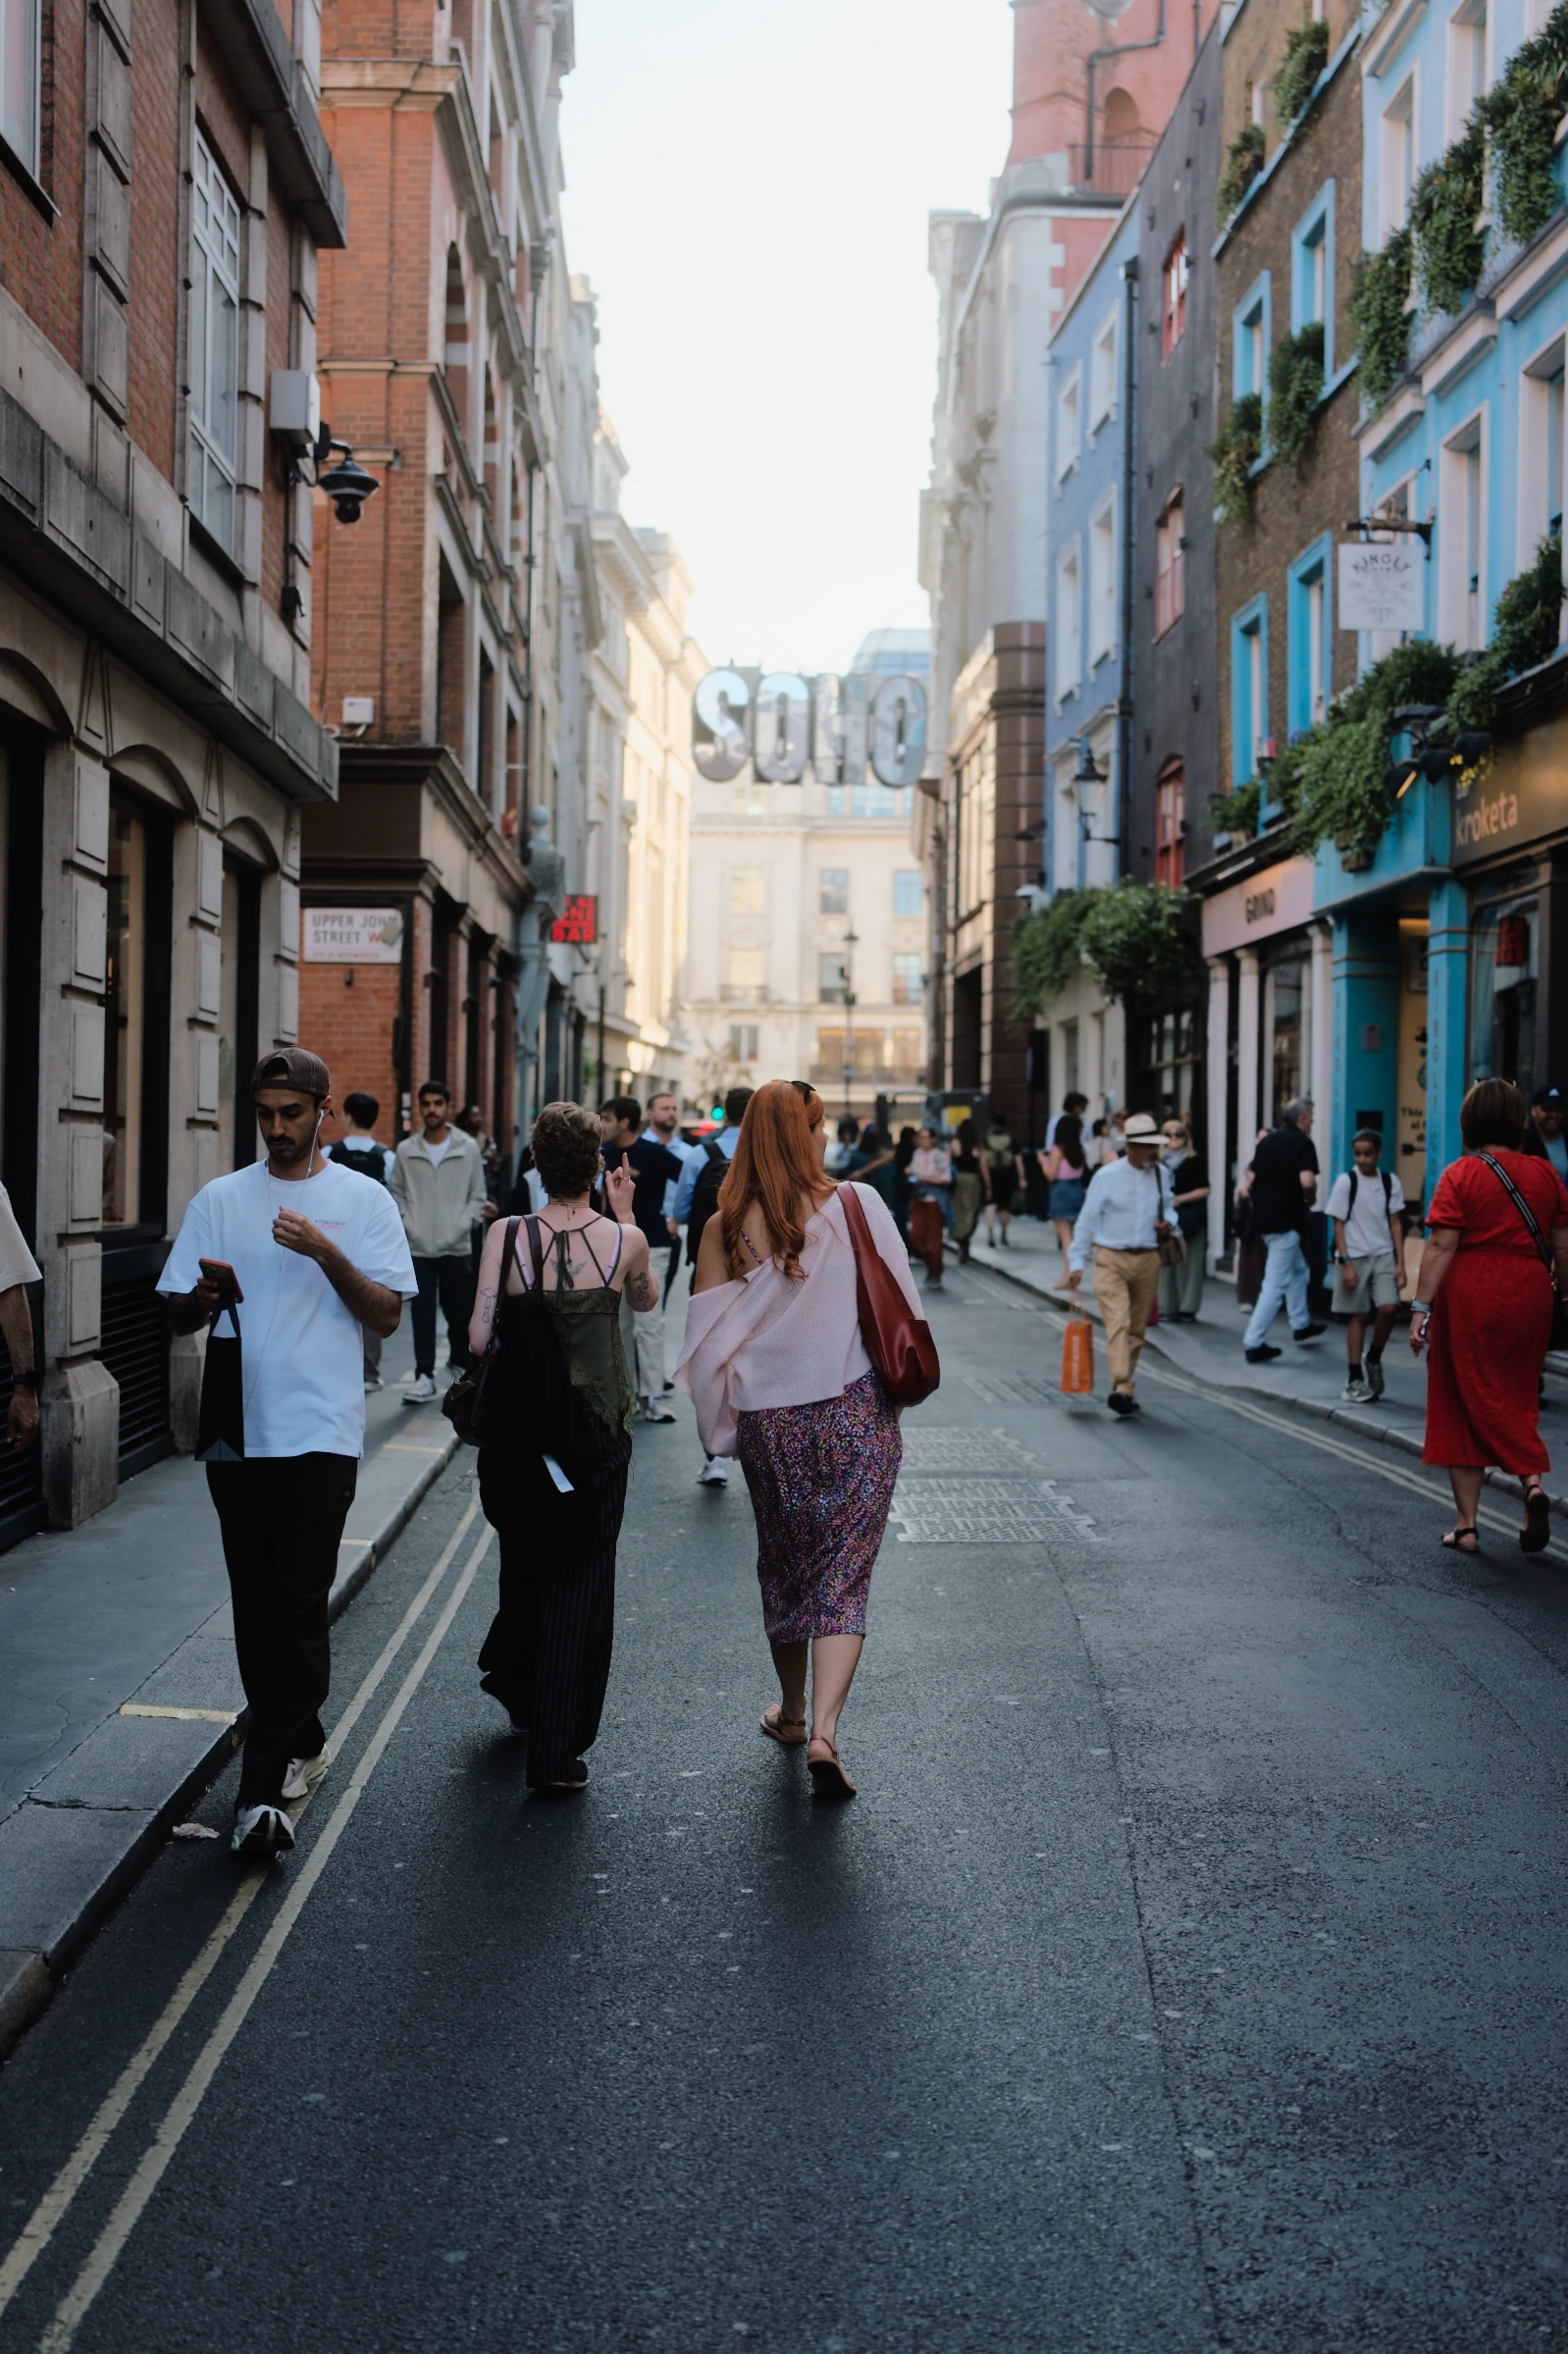
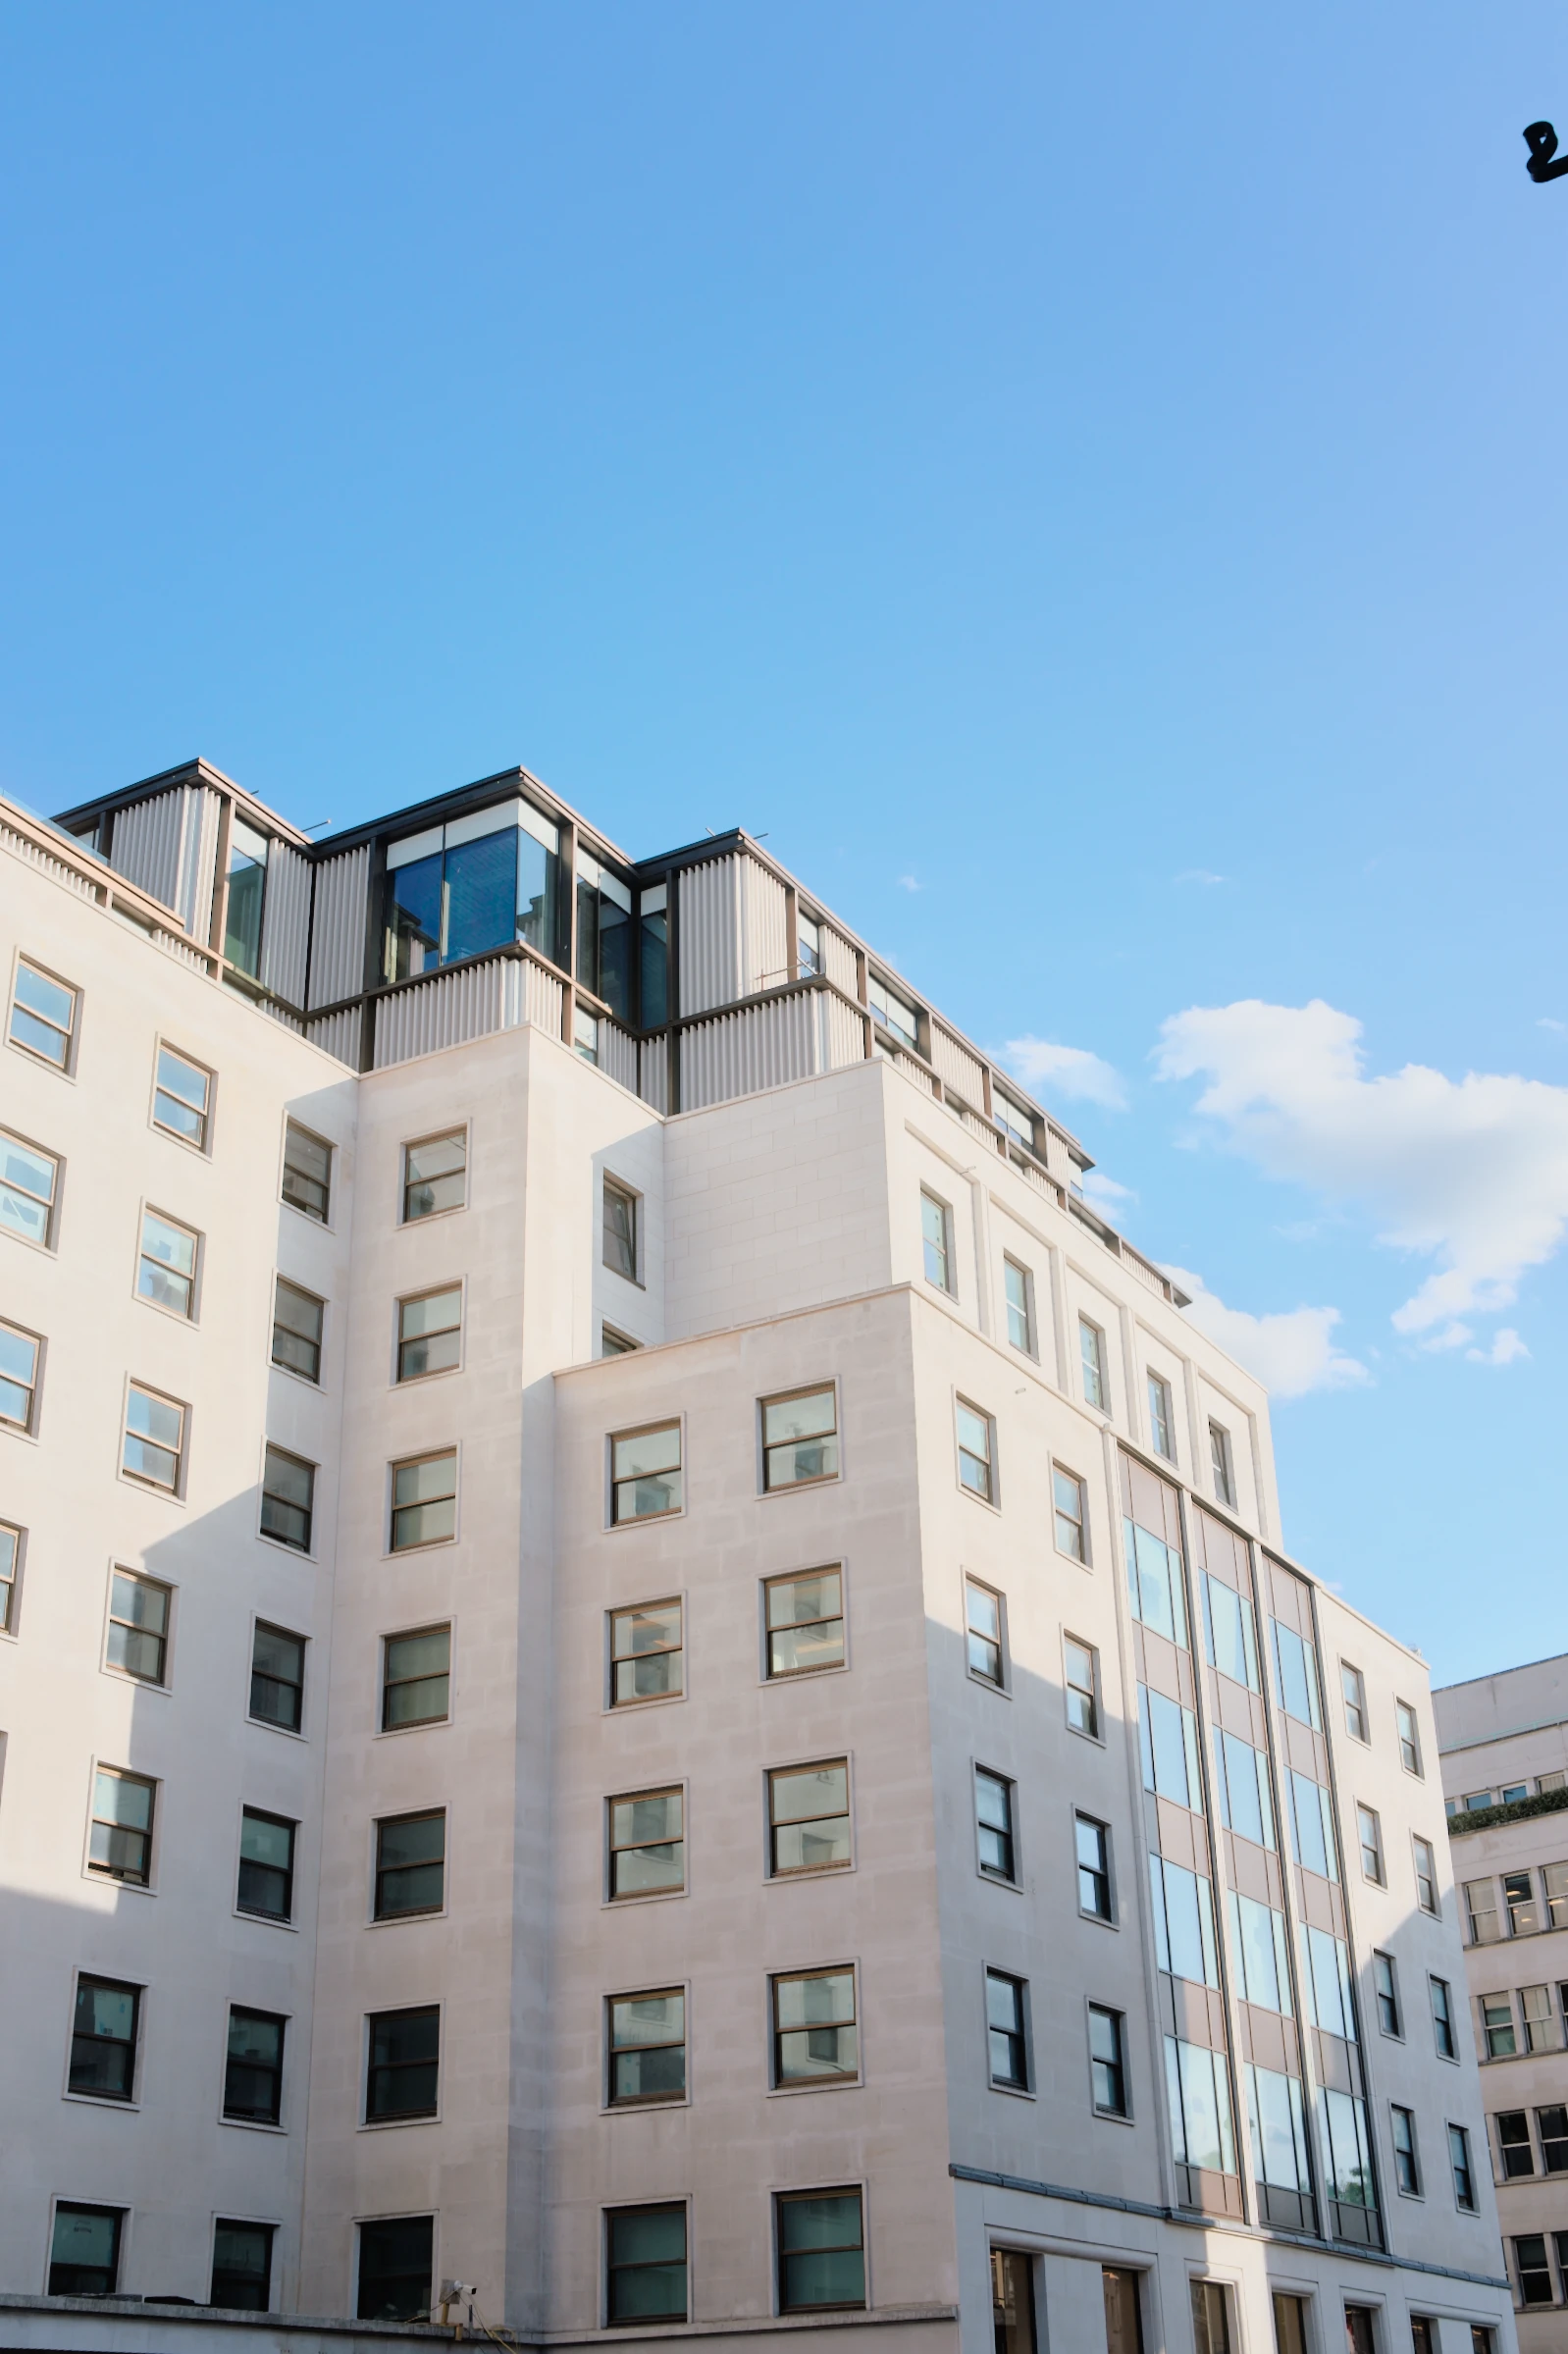
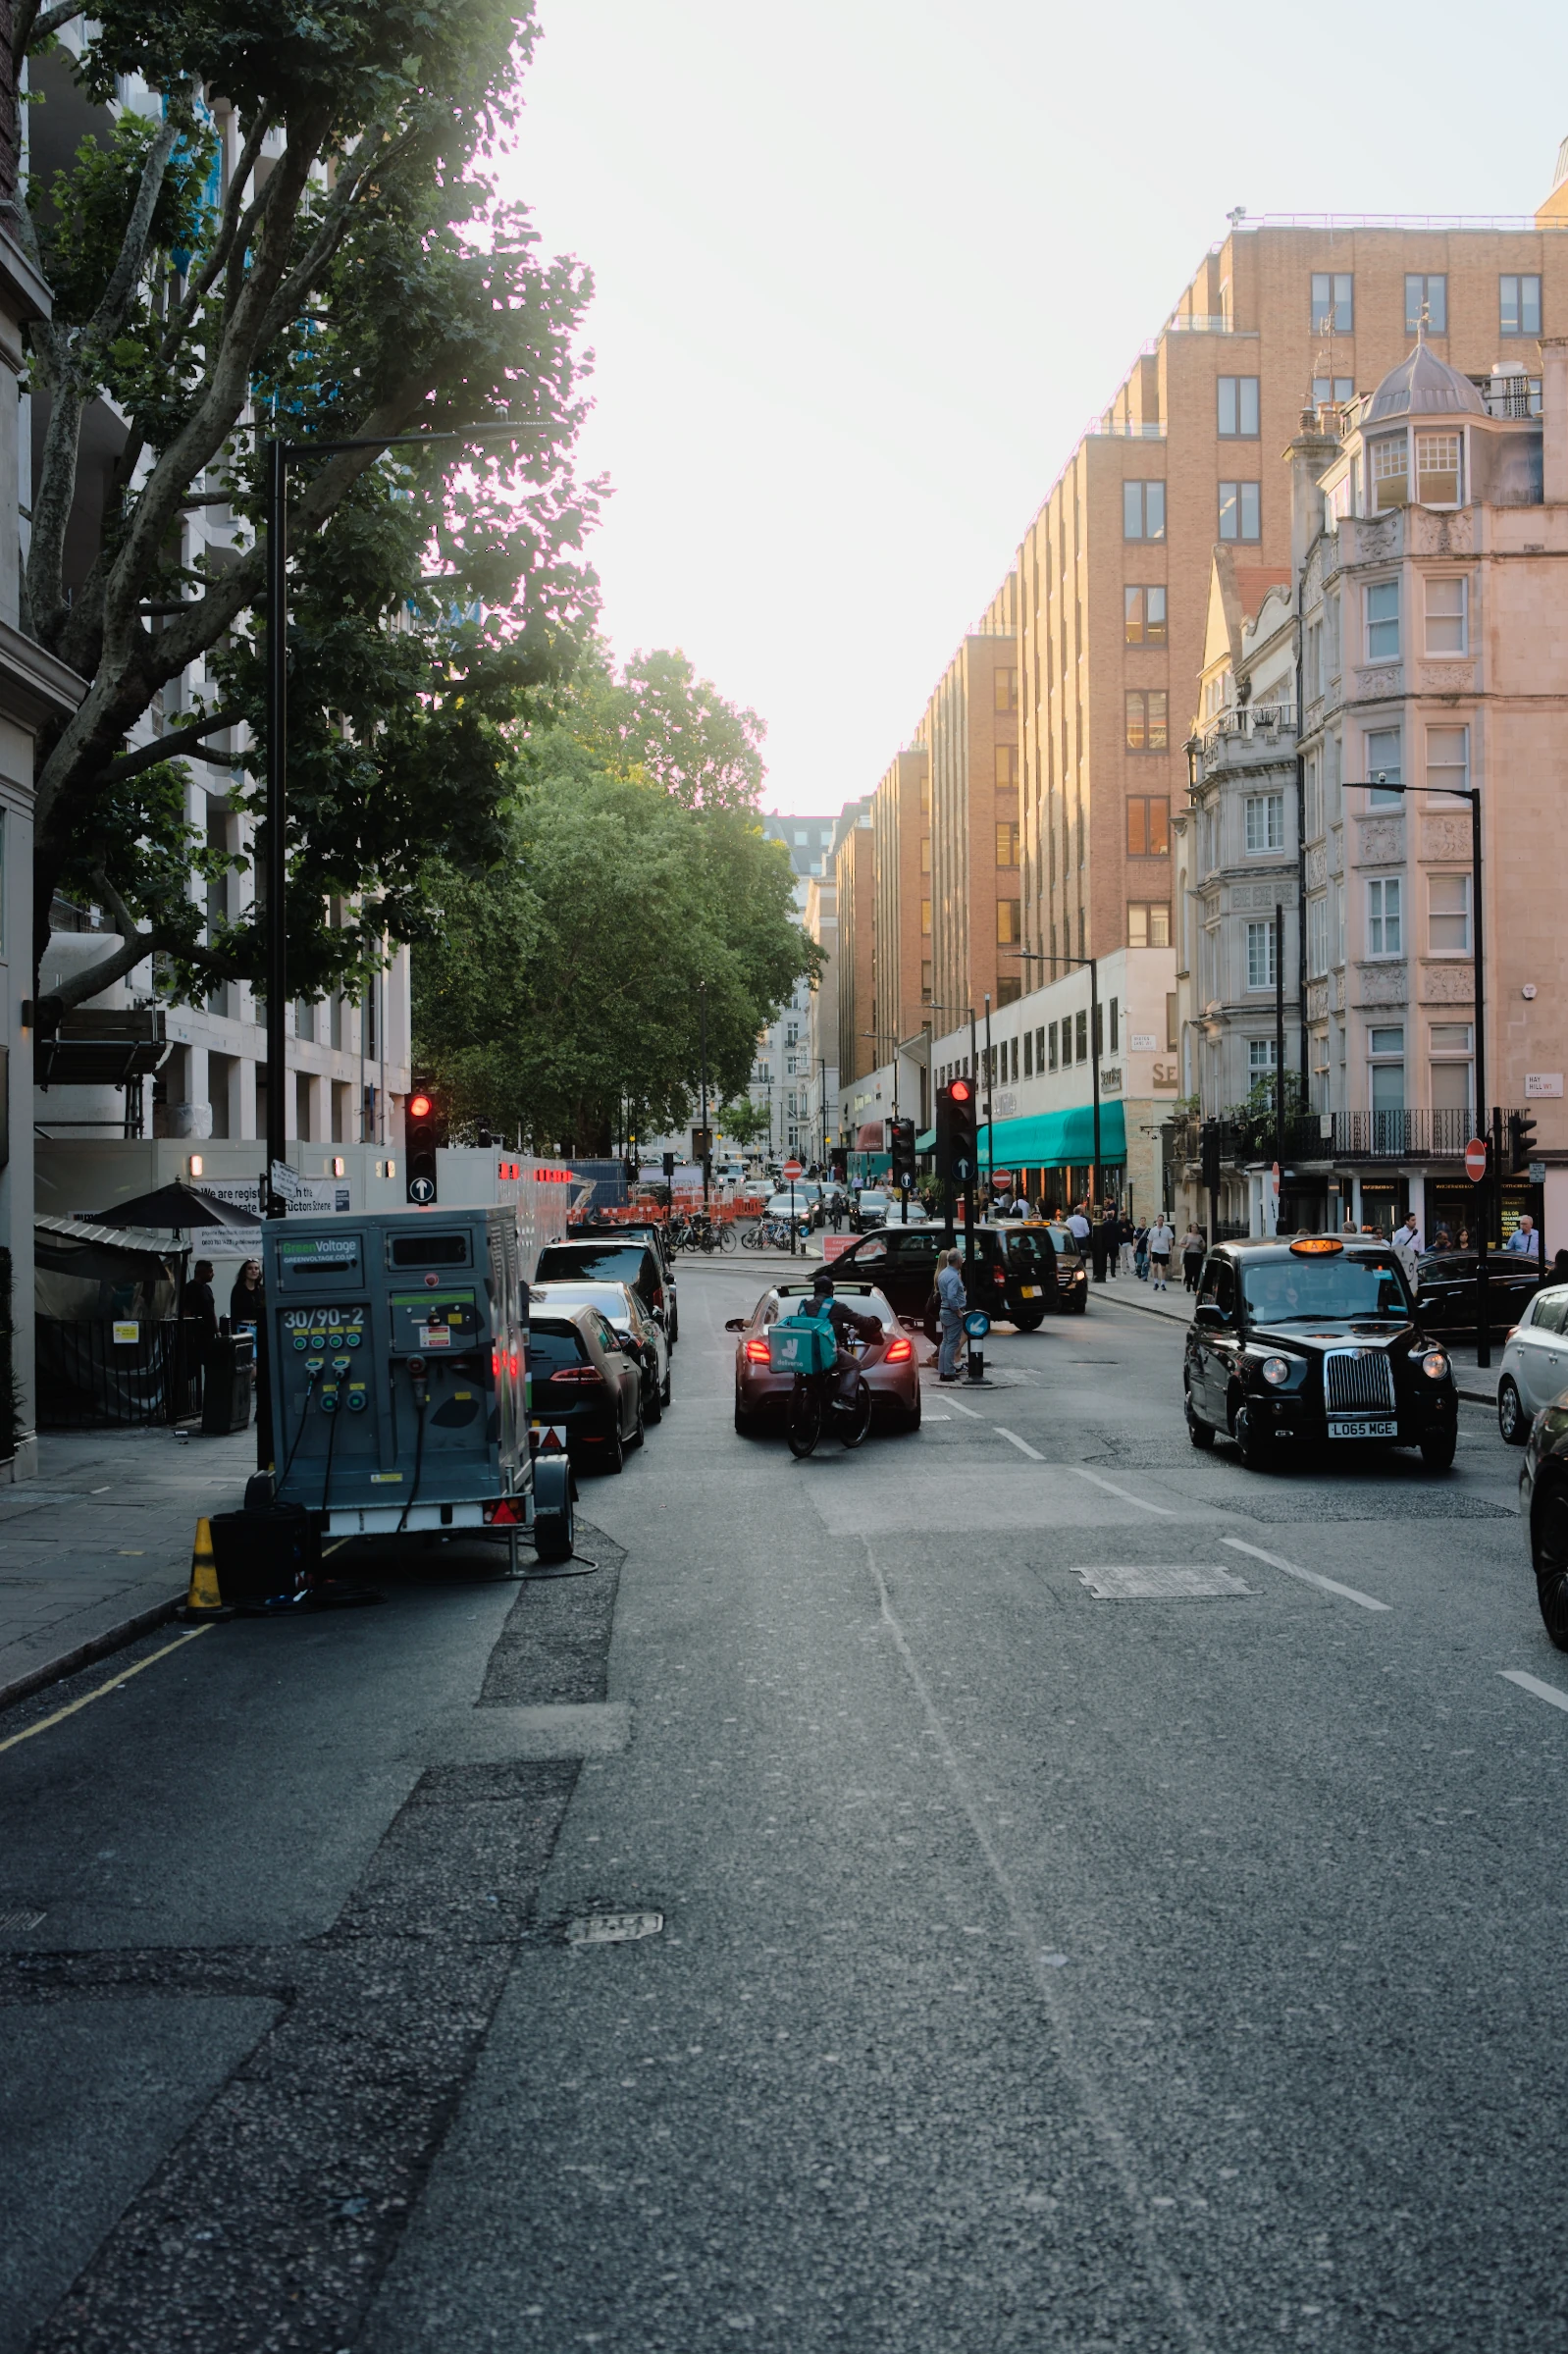
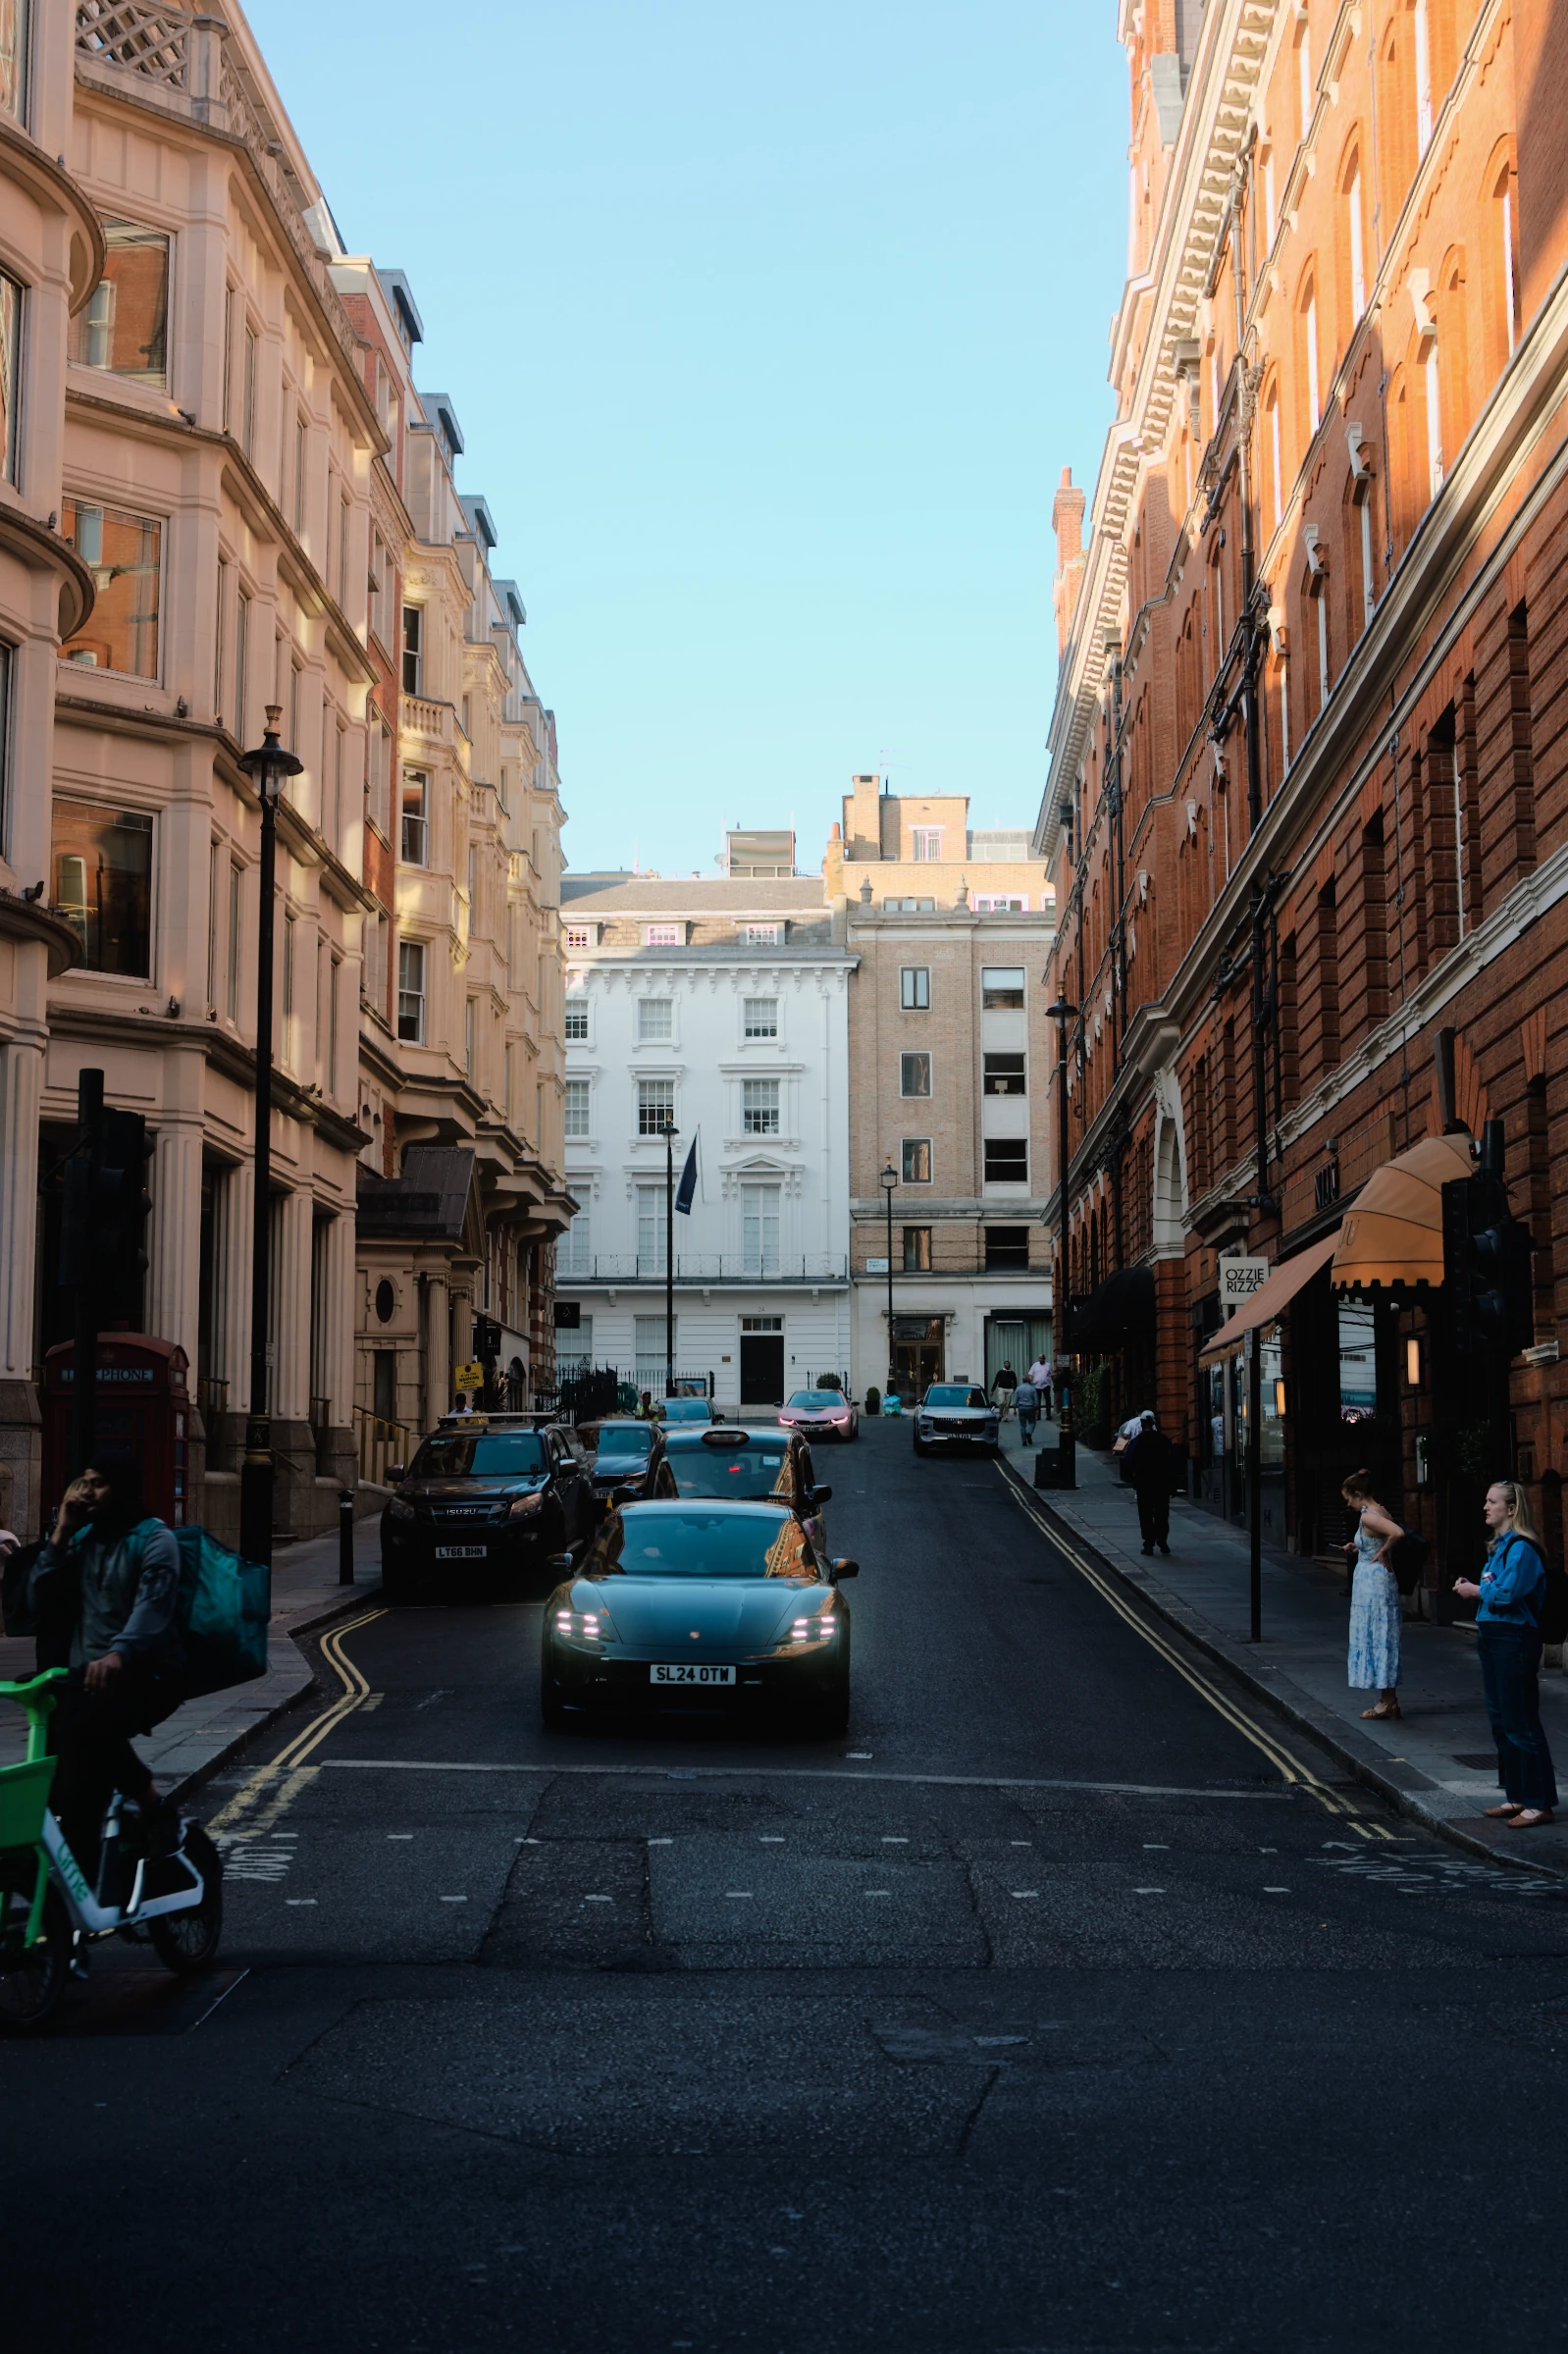
Illustrated workflow. All six photographs were developed in ABNEY.
As much editing
as you feel like.
Auto may be all you need. When you want to change something, the full editor is there.
Start with Light, Colour and Finish. Open the detailed controls for finer adjustments, and save the settings you want to use again.
At home in Apple Photos.
Open RAWs from your Photos library and save the developed photographs back alongside them.
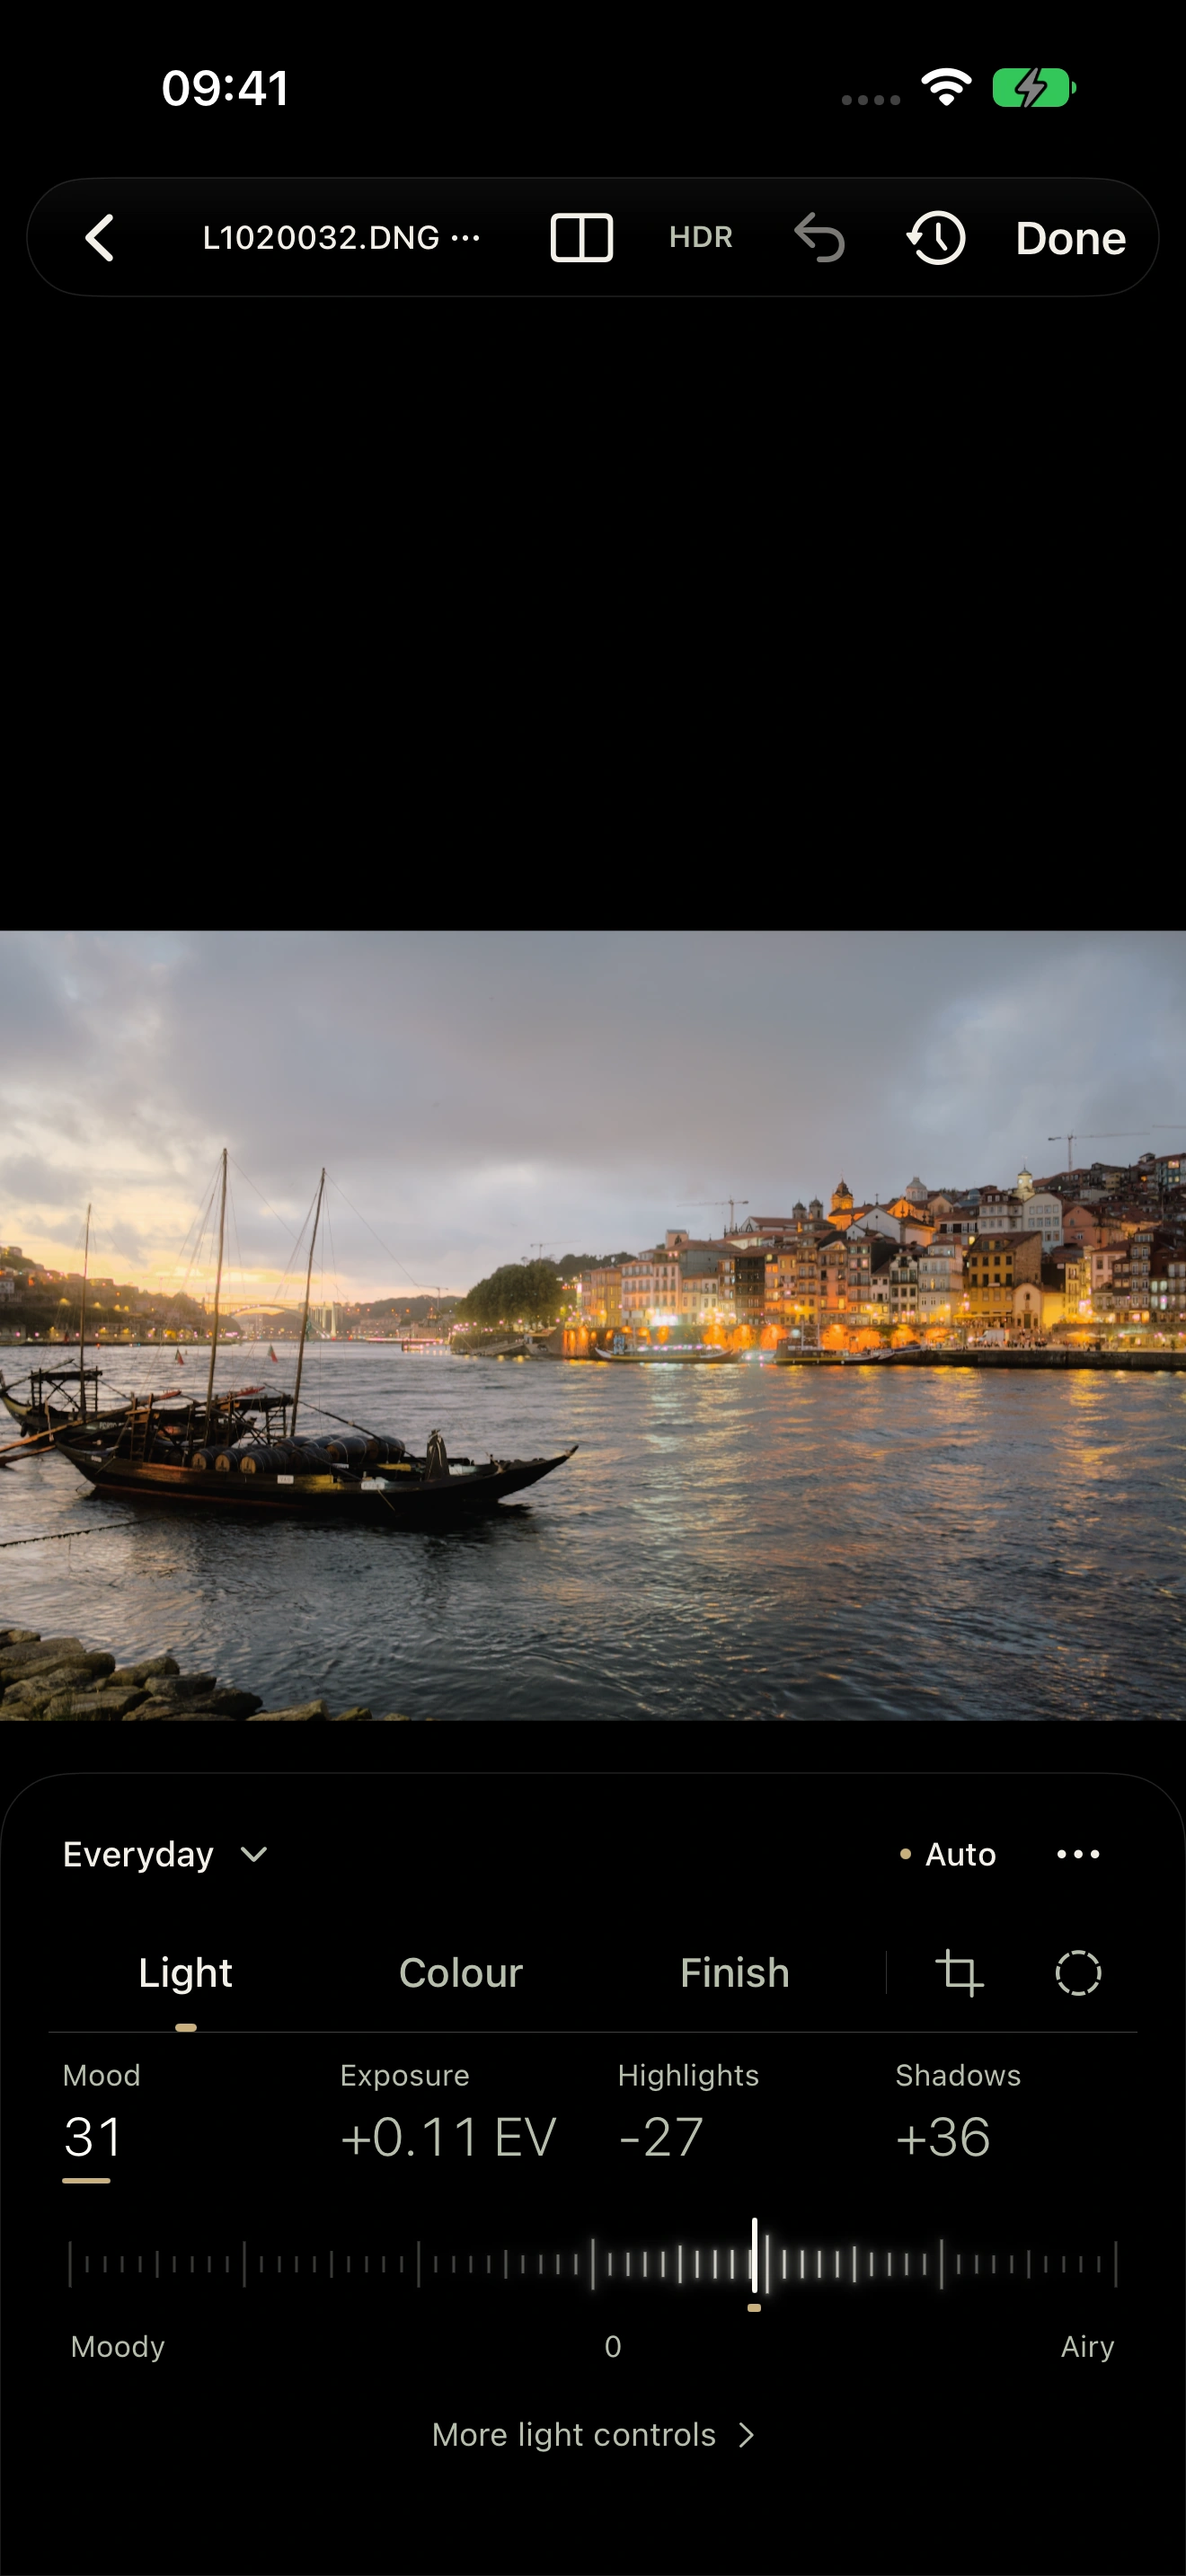
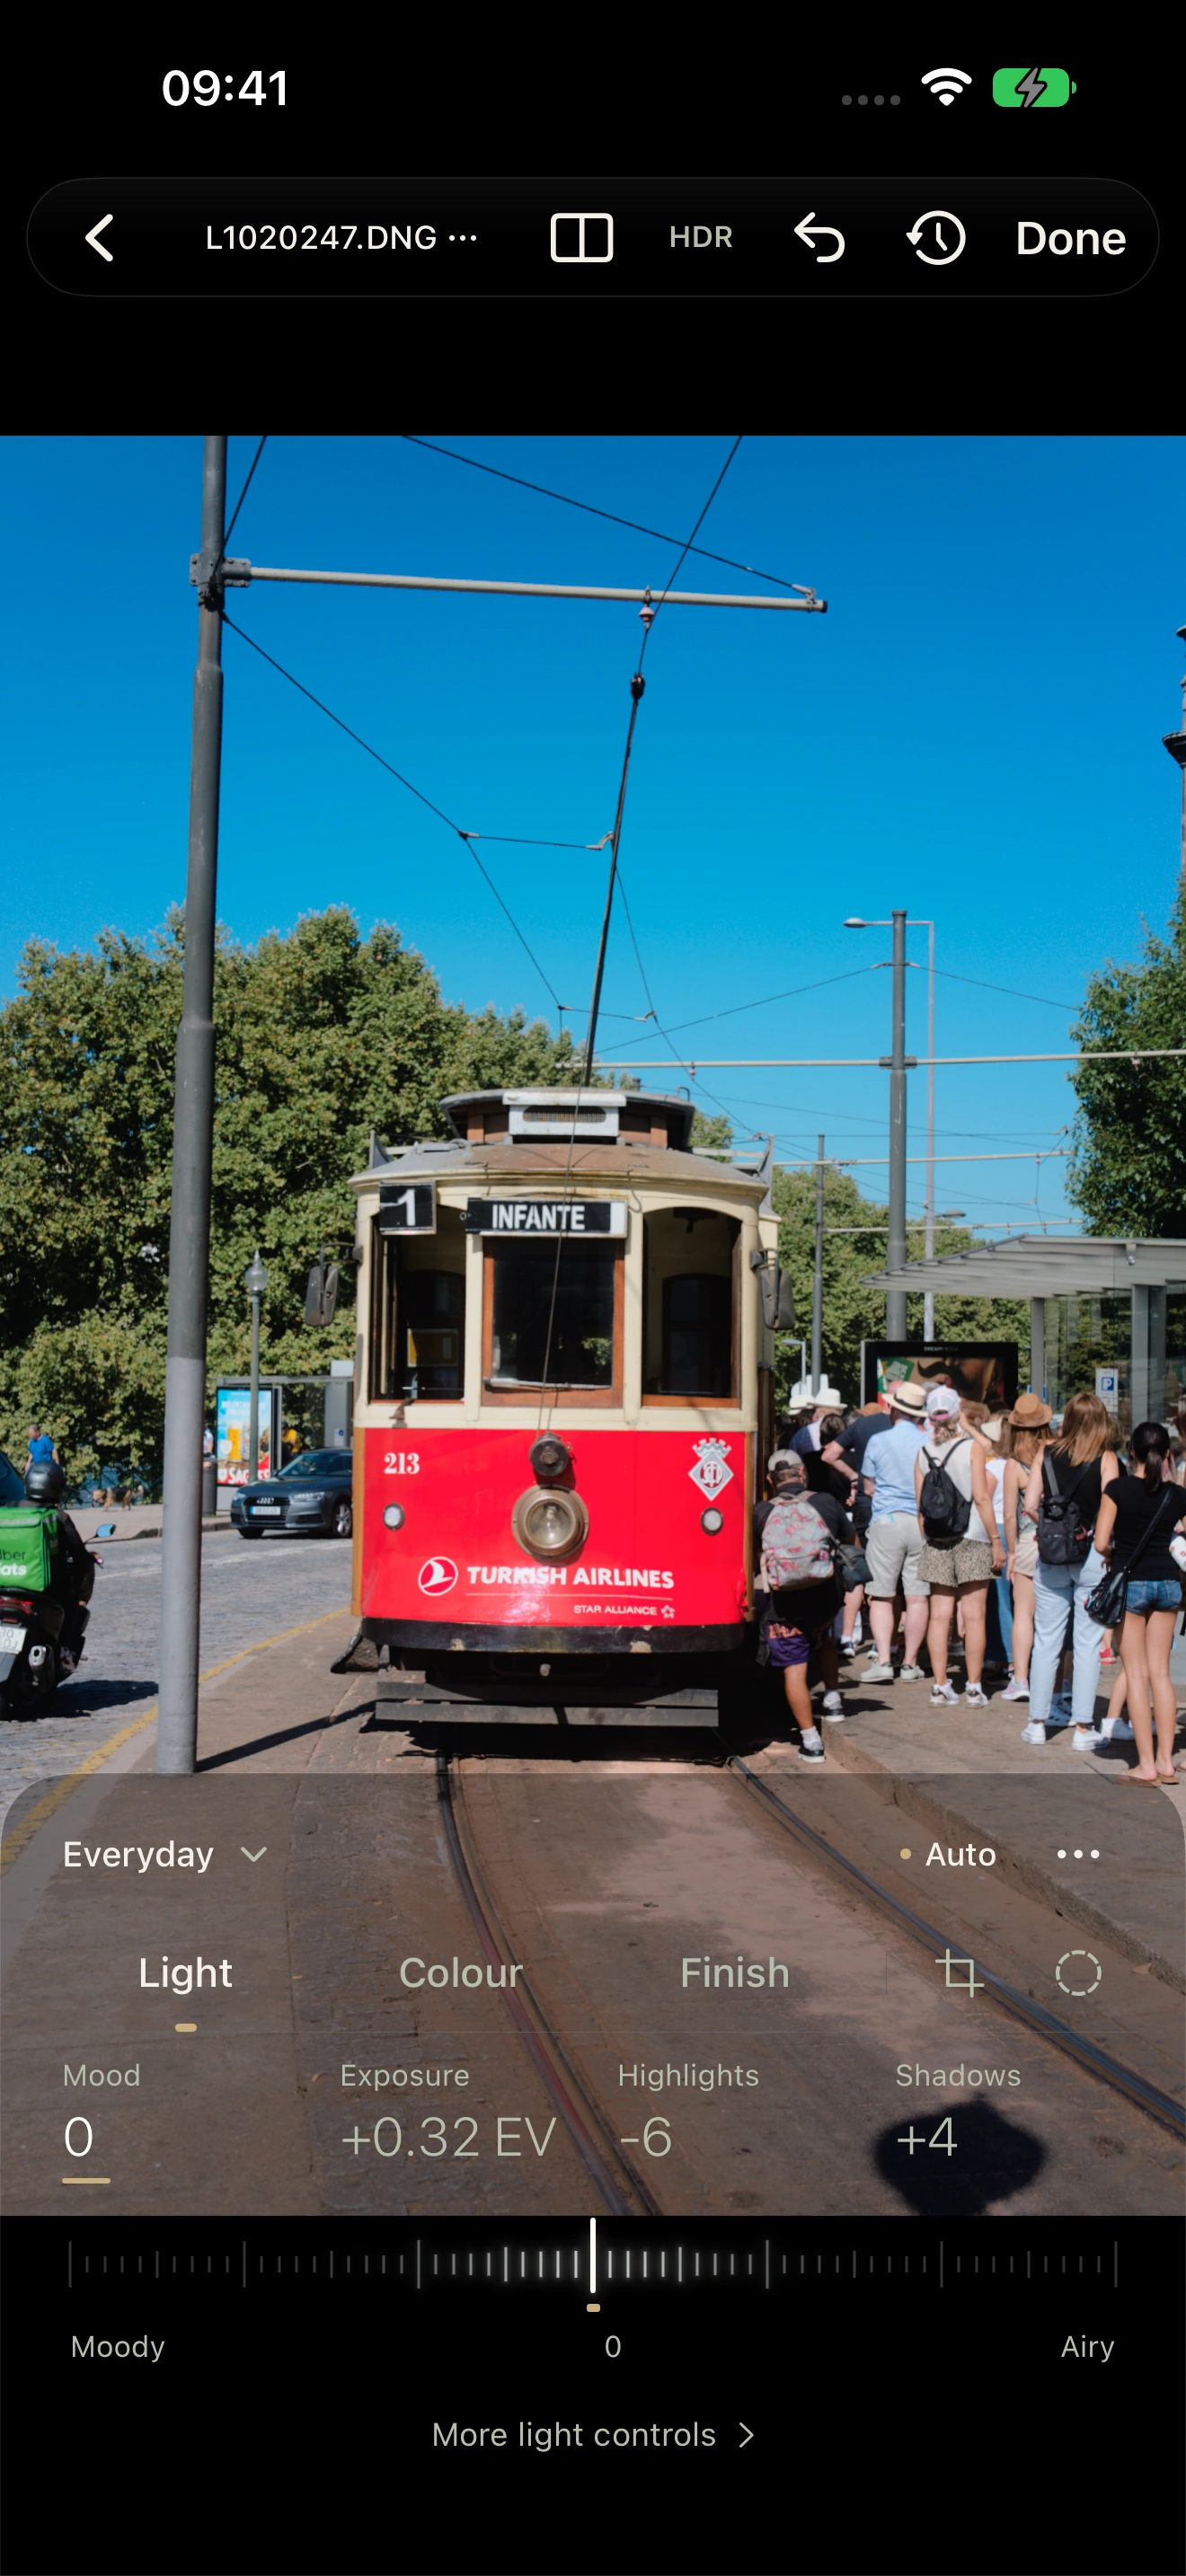
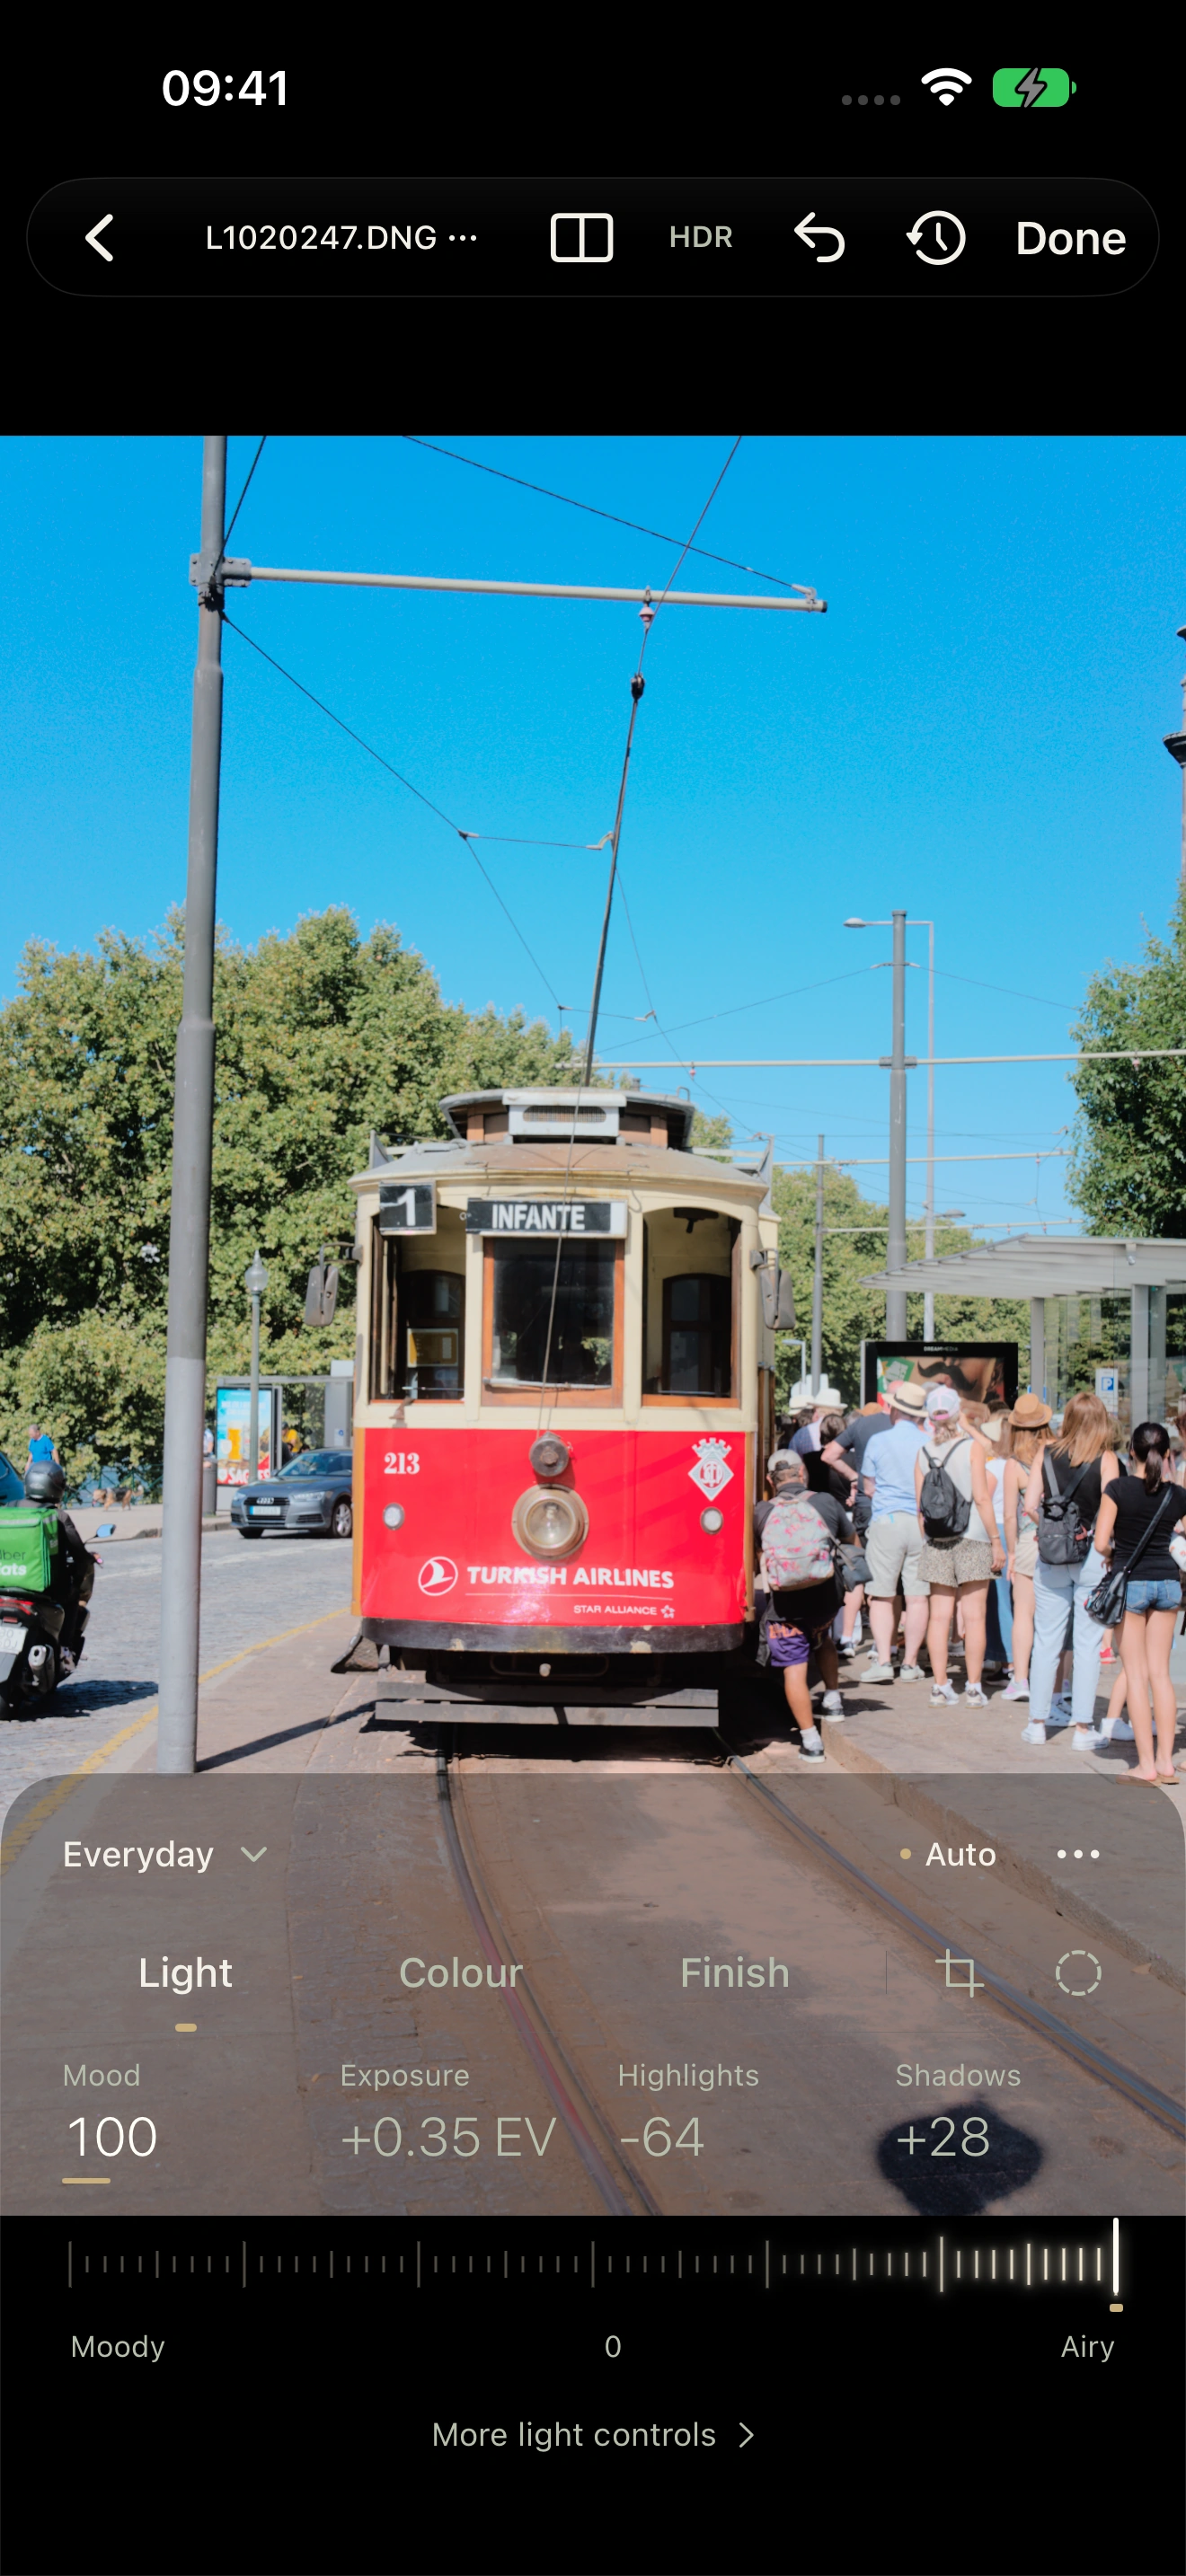
The photograph and its Light controls, together.
Captured in the current app.
A few things
worth knowing.
Do I need to know how to edit?
No. Auto gives you a developed starting point. Keep natural colour or choose a film look. Everything stays editable if you decide to make changes.
Which RAW files can I use?
ABNEY is built for RAWs from supported cameras, including imported files. The iPhone app also supports Sensor RAW and Apple ProRAW where the device allows it. Compatibility depends on the camera format and the decoder available on your device.
Can I make my own presets?
Yes. Start with a profile or existing preset, adjust its treatment, and save your recipe. The profile and adjustments stay together so you can reuse the look.
About these photographs
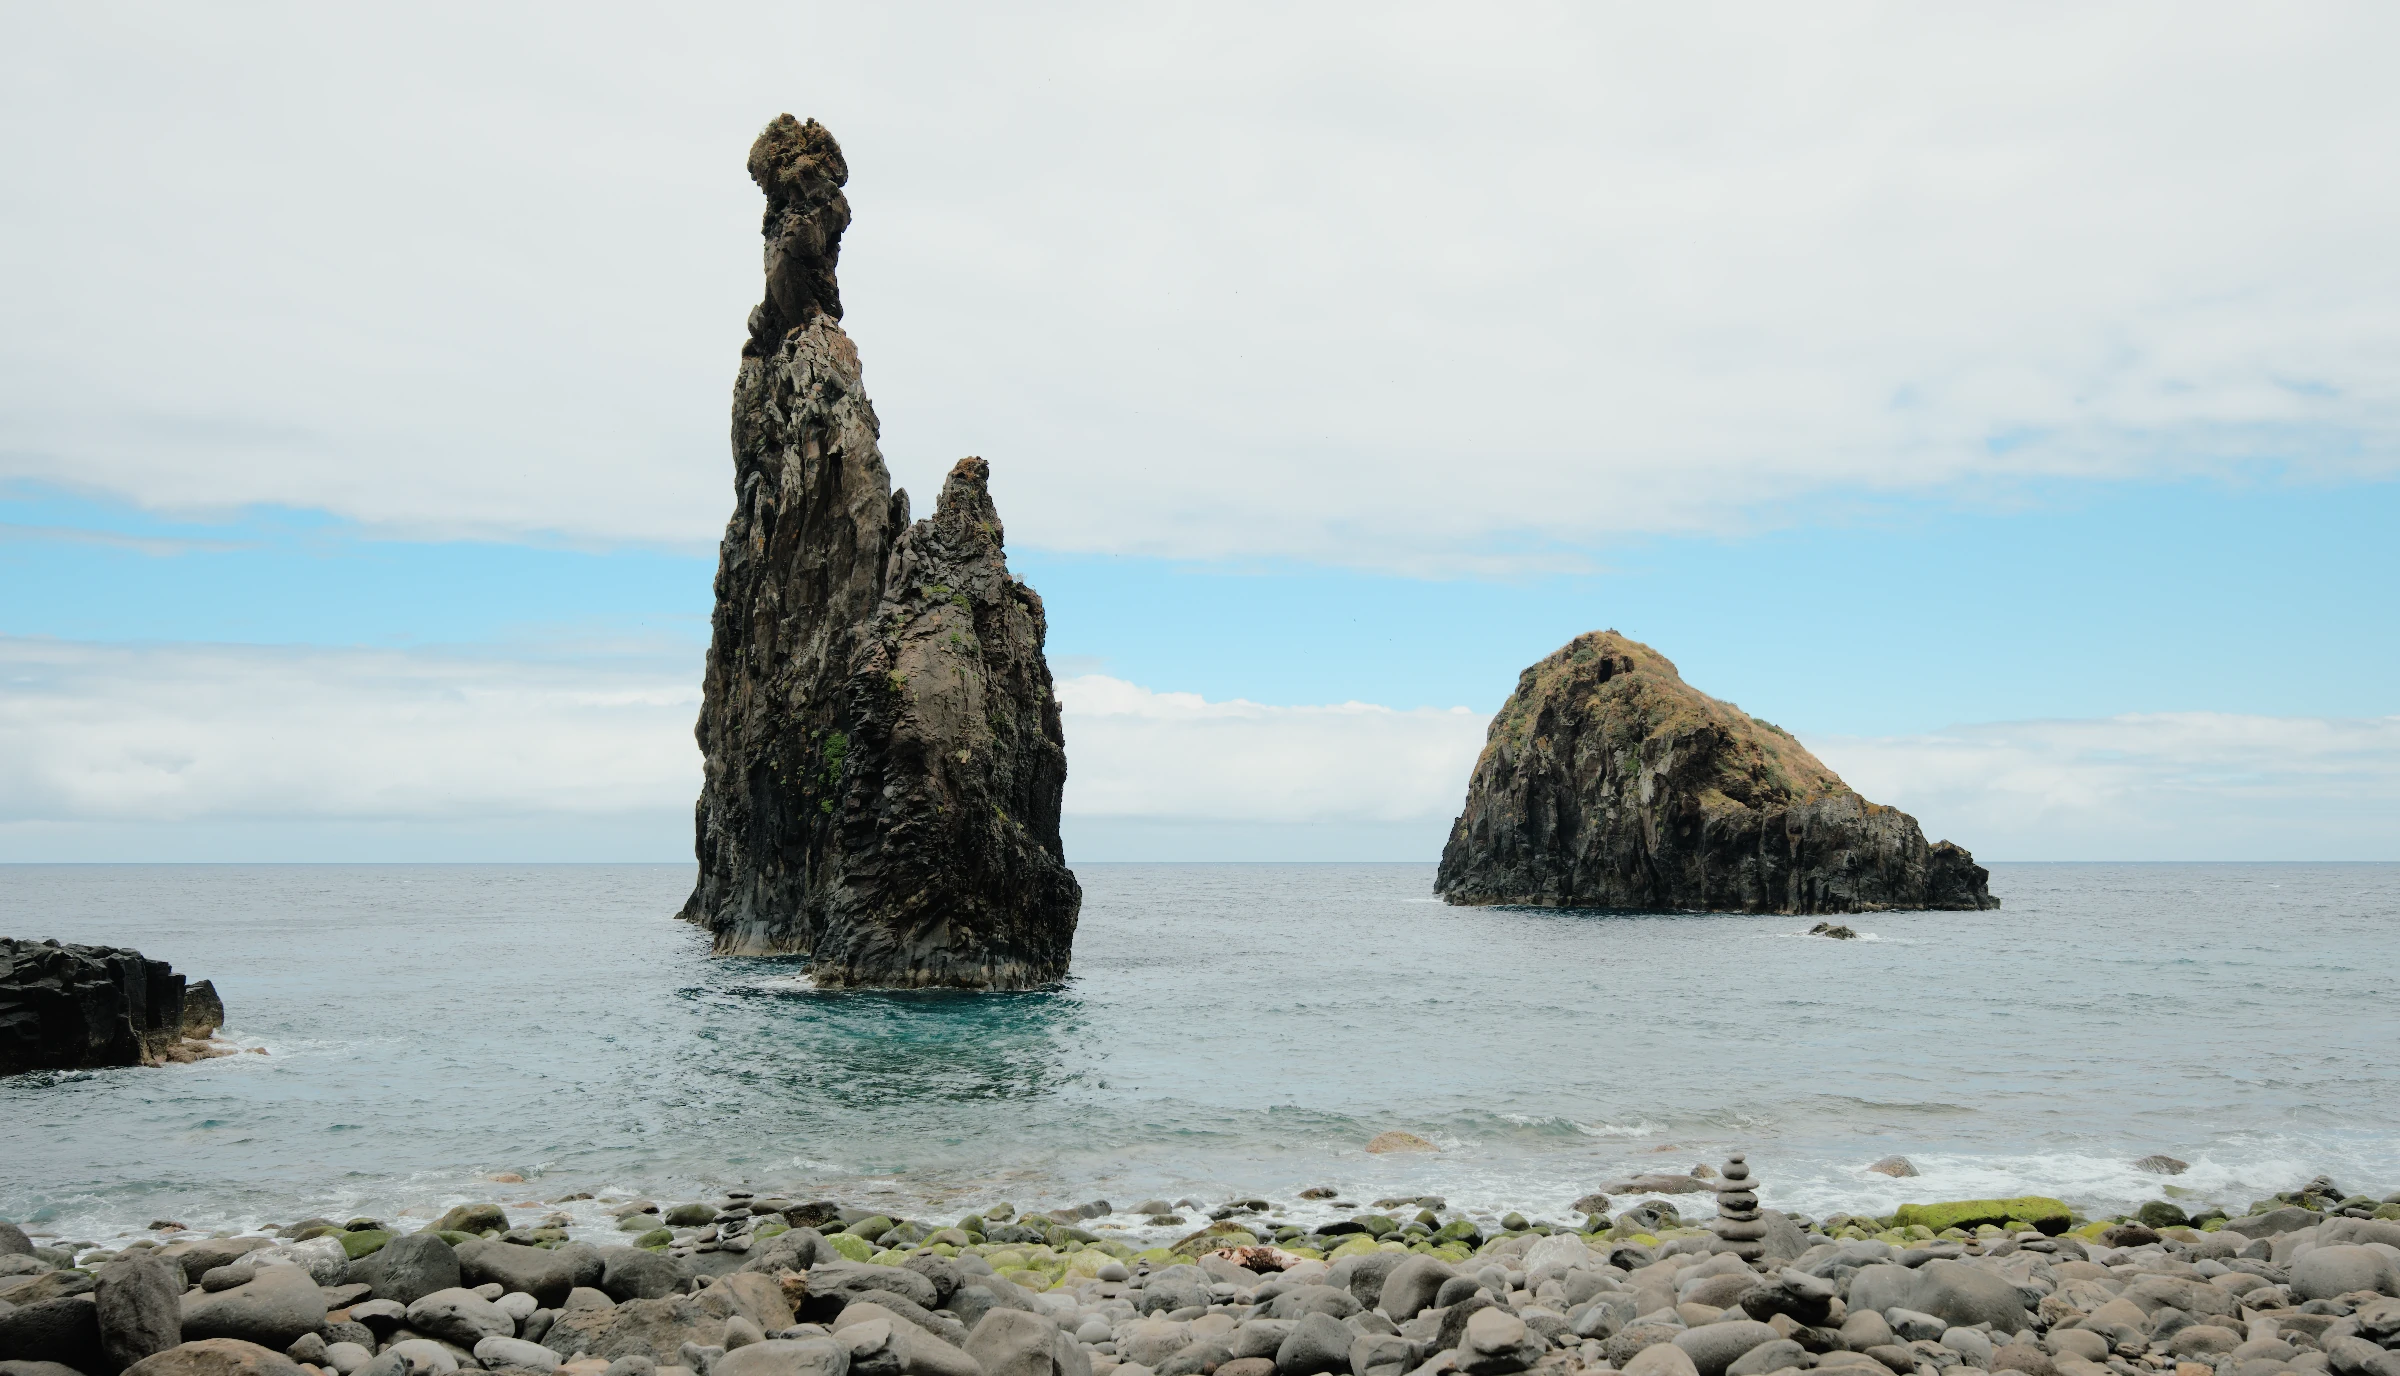
The editorial photographs use Auto + Everyday with Light at Airy +50. The photographic comparisons use real camera RAWs rendered by ABNEY. The opening shows the current app’s actual Light interaction with Everyday: Balanced, Airy and Moody. The website switches between captured states; the photograph and controls are captured together. Earlier versions used additional Airy fine-tuning; that separate authored treatment is retained in the regeneration archive. The opening and colour photographs use crops and straightening recorded in the app’s rendering recipes. Film choices use the current factory profiles and presets, including their default finishing settings. Personal shows an authored example of supported learning. The opening and editor screens are direct captures of real interactions in the current native app, running in the iPhone simulator. The colour-band animation is a conceptual explanation using native photo renders, not an app screen.
When can I get ABNEY?
ABNEY has been submitted to the App Store and is awaiting review. It’s built for iPhone, iPad and Mac.